Integrating Jira with Ducalis allows you to quickly get your Jira backlog in Ducalis for prioritization. It enables you to create issues for your Jira backlog in Ducalis and to also send your prioritization results to Jira.
Steps to Follow
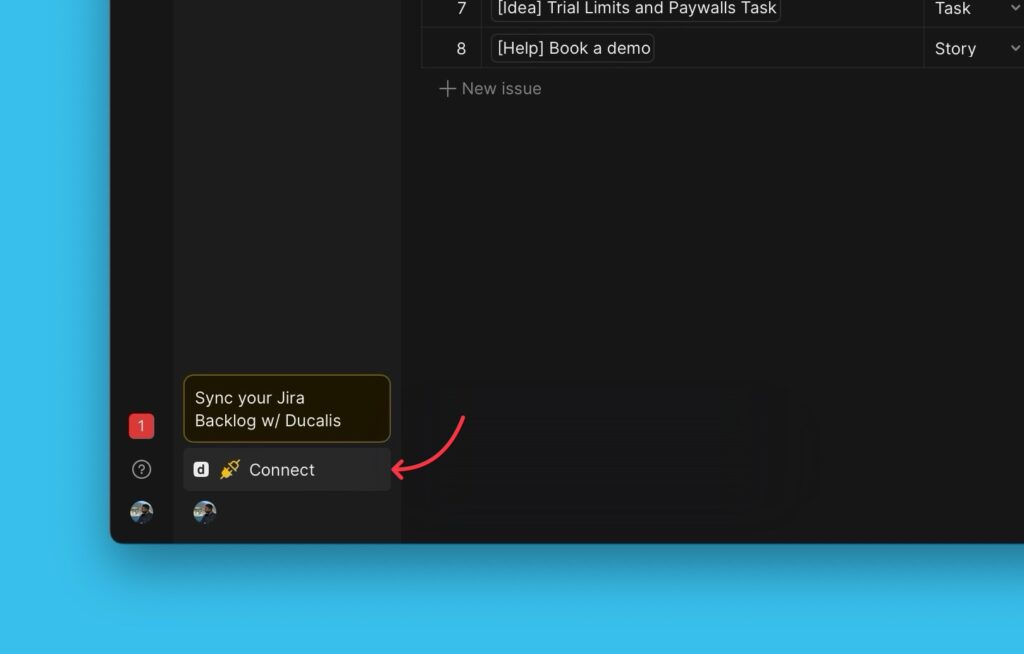
- In the board you’ve just created, go to the left-side menu, and click Connect to access the Sync settings.
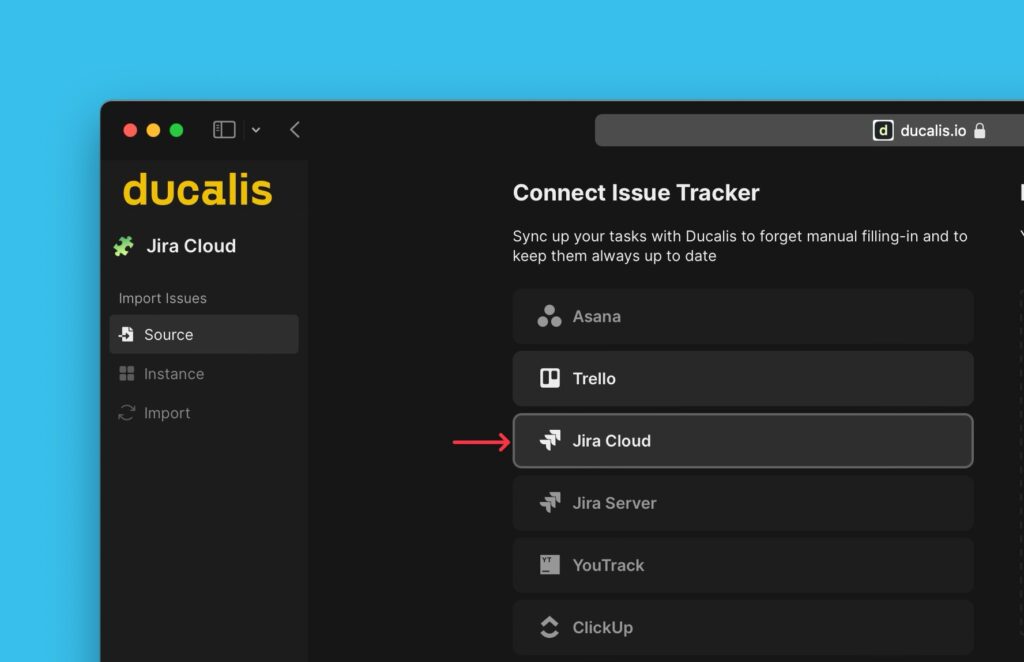
- Under Sync settings, go to Sync In and click Connect Issue Tracker.
- Choose Jira Cloud as the source of your issues.
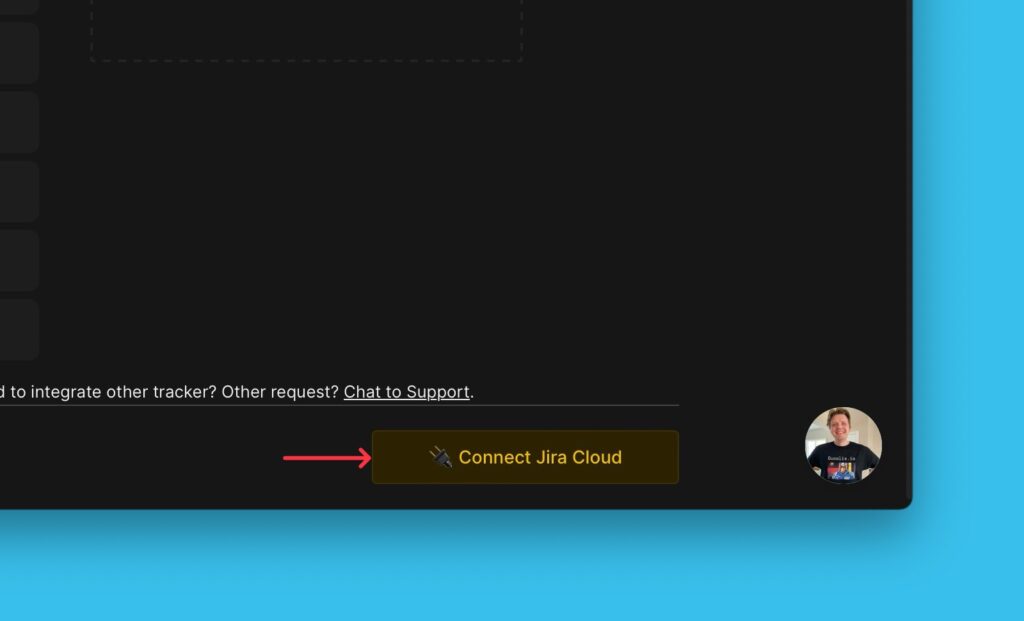
- Then click Connect Jira Cloud
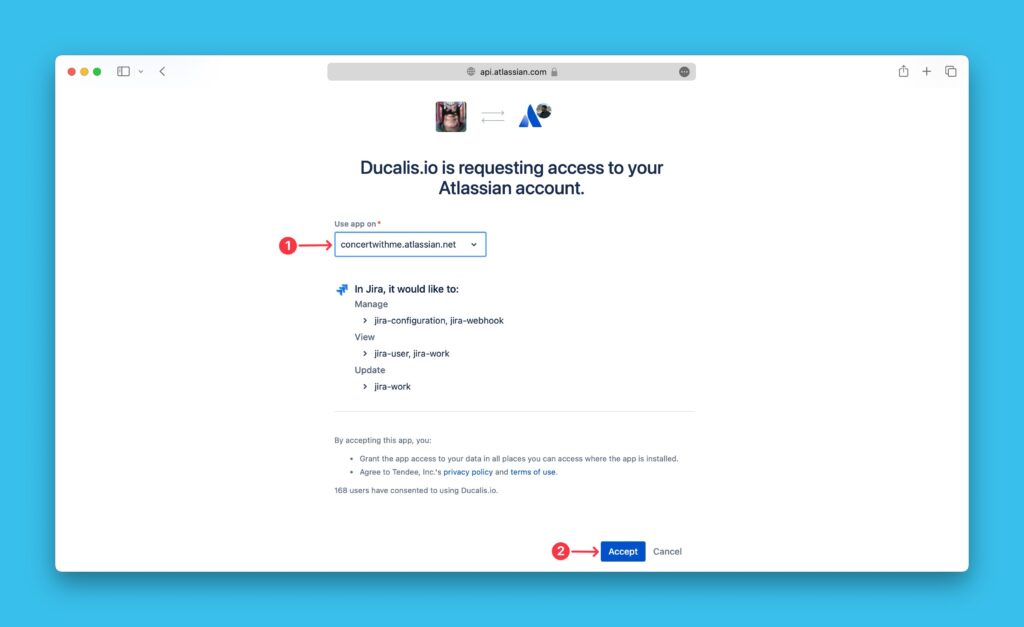
- Authorize Ducalis to access your Jira account.
Removing the Integration
What’s Next?
Proceed to import issues from Jira. You can use any of the following filters when importing your issues: