Aside from importing issues from your task tracker, you can also create them in Ducalis. This method allows you to use Ducalis without task tracker integrations. Even when you have a task tracker integrated, you can create issues in Ducalis that you can send to your task tracker to work on them after prioritization.
How to Create an Issue
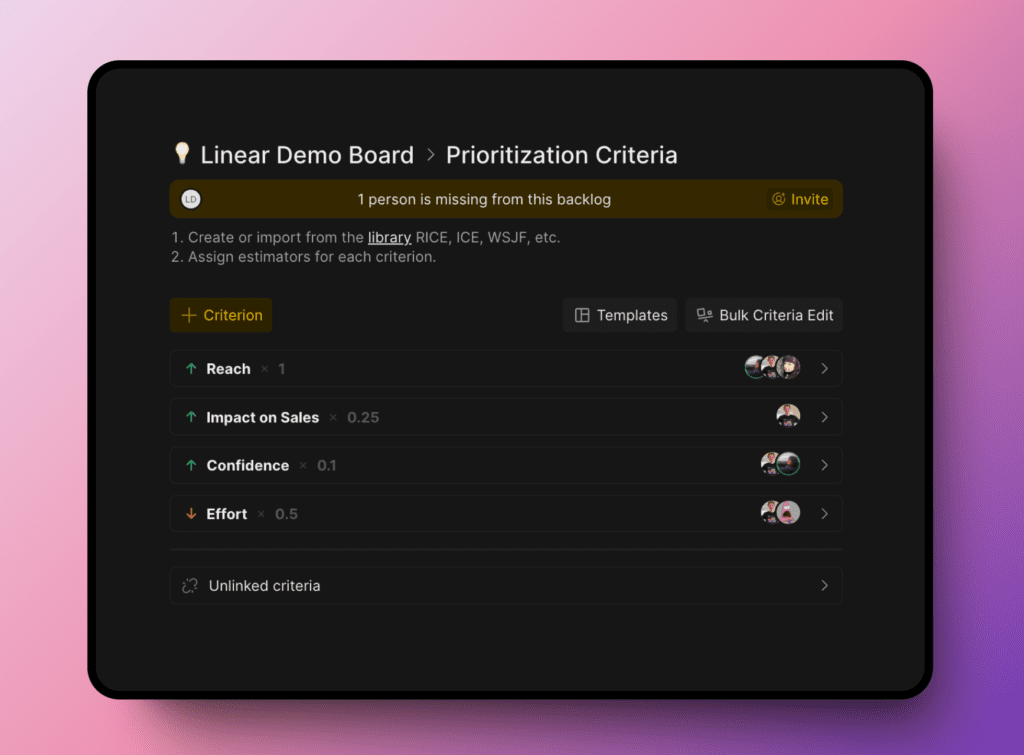
All the issues you create are kept in a prioritization board.
In the board, you can create issues:
- By clicking on the Add issue button.
- Inside the table – In-line issue creation.
- Use the keyboard shortcut alt/opt + n.
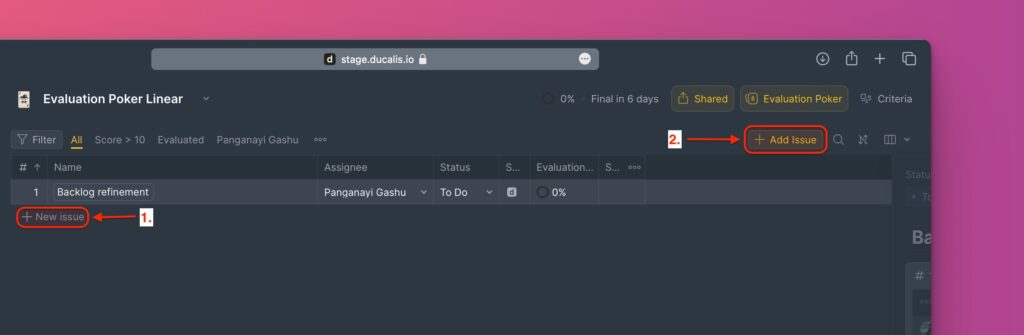
Creating an Issue from the Add Issue Button
- You can create a new issue by clicking on the orange button labeled Add issue located in the top-right corner of the board.
- A new empty row will appear, and you can start to fill in the details of the issue you want to create.
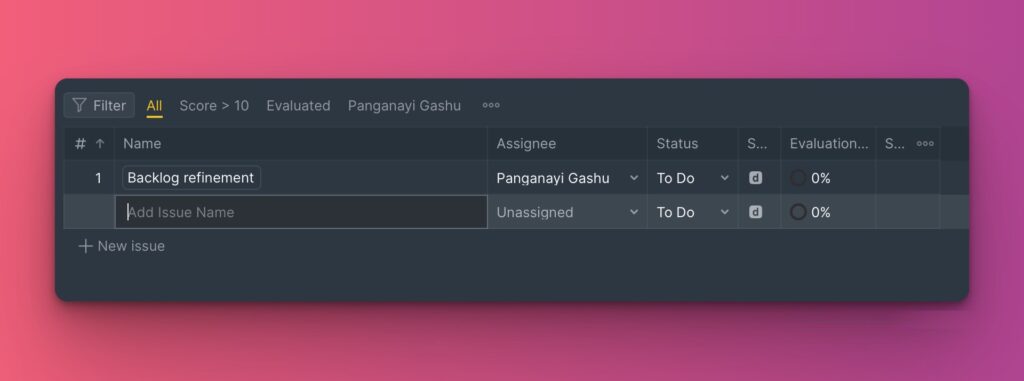
In-line Issue Creation
- In the table, you can click on + New Issue to start creating a new issue.
- A new row will appear, and you can start filling in the details of the issues you want to create.
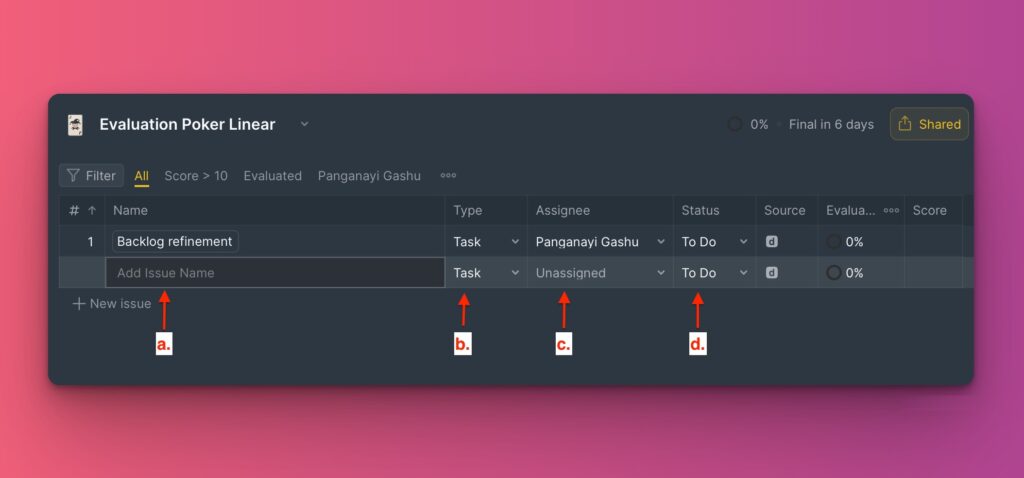
Filling In the Details of the Issue
- When the new column appears, there are certain details that you can fill in right in the table without having to open the issue card.
- Name – give your issue a name that is clear and easy to understand.
- Issue type – you can assign an “issue type” to your issues, to help your team understand what kind of work the issues fall under.
- Assignee – if you have added your teammates to the board, you can add the person who is responsible for working on this issue.
- Status – add the progress status of the issue. You can create a new one or even change the color code assigned to an existing status.
- Reporter – the person who creates the issue is automatically added as the reporter.
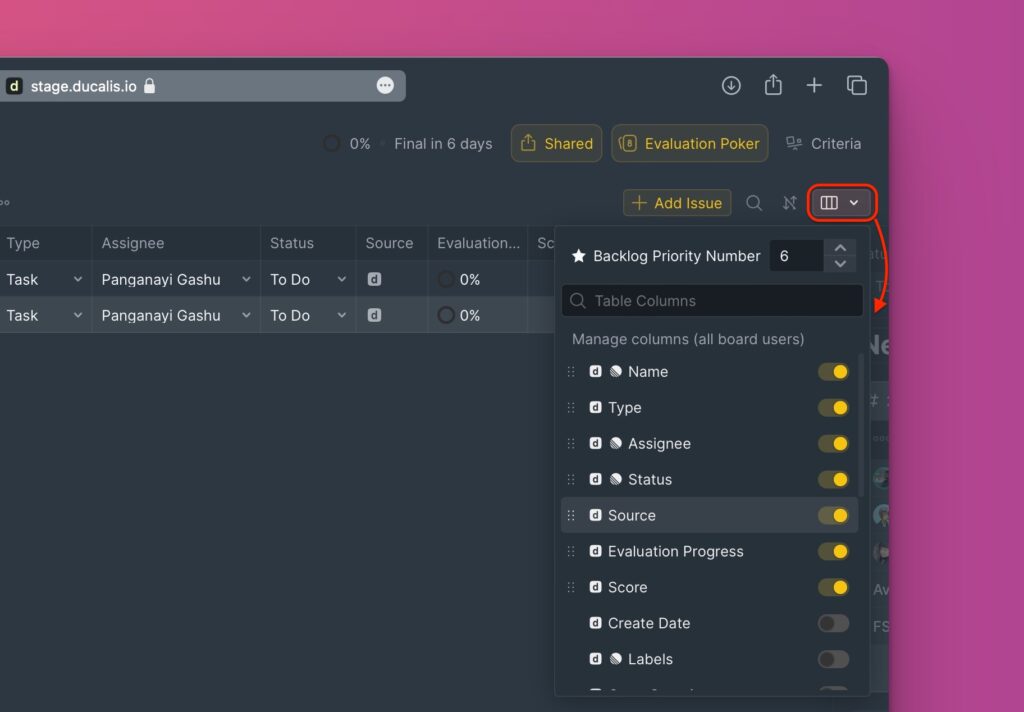
- If you want to hide or add some columns, click on the table icon to customize the table view.
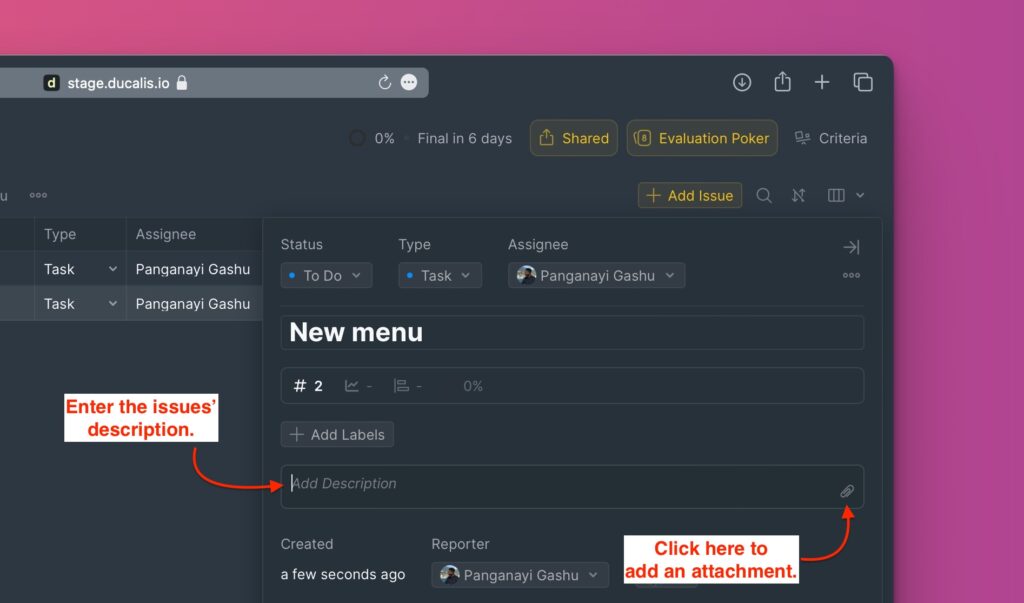
- To add the Issue’s description and label, you need to open the issue card. Click on details, or use the keyboard shortcut ] to open the issue card.
- Description – type in the description to add some context about the issues to help your teammates understand the issue better.
- Attachments – To the issue’s description, you can add attachments to give the issue more context. Drag’n’drop, or copy-paste, your attachments to the issue description field.
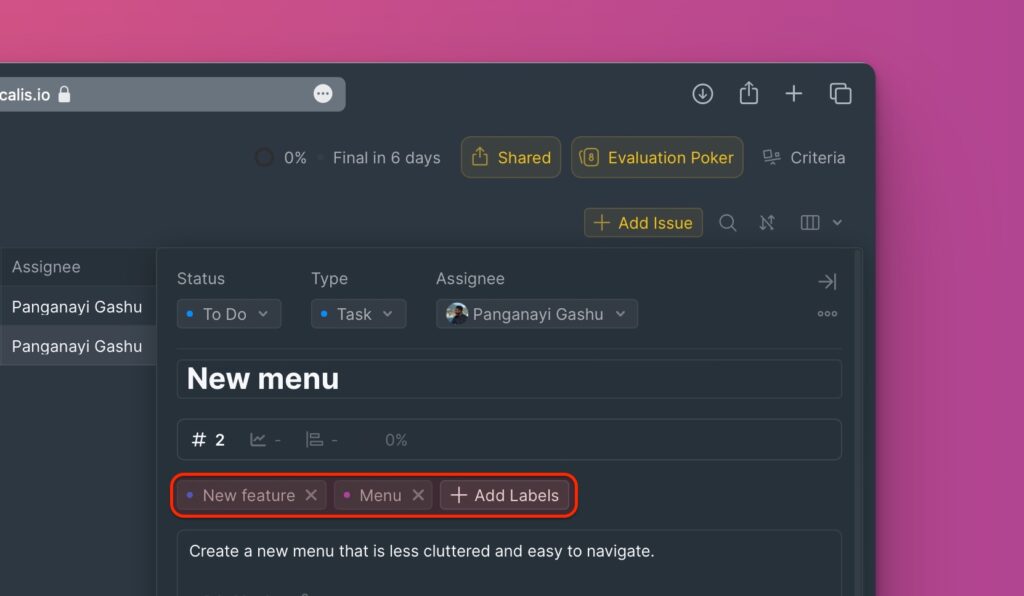
- Label – You can assign labels to your issues. Add existing labels or create new ones.
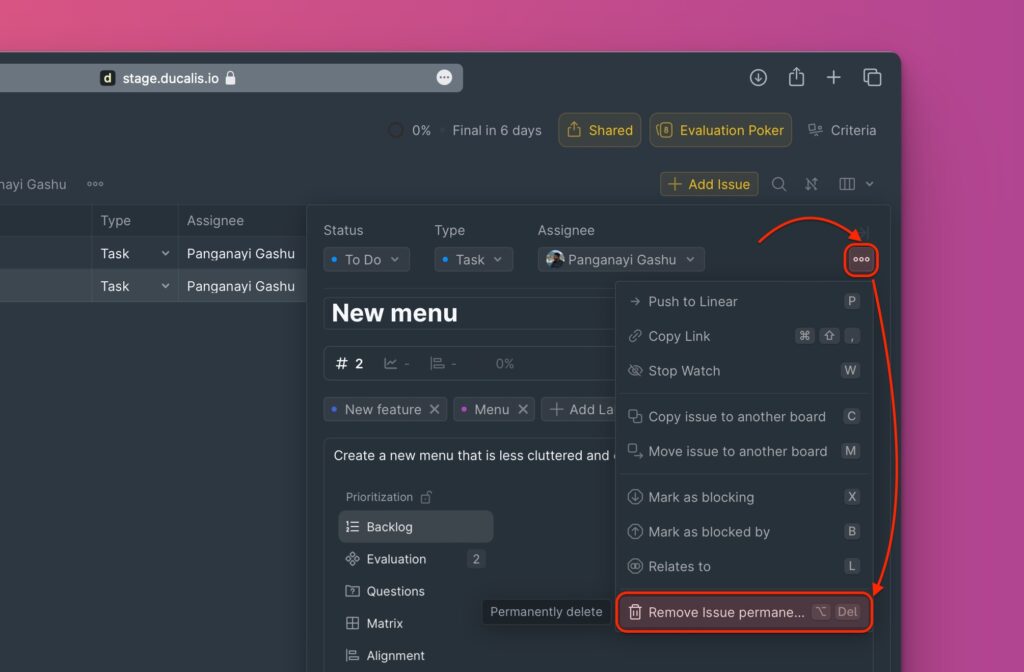
How To Delete an Issue
- To delete an issue, in the task card, find and click on Remove.
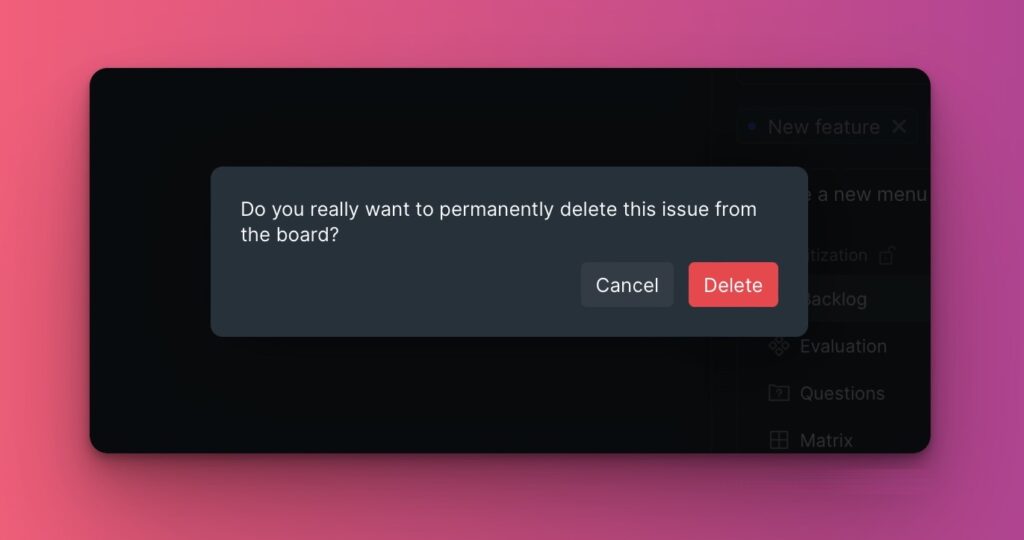
- Confirm that you want to delete the issue by clicking Delete.
What’s Next?
After creating your issues, you can head to the Board Users and Teams setting and start creating teams and adding your teammates to the board so that you can collaboratively evaluate your backlog for prioritization.
Learn more about Board users and teams.
If you have any questions, please contact us in the chat in the bottom right corner.