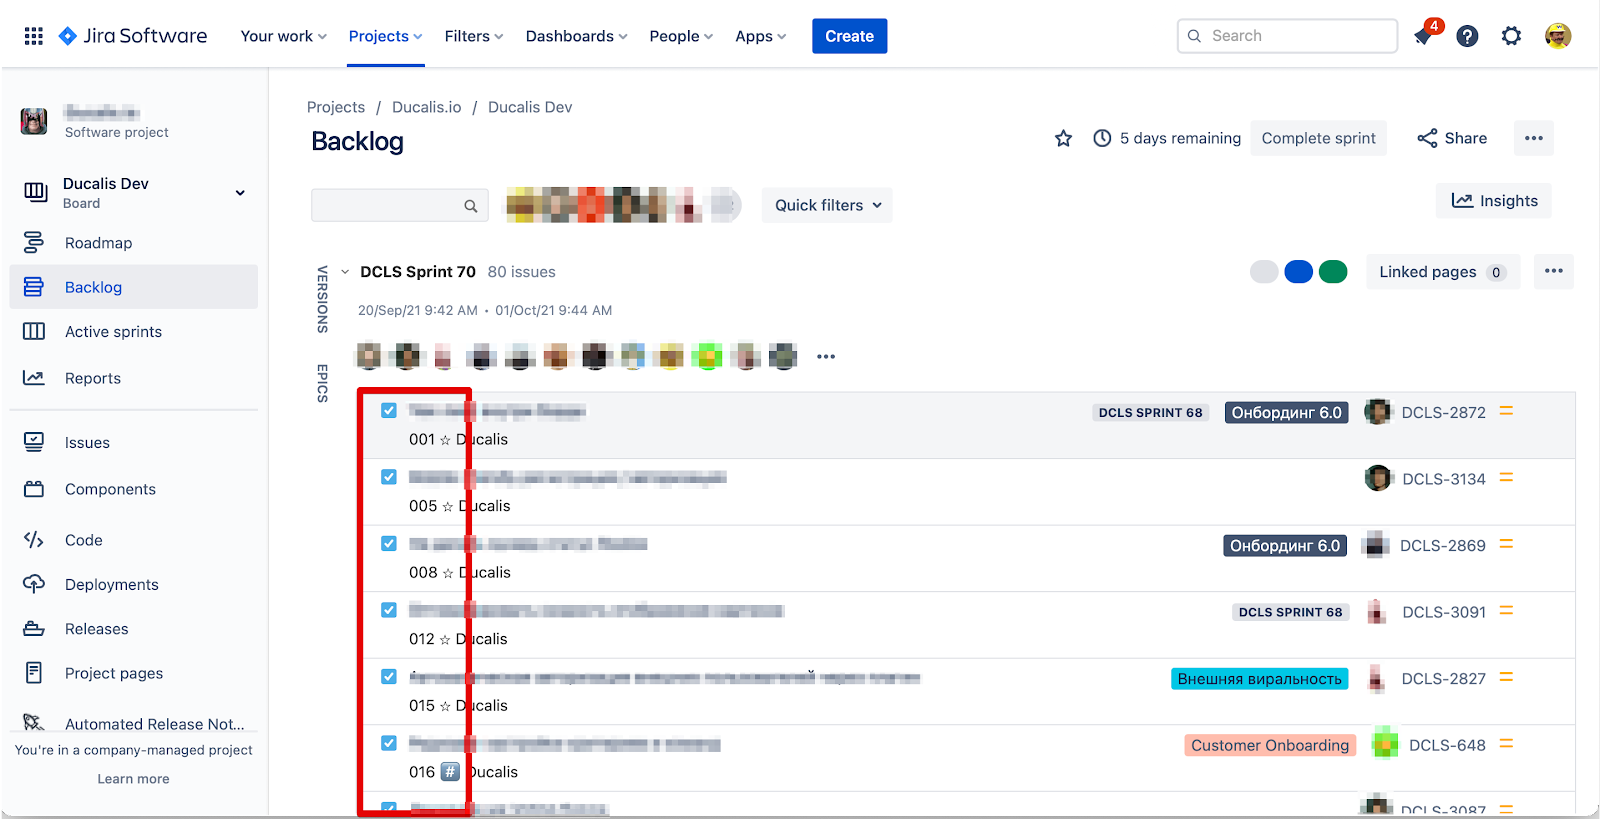
Jira Company-managed projects allow you to create boards and set up custom fields that appear with the issues under Backlog and Active Sprints.
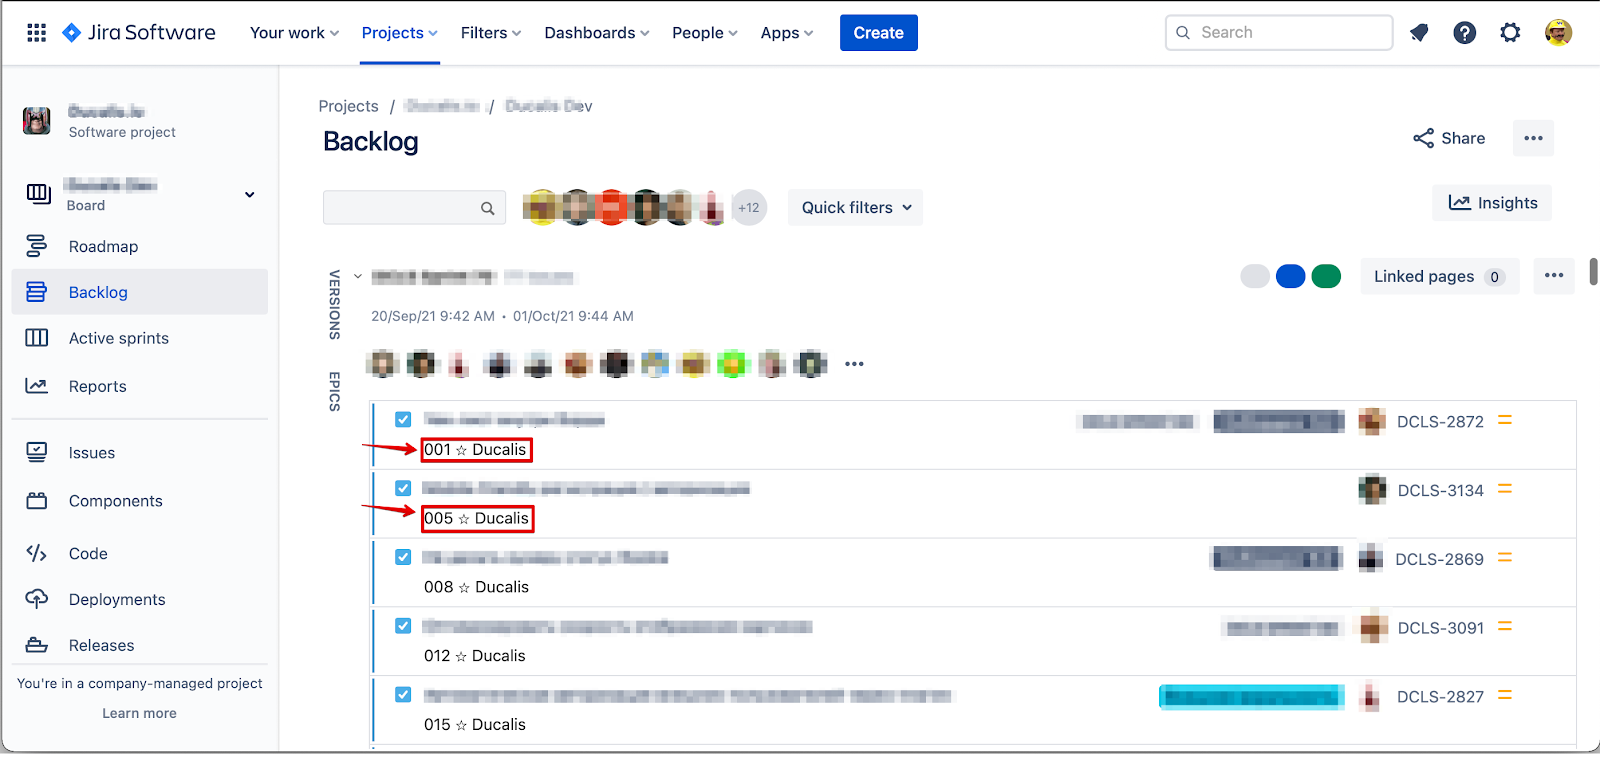
Backlog.
Active Sprints.
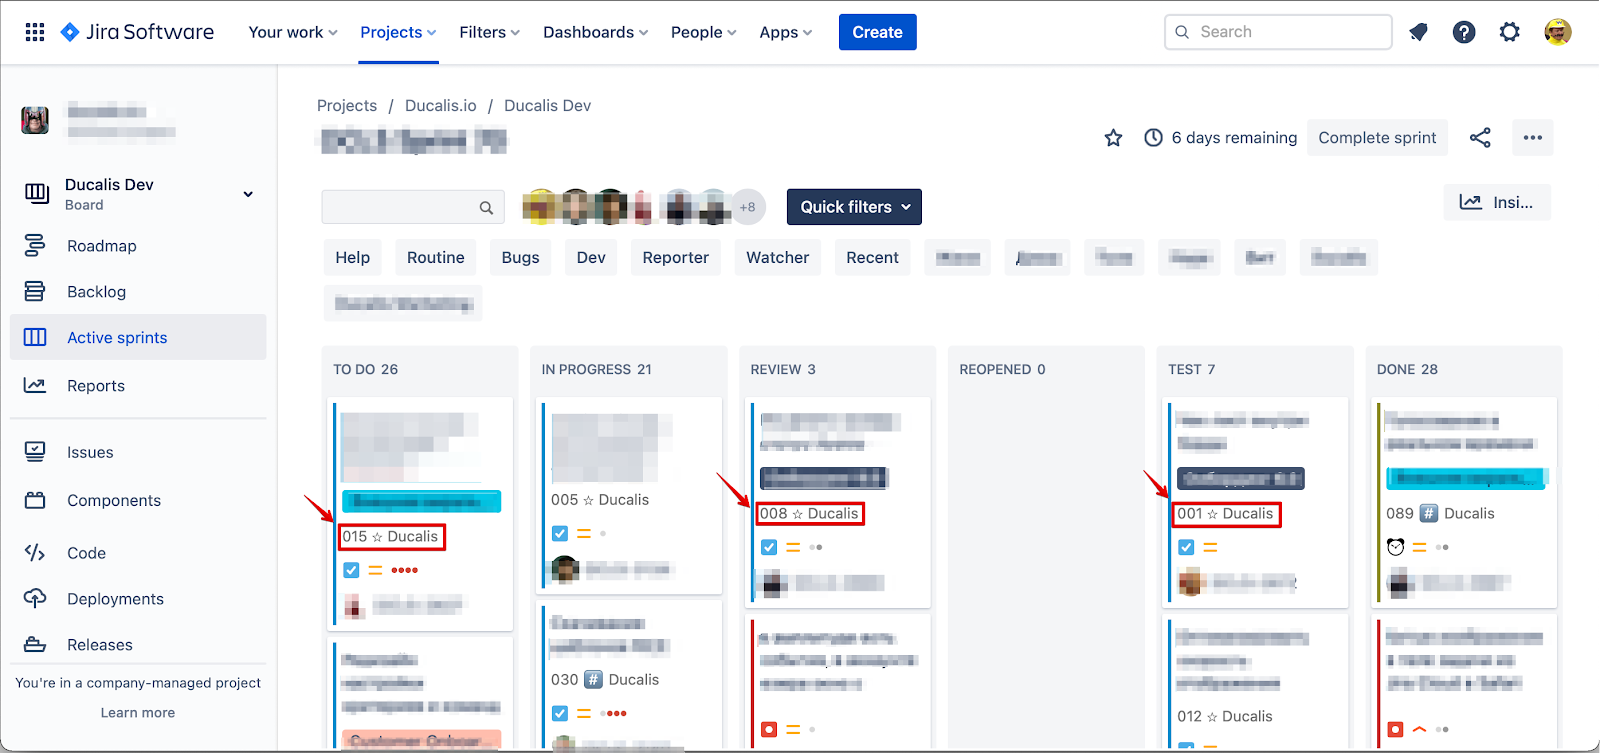
Besides that, you can also see the ranking on the issue card.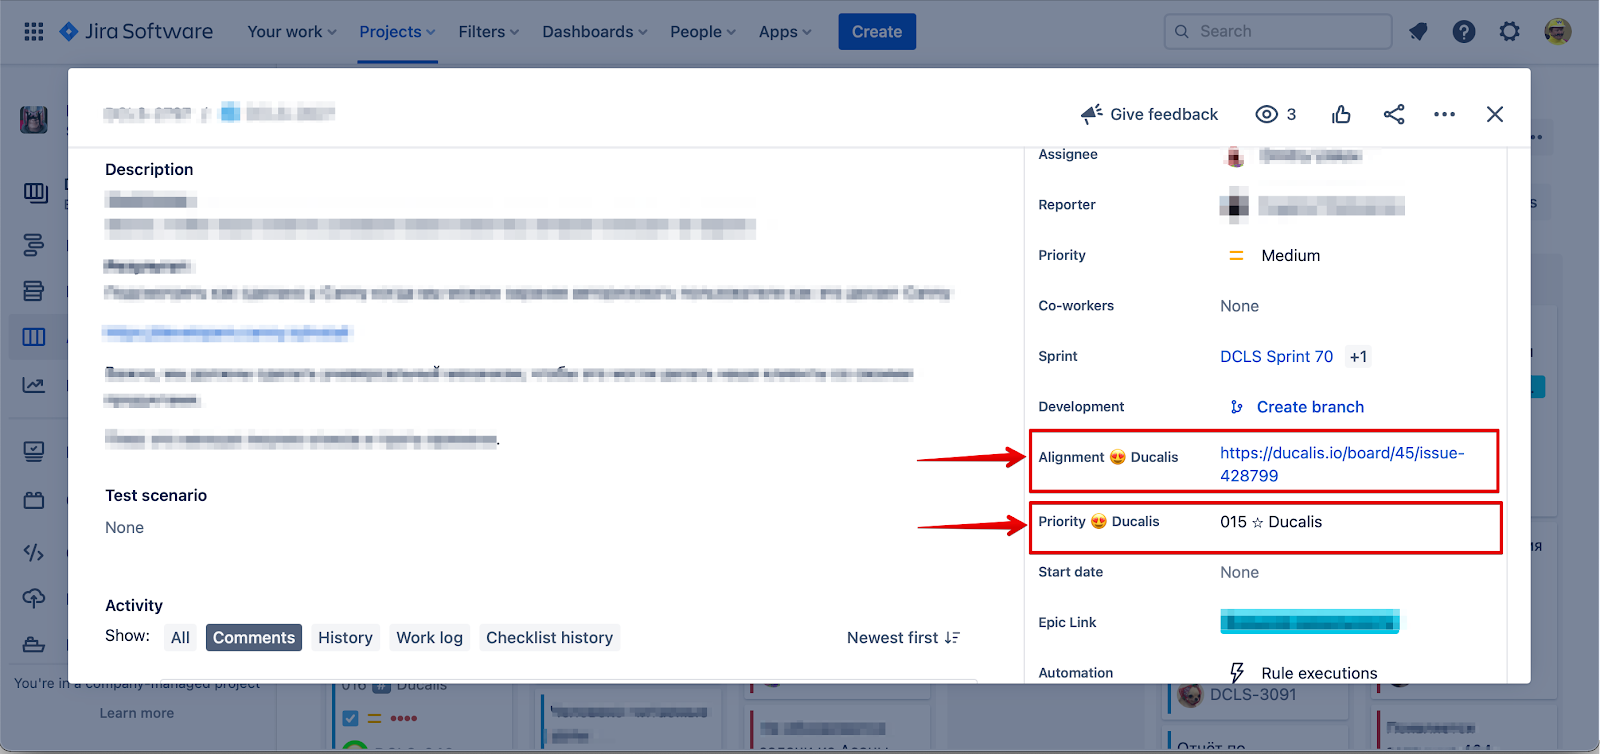
Ordering Issues by Priority Ranking
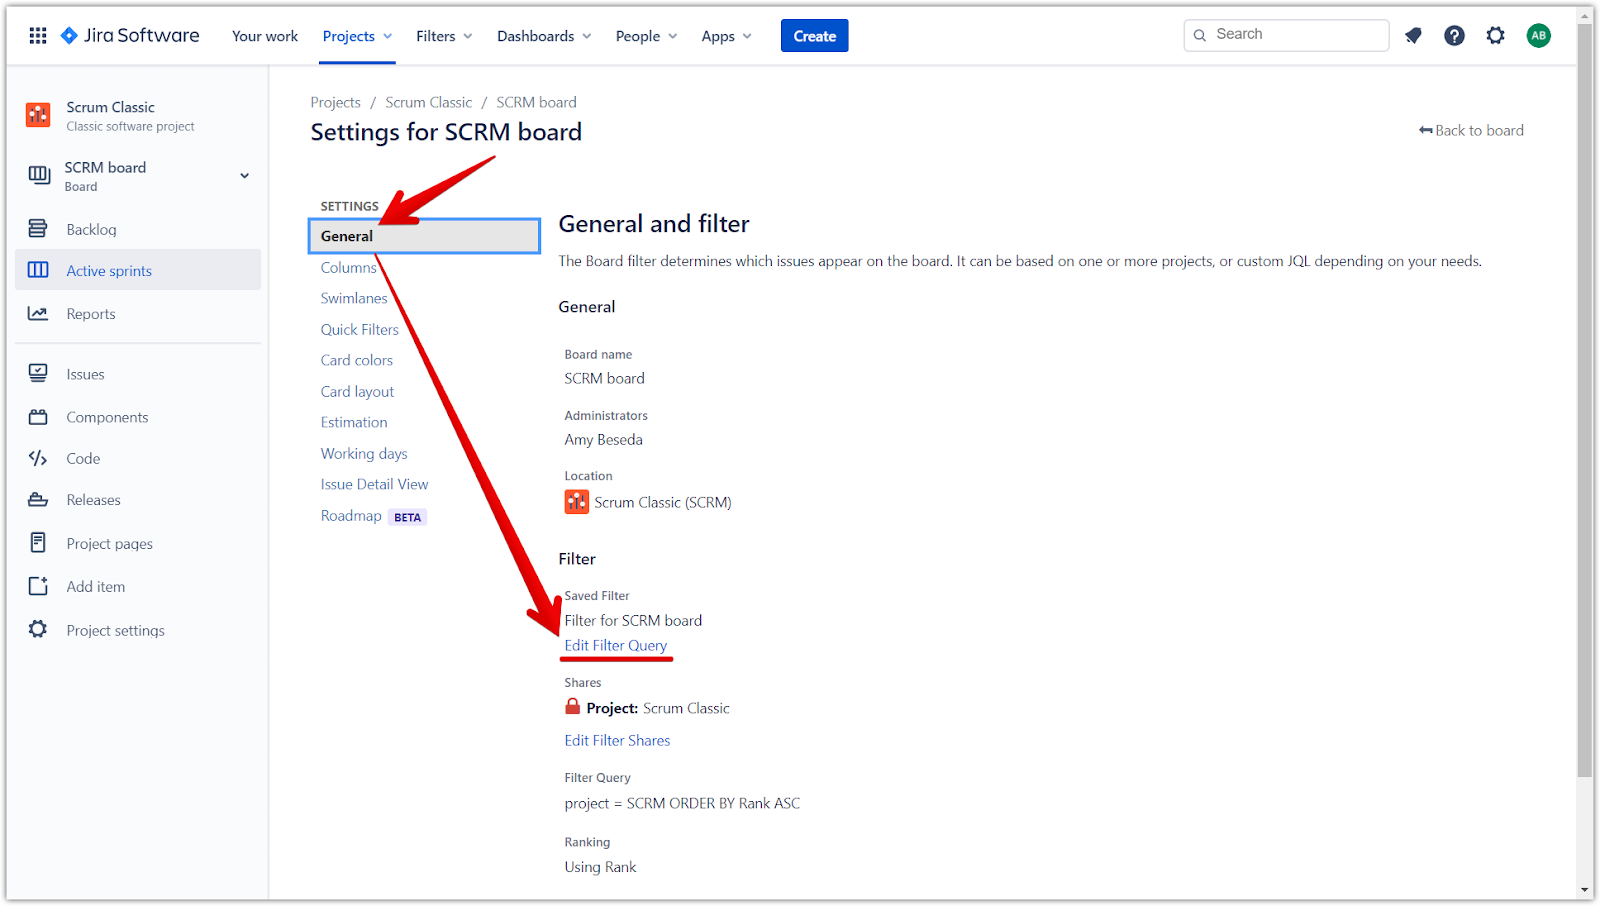
- Click the ellipses and go to Board settings inside the board you want to set up.

- In General, click Edit Filter Query.
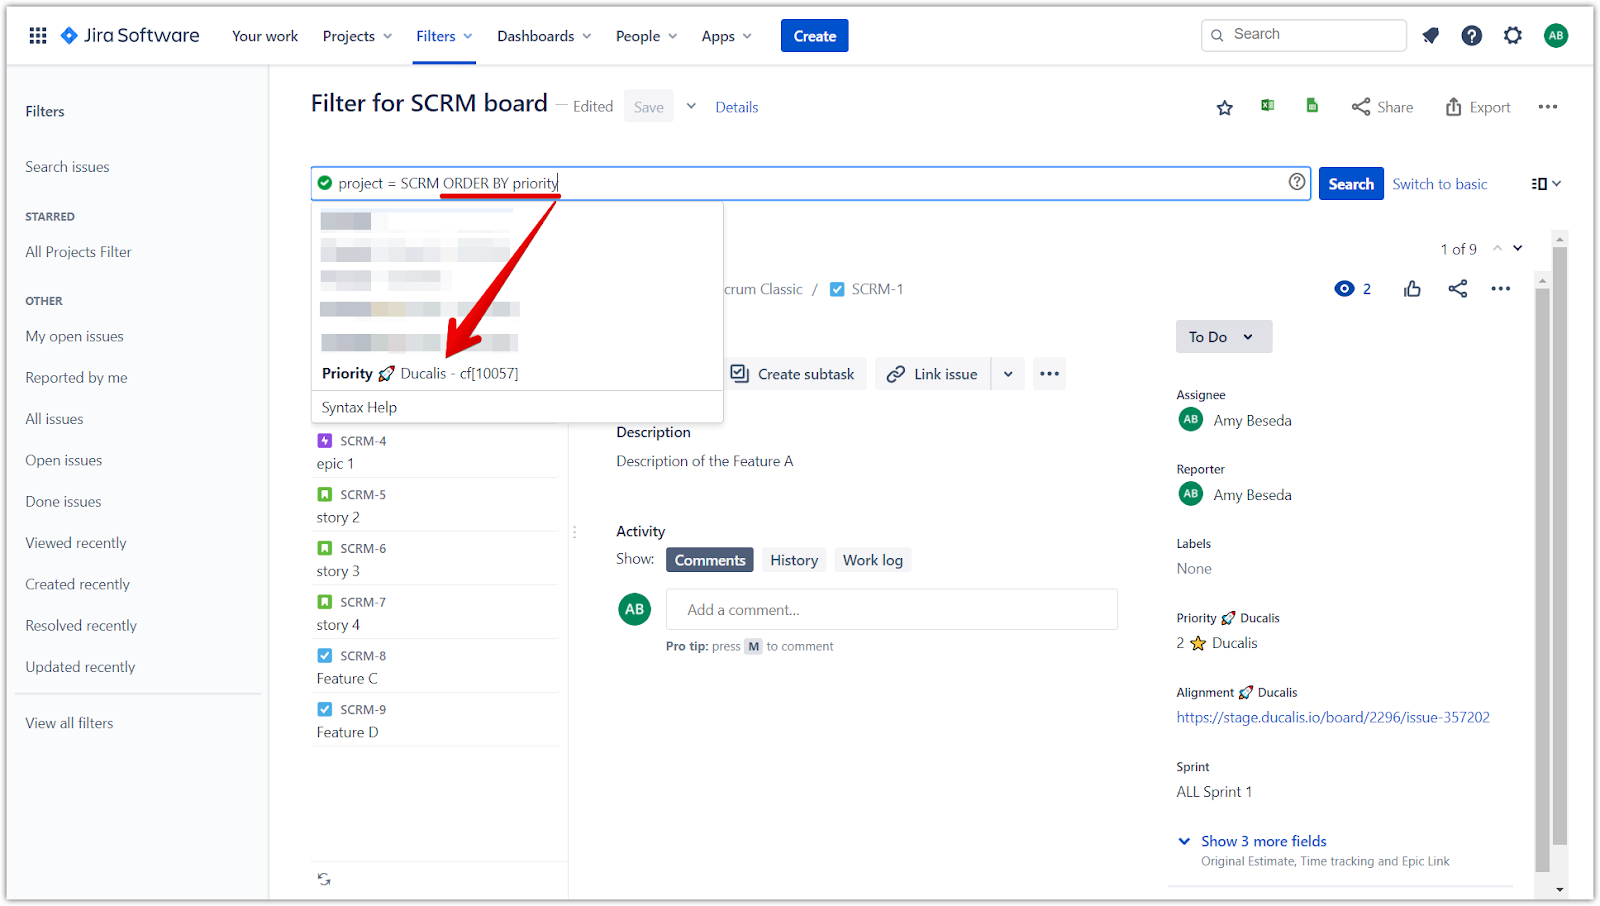
- In the query, type ORDER BY priority and choose the Priority {your emoji} Ducalis custom field from the dropdown menu.
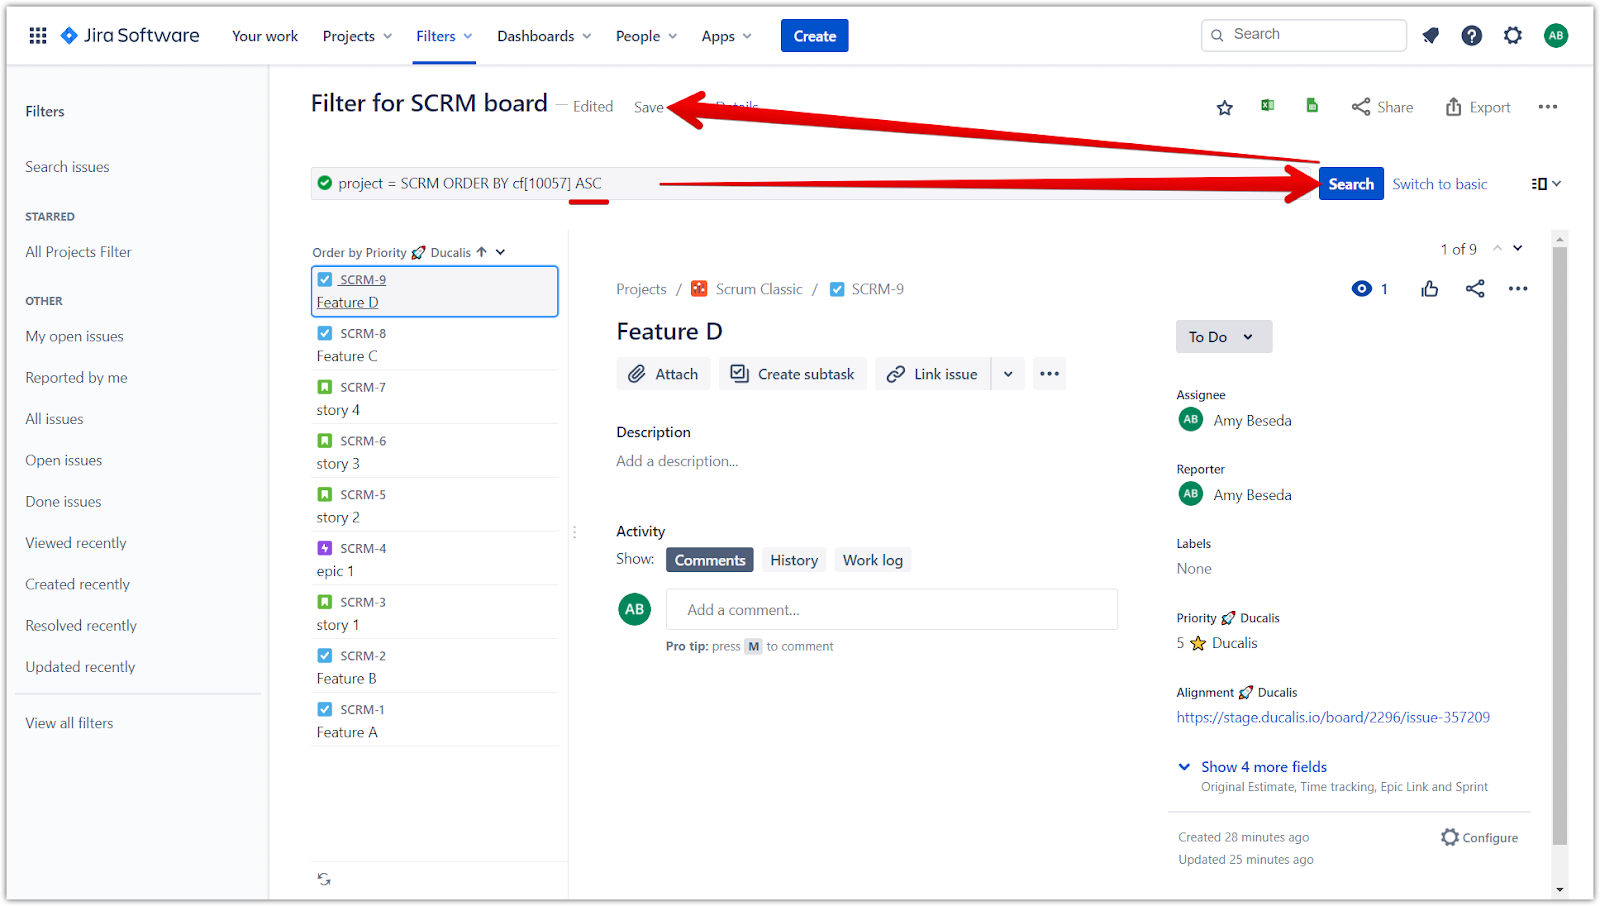
- After space, type ASC for ascending order.
- Click Search.
- Click Save.
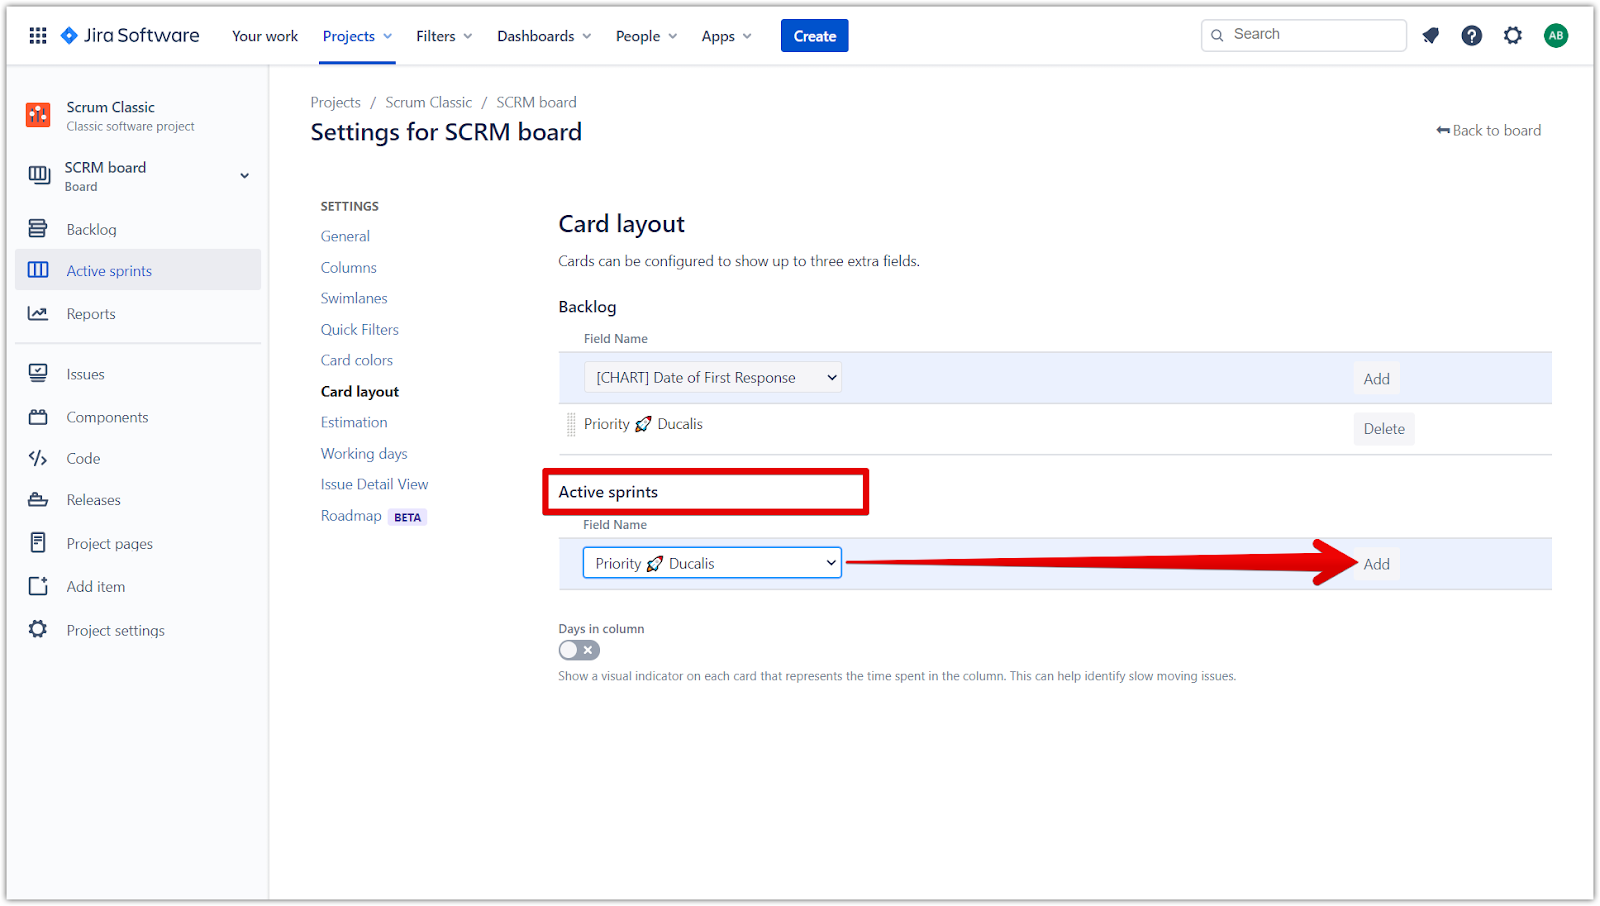
Adding Custom Fields to Issue Cards under Backlog and Active Sprints
- Click the ellipses and go to Board settings inside the board you want to set up.

- Go to Card Layout.
- Under Backlog, select Priority Ducalis as the Field Name from the dropdown and click Add.
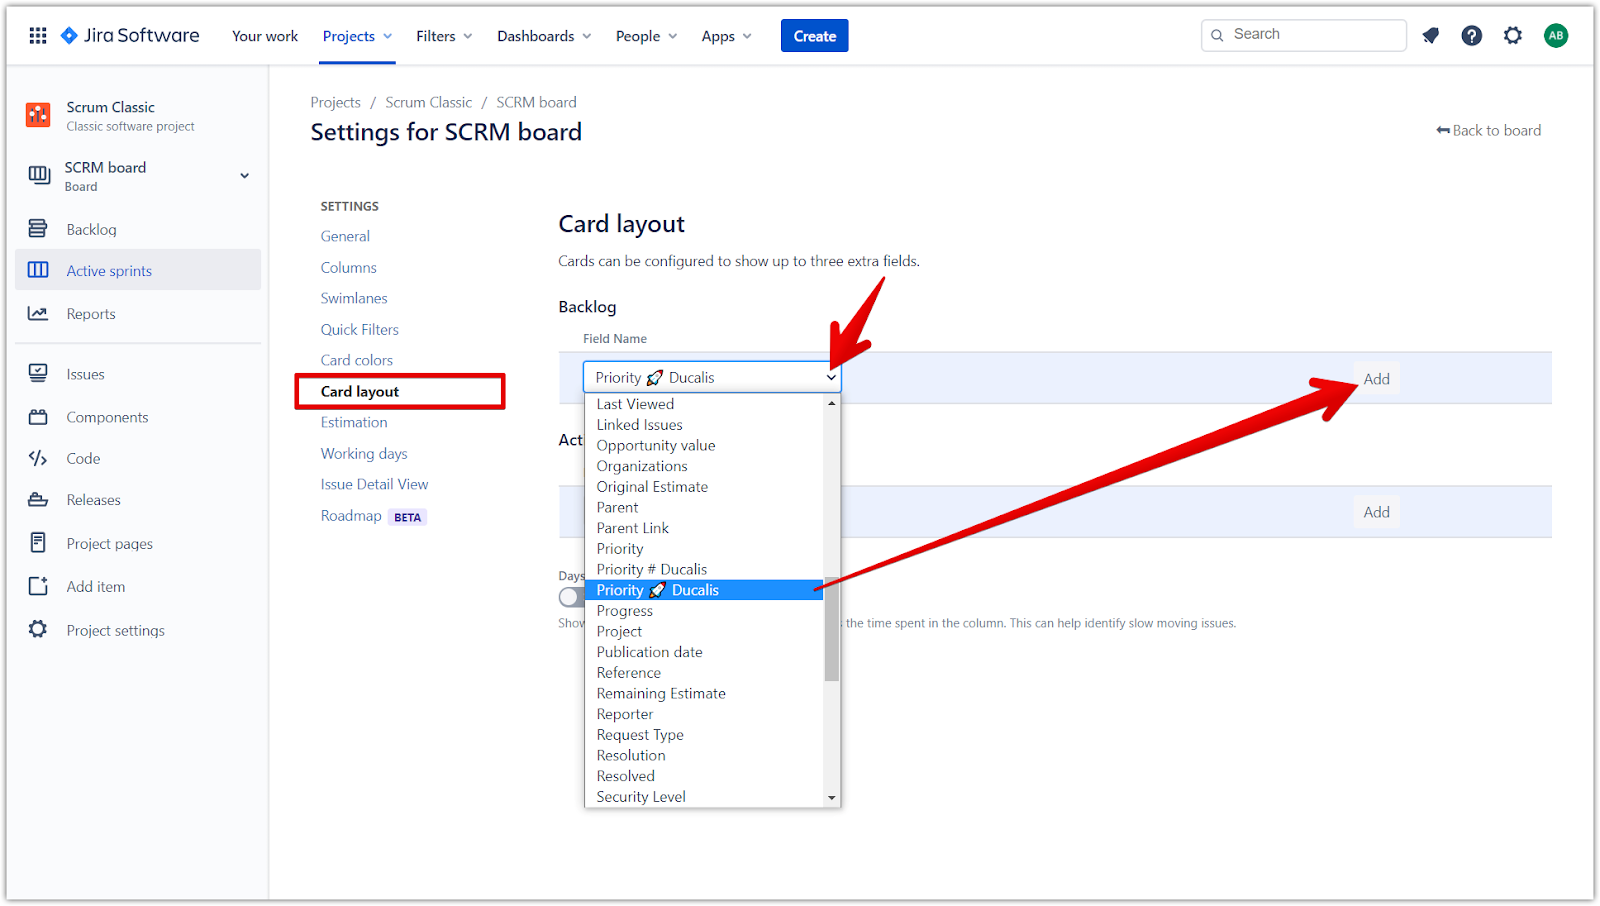
- Do the same for Active sprints—select Priority Ducalis as the Field Name from the dropdown and click Add.