For task trackers like ClickUp, Jira Cloud, and Jira Server, you need to set up fields that will receive the data you sync from Ducalis before activating Back sync.
Two ways in which you can set up the fields are:
- Creating new fields in the trackers.
- Using existing fields in the trackers.
Instead of creating new custom fields when you already have a ton of custom fields in the tracker, you can just:
- Map the Ducalis fields with existing fields in the task tracker.
- Edit names of existing fields in the tracker to give them names of Ducalis fields you want to sync data from.
In this article, we will take you through how you can map the Ducalis fields with the fields in the task tracker that will receive the data that you sync from Ducalis.
How To Map Fields
In Ducalis, go to the Sync settings.
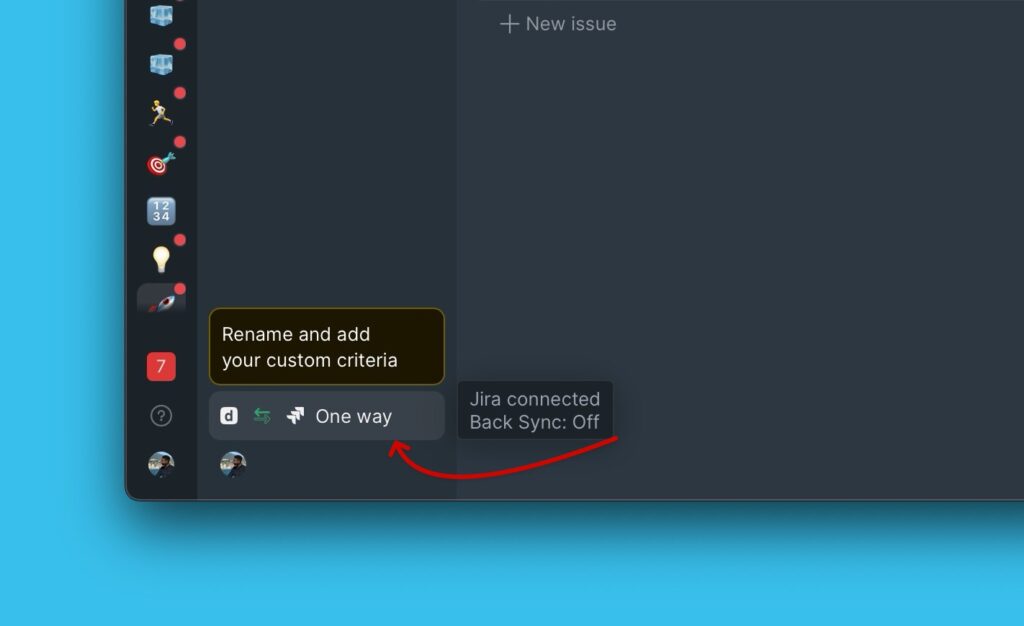
Scroll down to Sync-Back fields and start mapping your fields
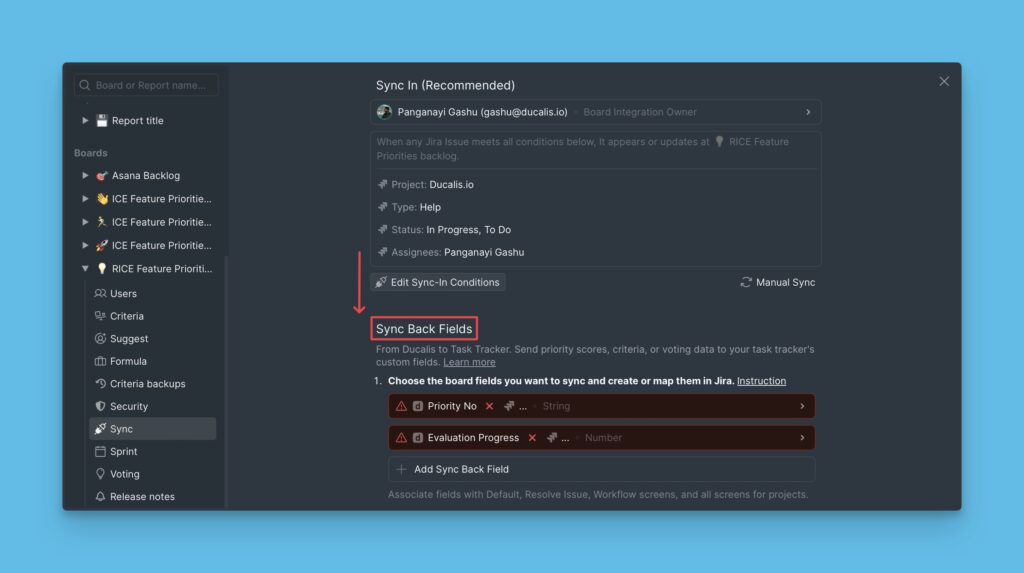
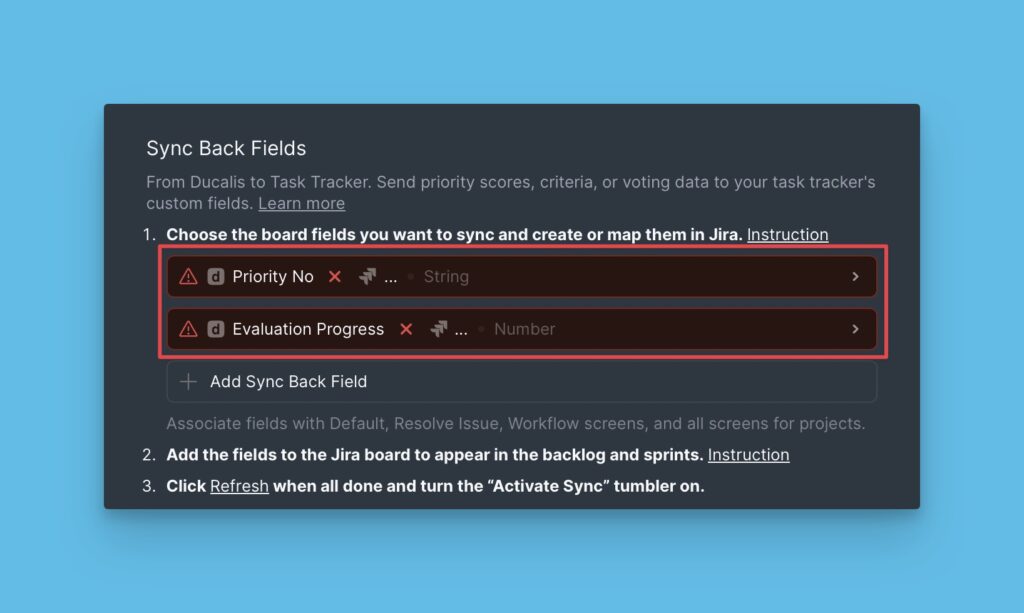
You can use the default Ducalis fields that you find or delete them.
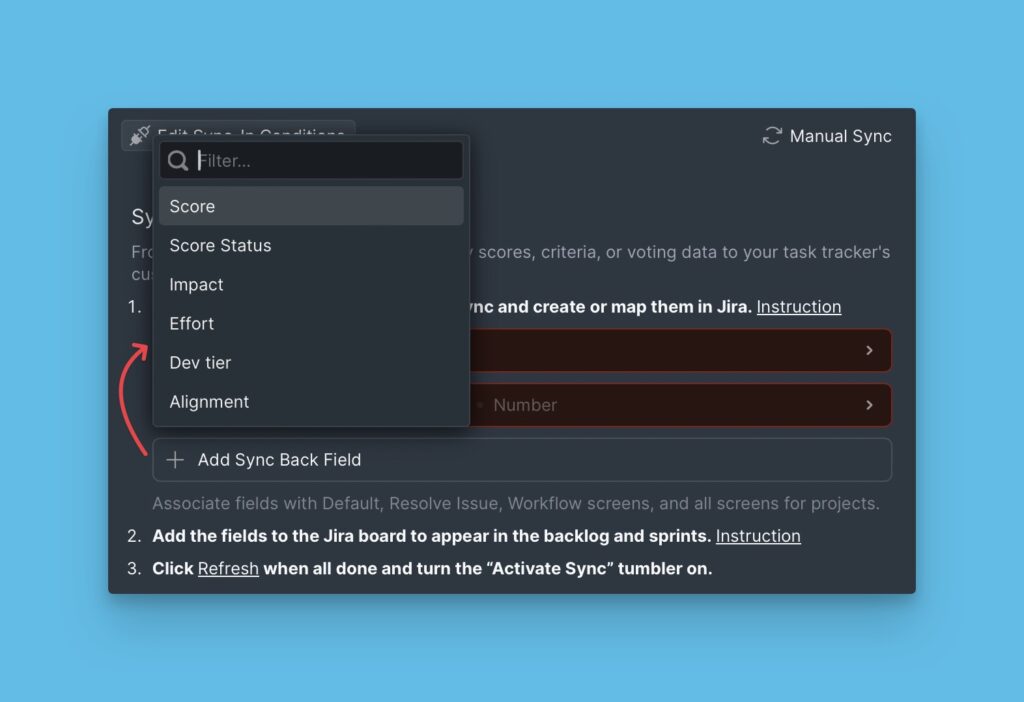
You can also choose another field if the one that you want to sync data from is not among the ones given.
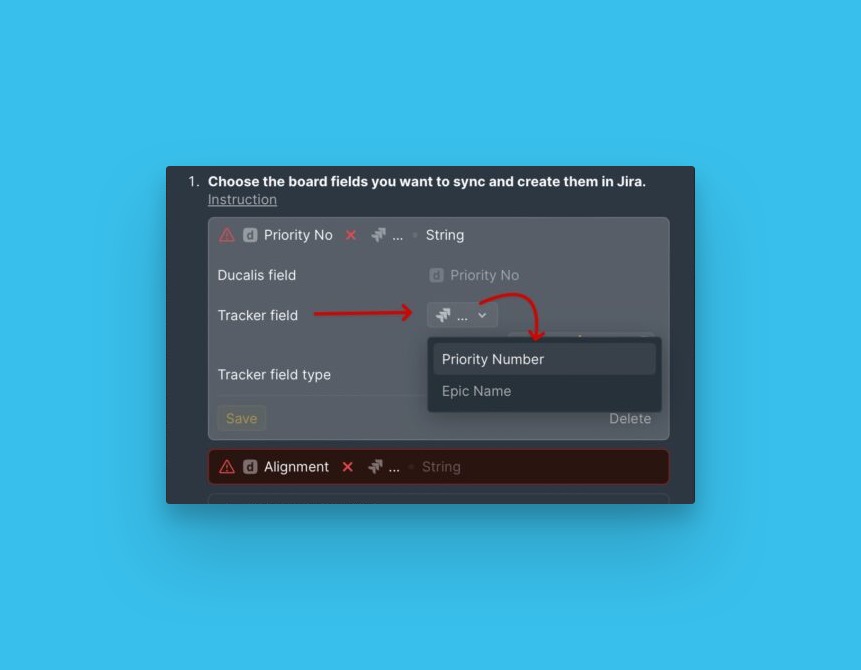
Next to the Tracker field, click to open the dropdown list of fields from your tracker that you can use and choose the field that you want to map with the Ducalis field
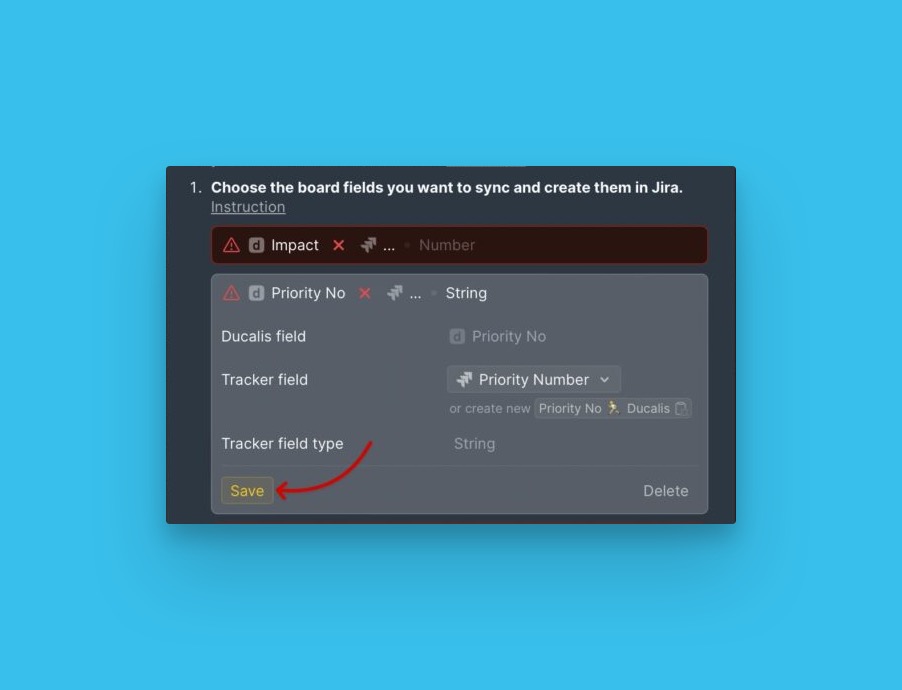
Then click Save.
Activate Back Sync and Schedule Auto Back Sync
After you have finished setting up your fields, you can proceed to activate back sync and set up the auto back sync schedule.
What’s Next?
Check out how you can map fields and activate Back sync for each task tracker:
