Compose Release Note
Release Notes announce product updates to your subscribers. Compose them manually or use templates to save time.
Start by creating a Release Note Template to reuse structure and settings across all announcements.
Create a Release Note
-
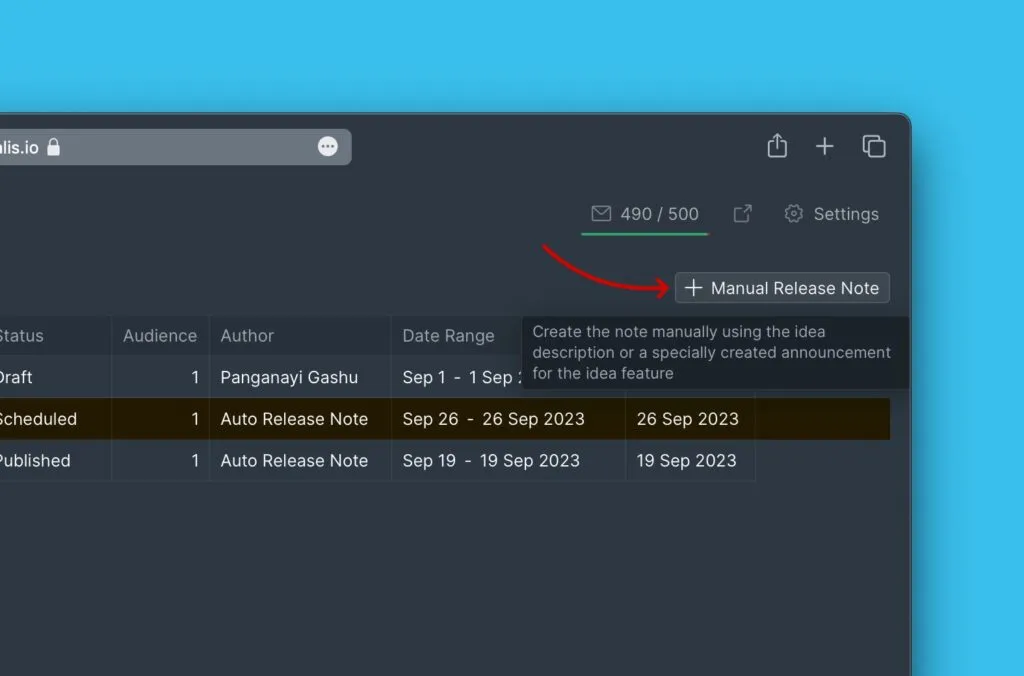
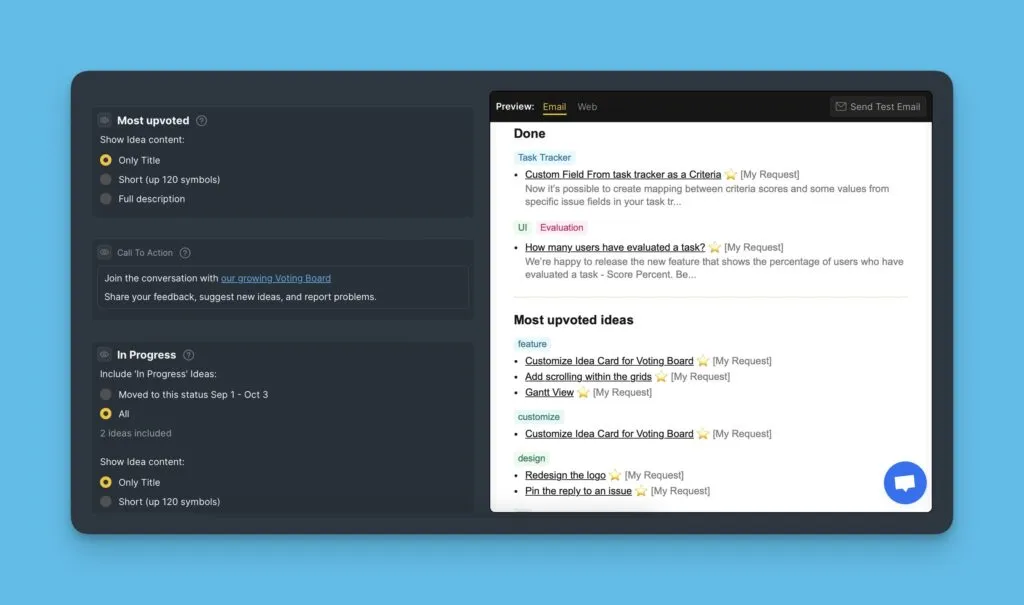
Click Manual Release Note to start a new one.
-
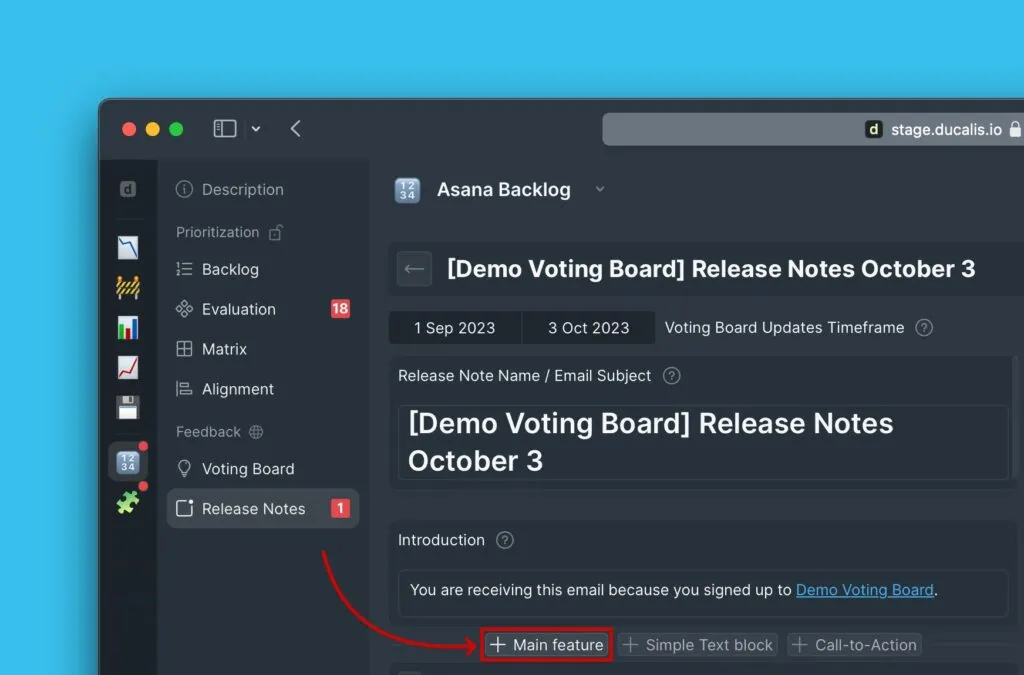
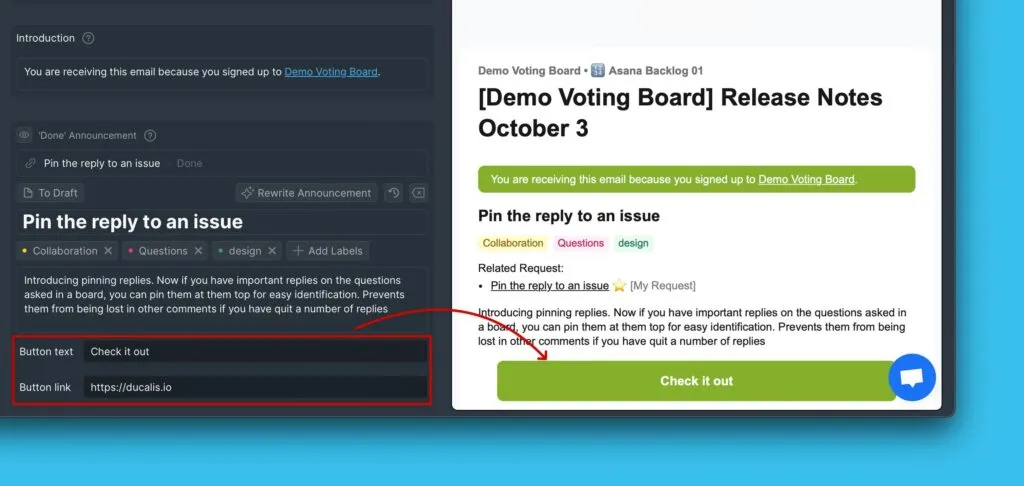
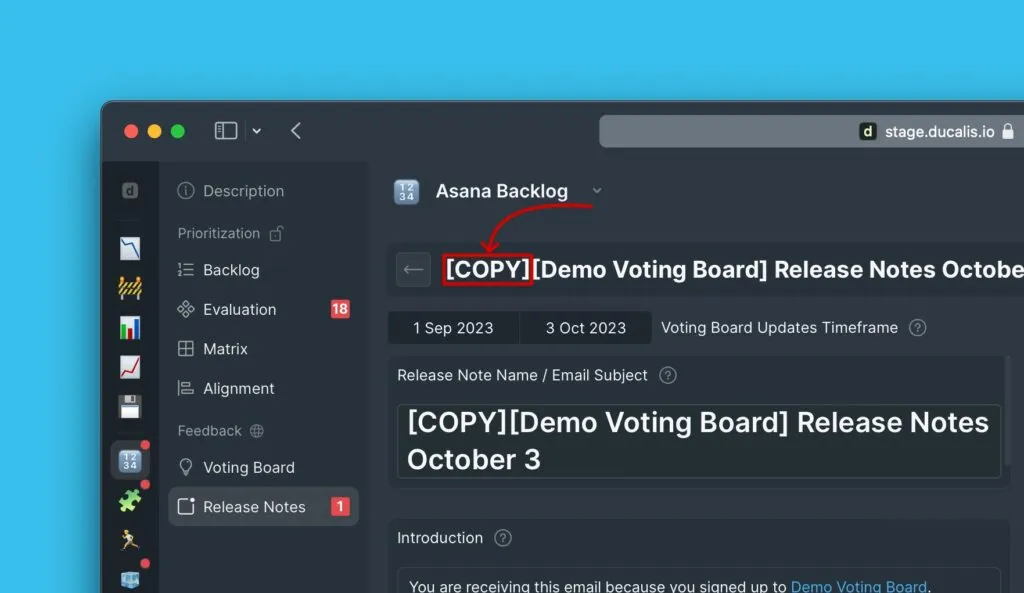
View the draft (left) and preview (right) as you compose.

You can edit an Auto Release Note draft or create one from scratch.
Configure basic settings
Set the timeframe
Choose the date range for Ideas to include in this Release Note.
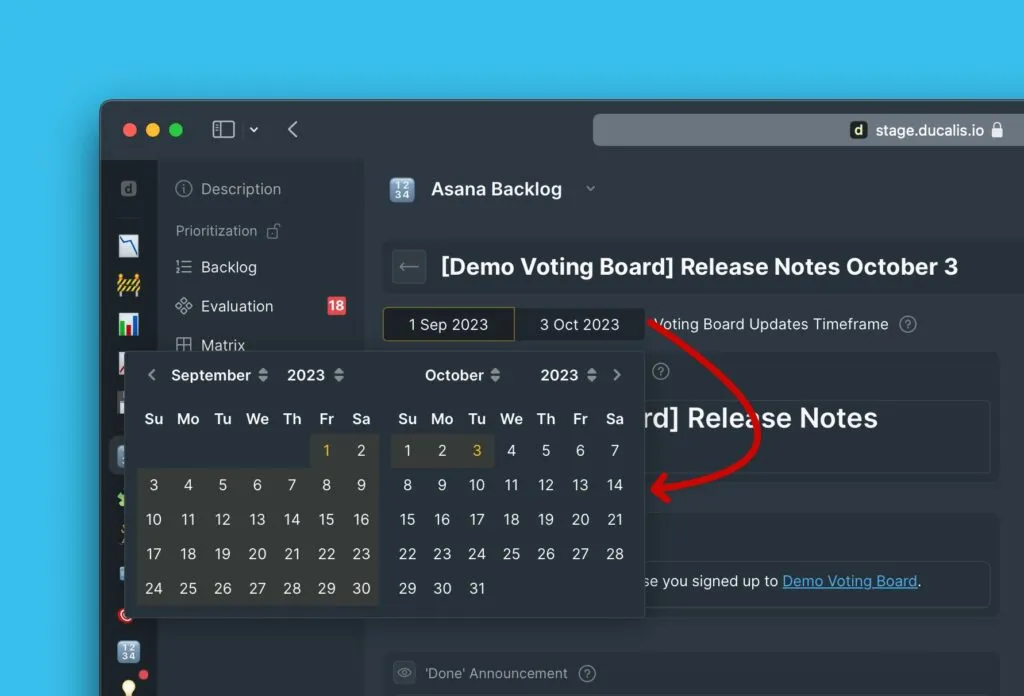
All Ideas have a date—either when they were added to the Voting Board or when they moved to a particular status. The date range filters Ideas based on these dates.
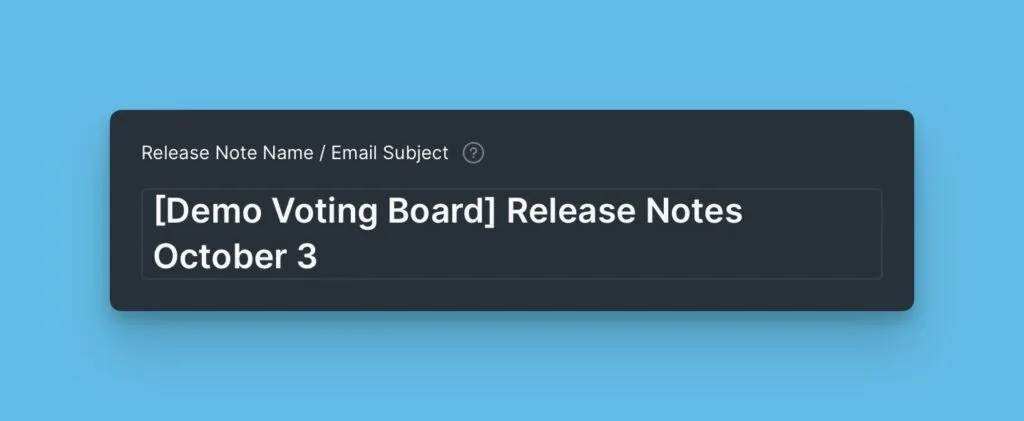
Add email subject
Write a clear subject line that tells subscribers what this update contains.
Write introduction
Explain why subscribers are receiving this email. Many customers receive numerous emails daily—make the purpose clear immediately.
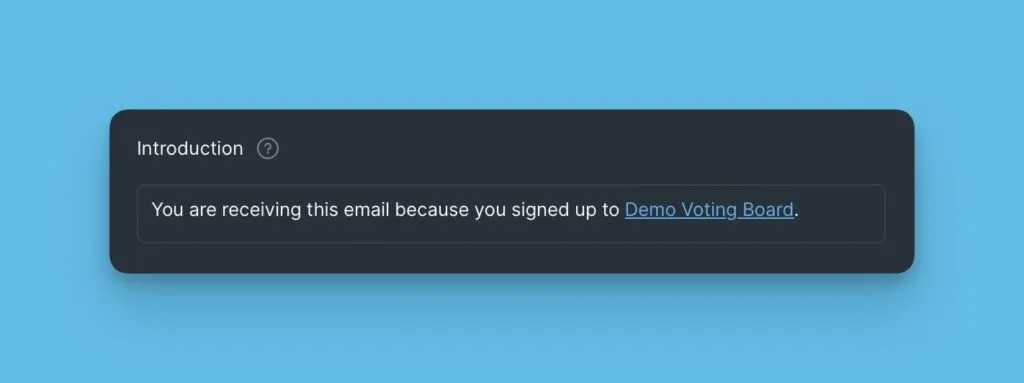
If you leave the Introduction block empty, the email won't include one.
The Email Subject and Introduction blocks are required. Fill them to ensure subscribers understand the update.
Add content blocks
The following blocks are optional—include only what's relevant for this announcement:
- Main Feature – Highlight major new features
- Simple Text – Add general product updates
- Call To Action – Prompt specific user actions
- Voting Board Statuses – Show Ideas by status
Main Feature block
Showcase your most important new features.
Add the block
-
Hover over the bottom of any existing block.
-
Select Main Feature from the block menu.
-
Choose the Idea from your Voting Board.
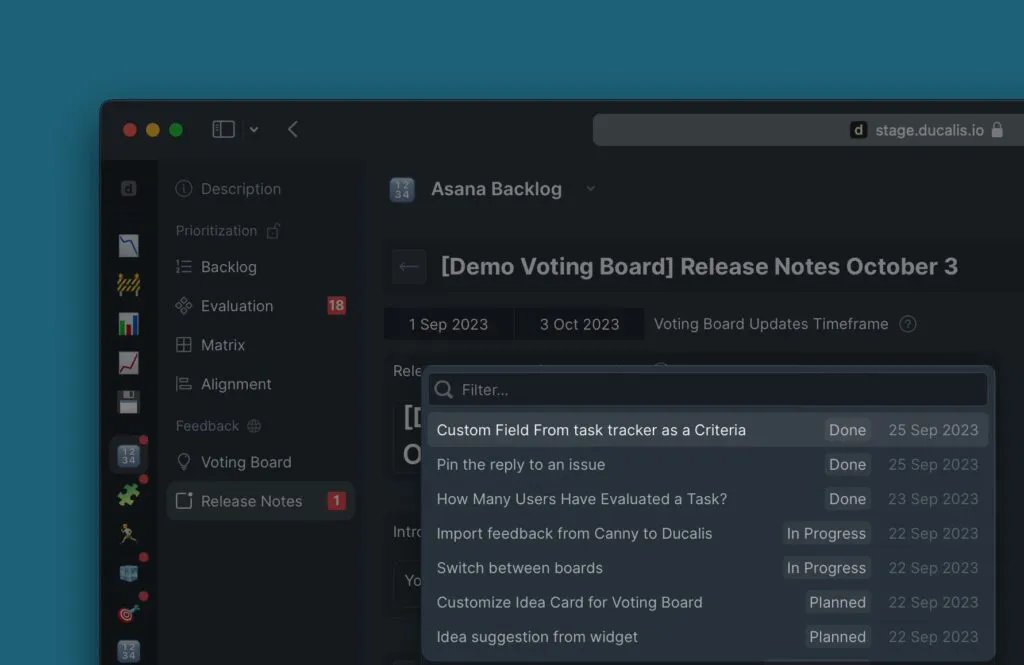
The block displays the public Idea and the announcement you wrote or generated with Ducalis AI.
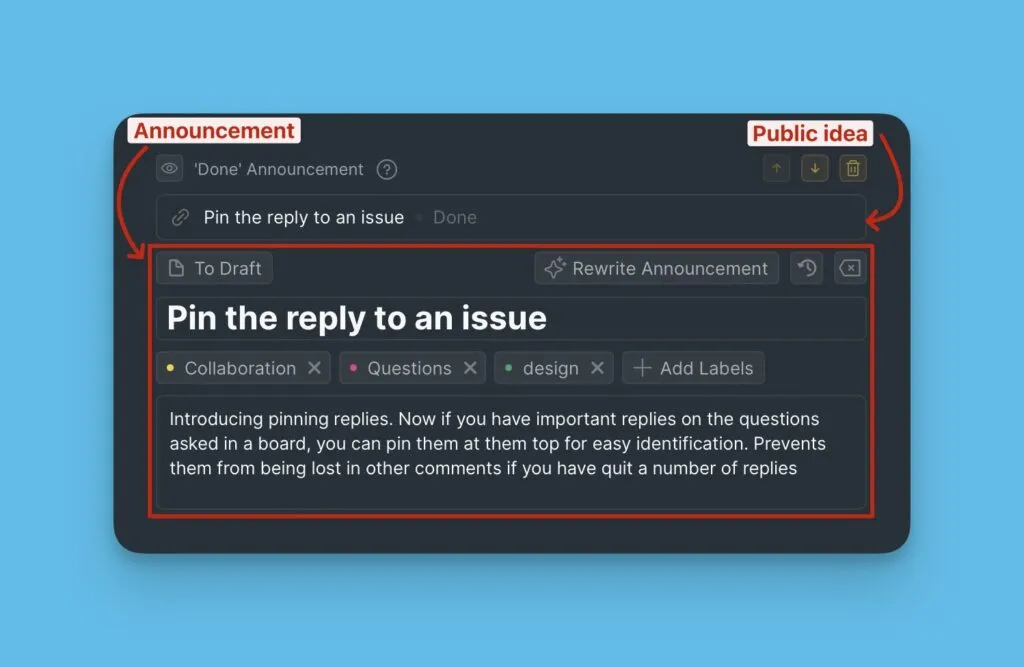
Edit announcement
If you already wrote the announcement manually or generated it with AI, it will be imported automatically.
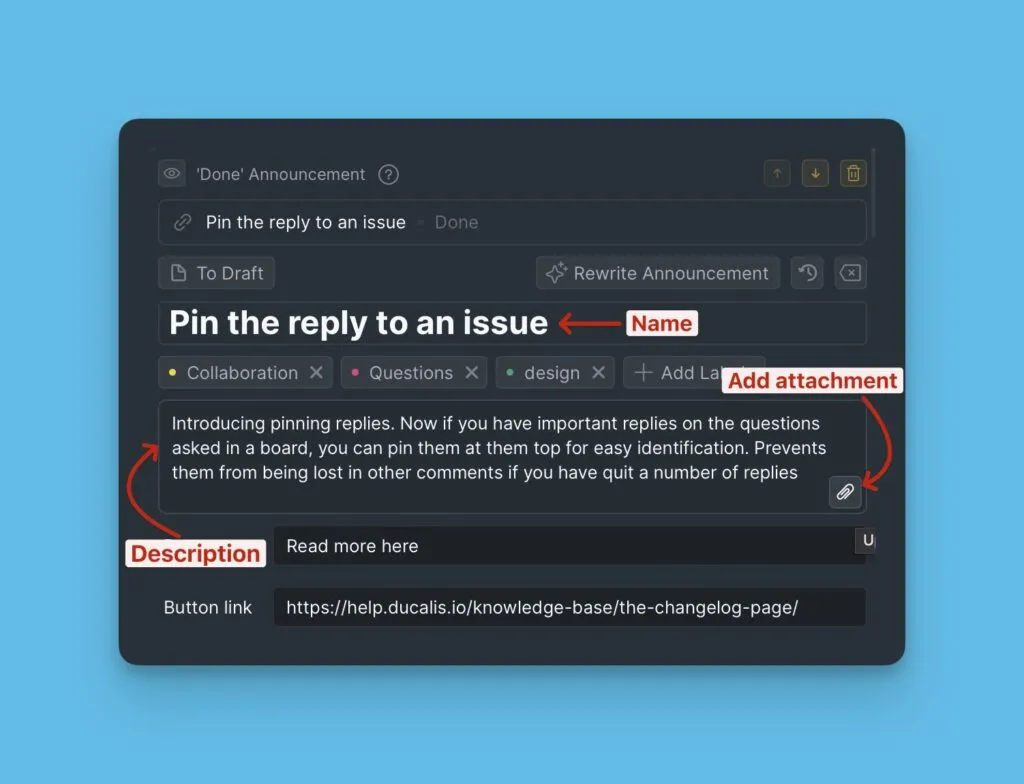
Edit the name, description, and add attachments as needed.
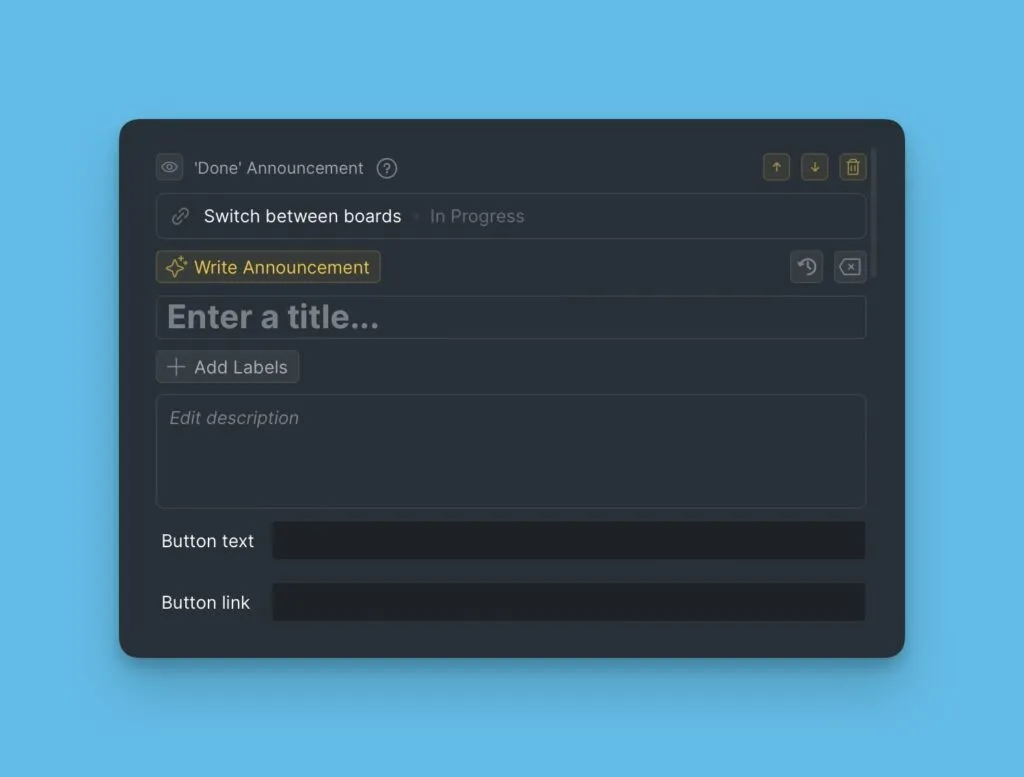
Create announcement
If the announcement doesn't exist yet, all fields will be empty.
Click Write Announcement.
Add labels
Categorize features with labels. Customers can filter by labels on the Changelog page.
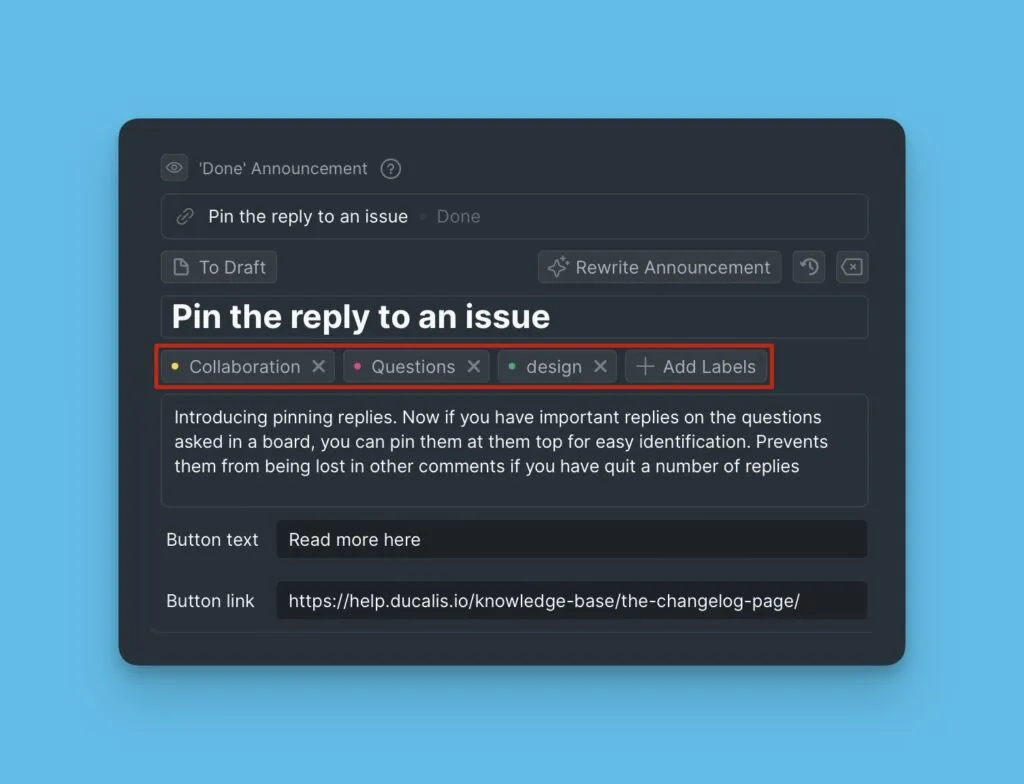
Add CTA button
Link directly to the new feature so users can try it immediately.
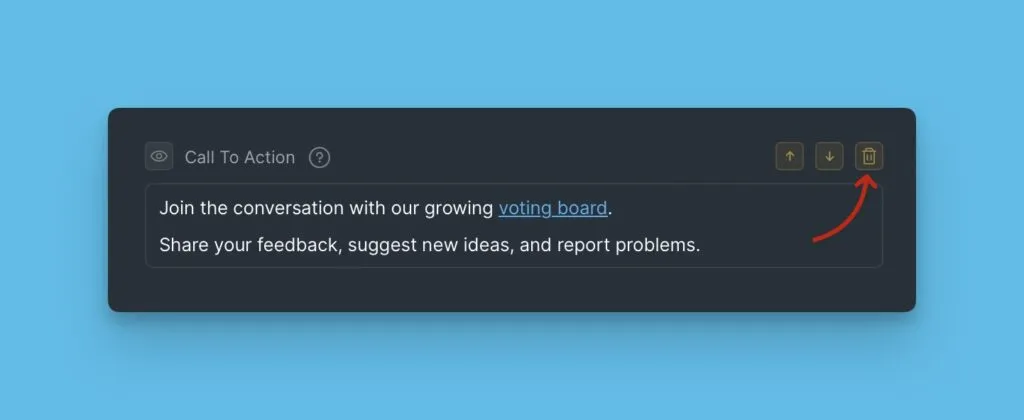
Call To Action block
Prompt subscribers to take specific actions—sign up for webinars, visit your Voting Board, or explore new features.

This is separate from the CTA button under announcements, giving you flexibility to add multiple calls to action.
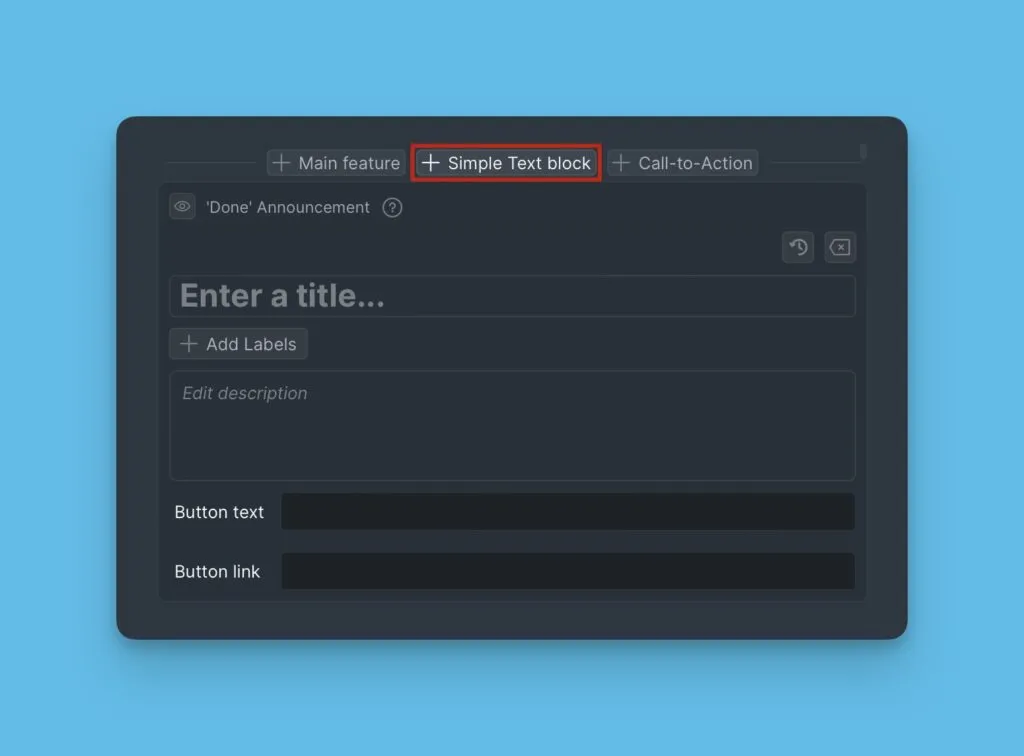
Simple Text block
Include general product updates that don't fit other block types.
Voting Board Statuses blocks
Update subscribers on Voting Board activity by status.
Choose Ideas to include
For most status blocks, select either:
- Ideas moved to this status during the date range – Shows recent changes
- All Ideas currently in this status – Shows complete status view
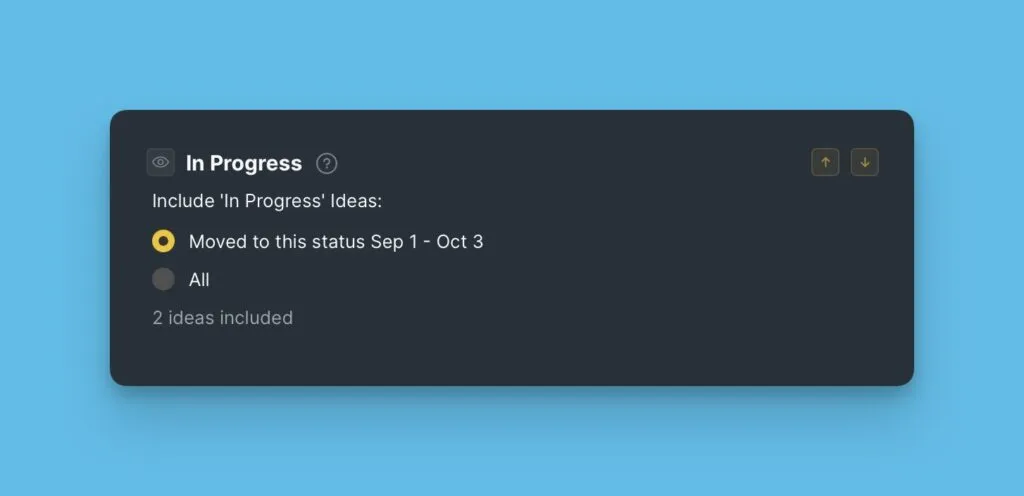
This option isn't available for Done and Most Upvoted blocks.
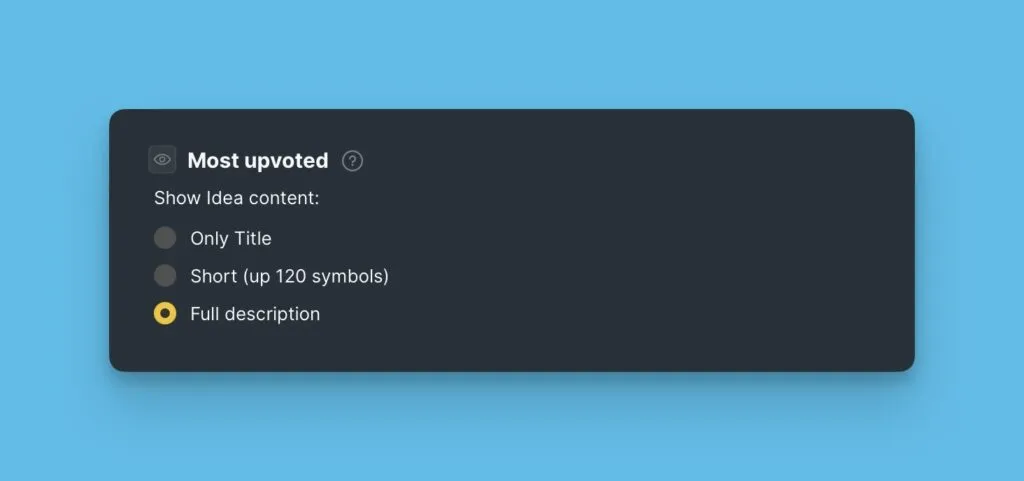
Customize Idea display
Control how much detail to show for each Idea:
Title only:
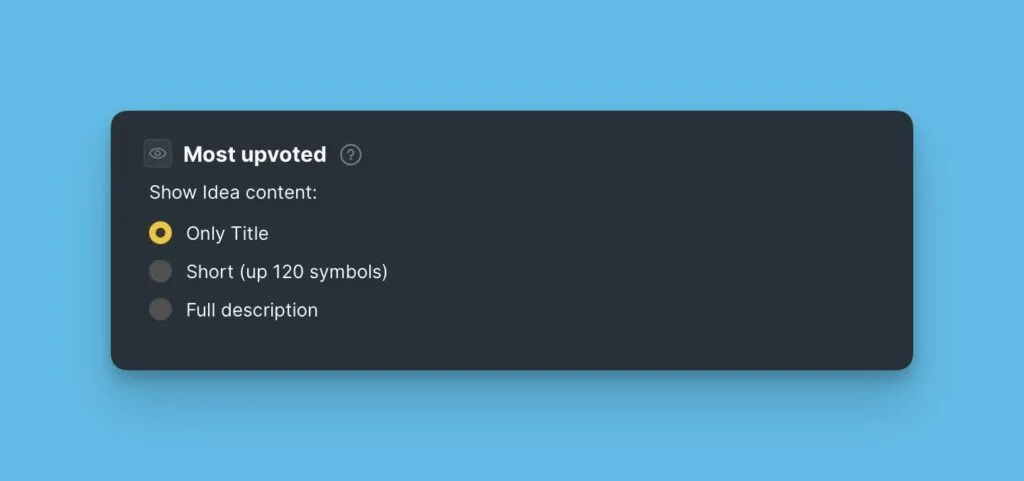
Short description:
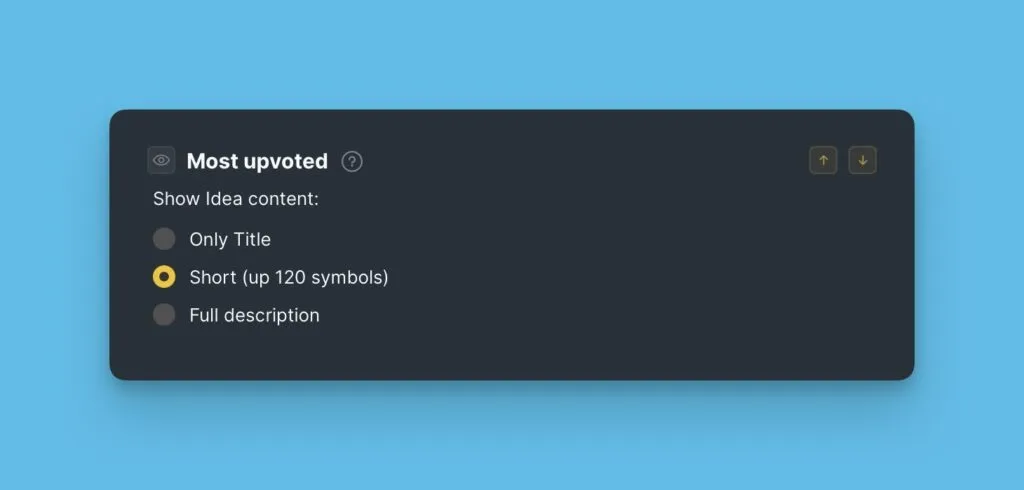
Full description:
Learn more about Voting Board statuses.
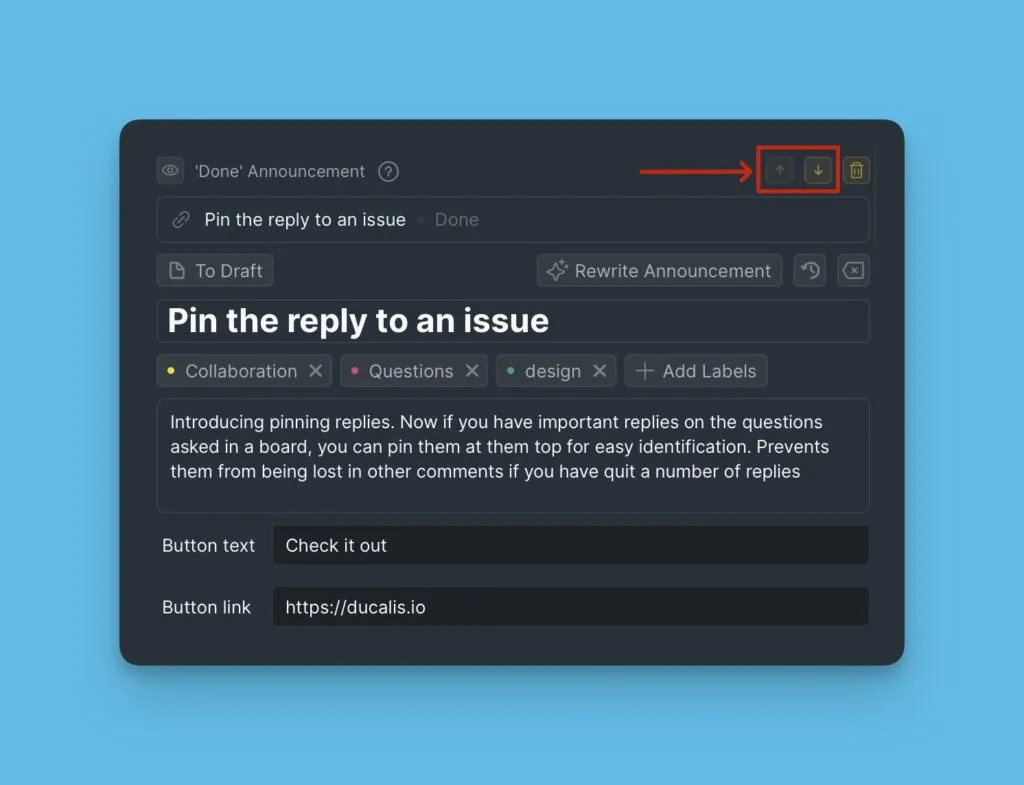
Arrange and manage blocks
Rearrange blocks
Drag blocks to reorder them. The Email Subject and Introduction blocks stay fixed at the top.
Delete blocks
Remove Main Feature, Simple Text, and CTA blocks when not needed.
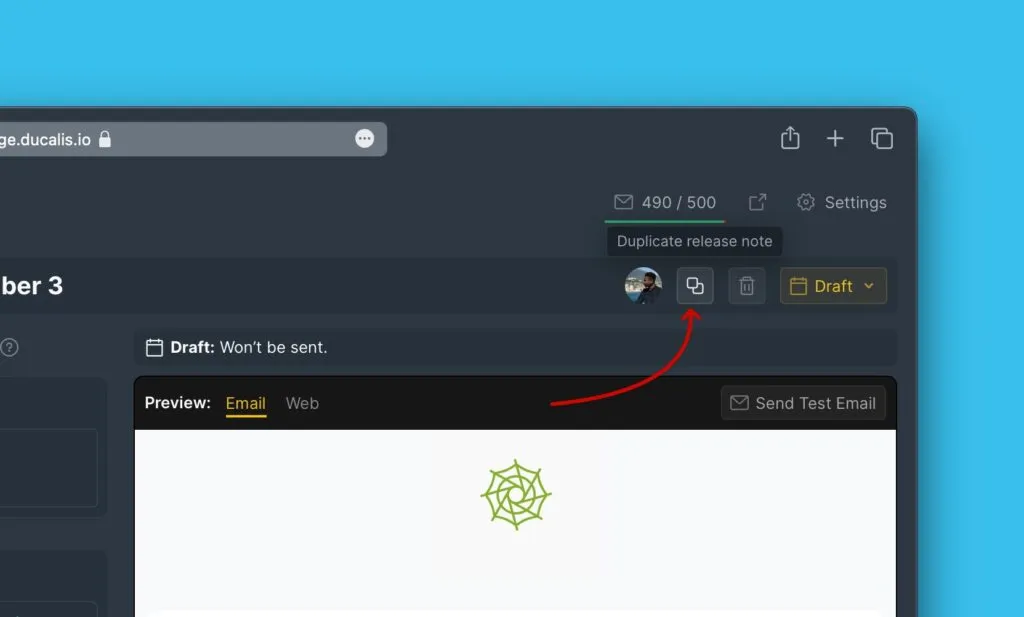
Duplicate Release Notes
Save time by duplicating previous announcements that have the structure and settings you want to reuse.
-
Click the duplication icon.
-
Edit the duplicated Release Note with new content.
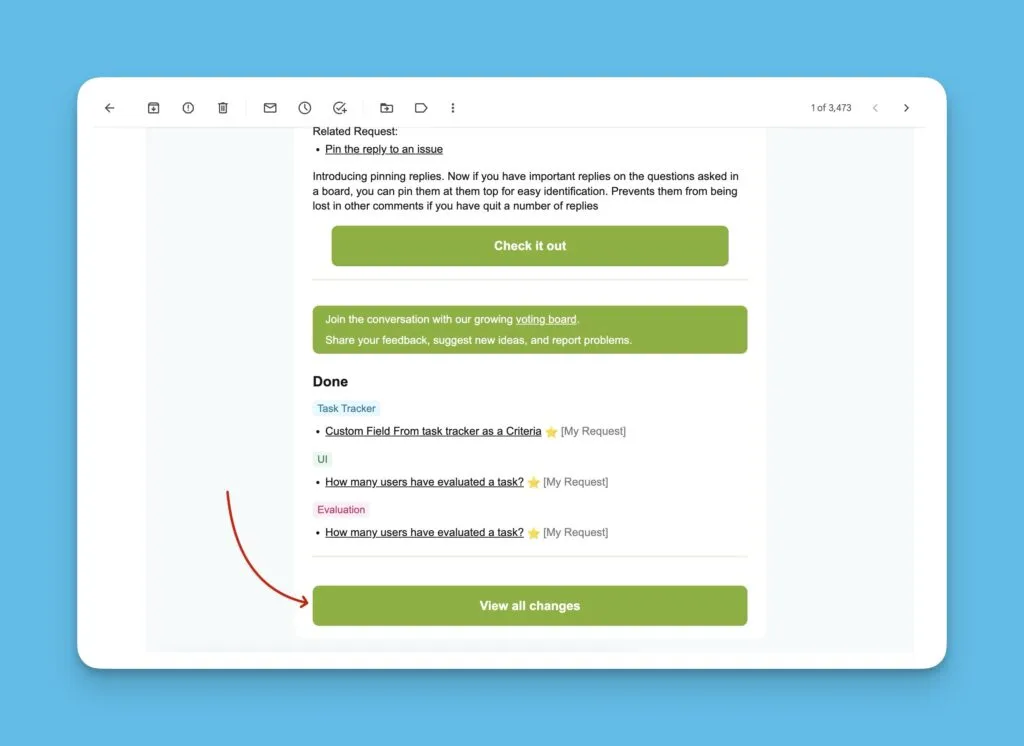
Changelog page link
Every Release Note email includes a button linking to your Changelog page, where subscribers can view all past announcements.
What's next
Schedule your Release Note for delivery to subscribers.