Announcements can be created manually or with the assistance of the Ducalis AI. You have the option to take control of how and when announcements are created, or you can automate the process.
Create Announcements Manually
When a feature is about to be rolled out, admins have to write the announcements that will be posted on the changelog page.
- Inside the priority board, head over to the Voting board page.
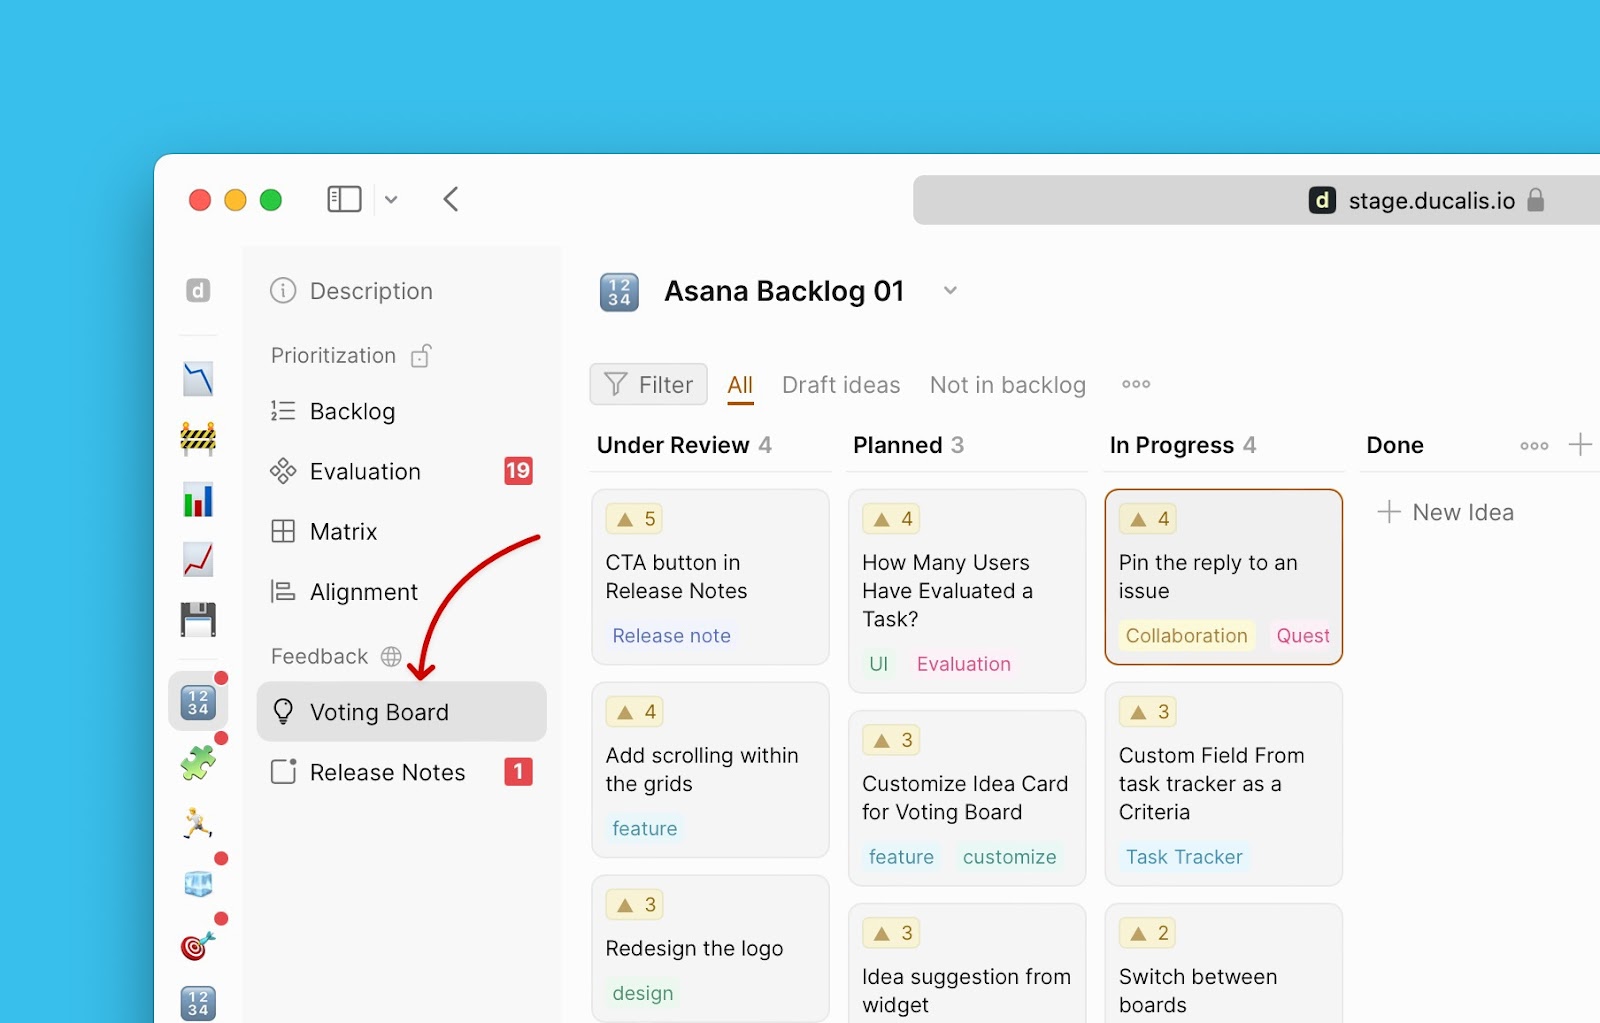
- Open the card of the idea you want to create an announcement for.
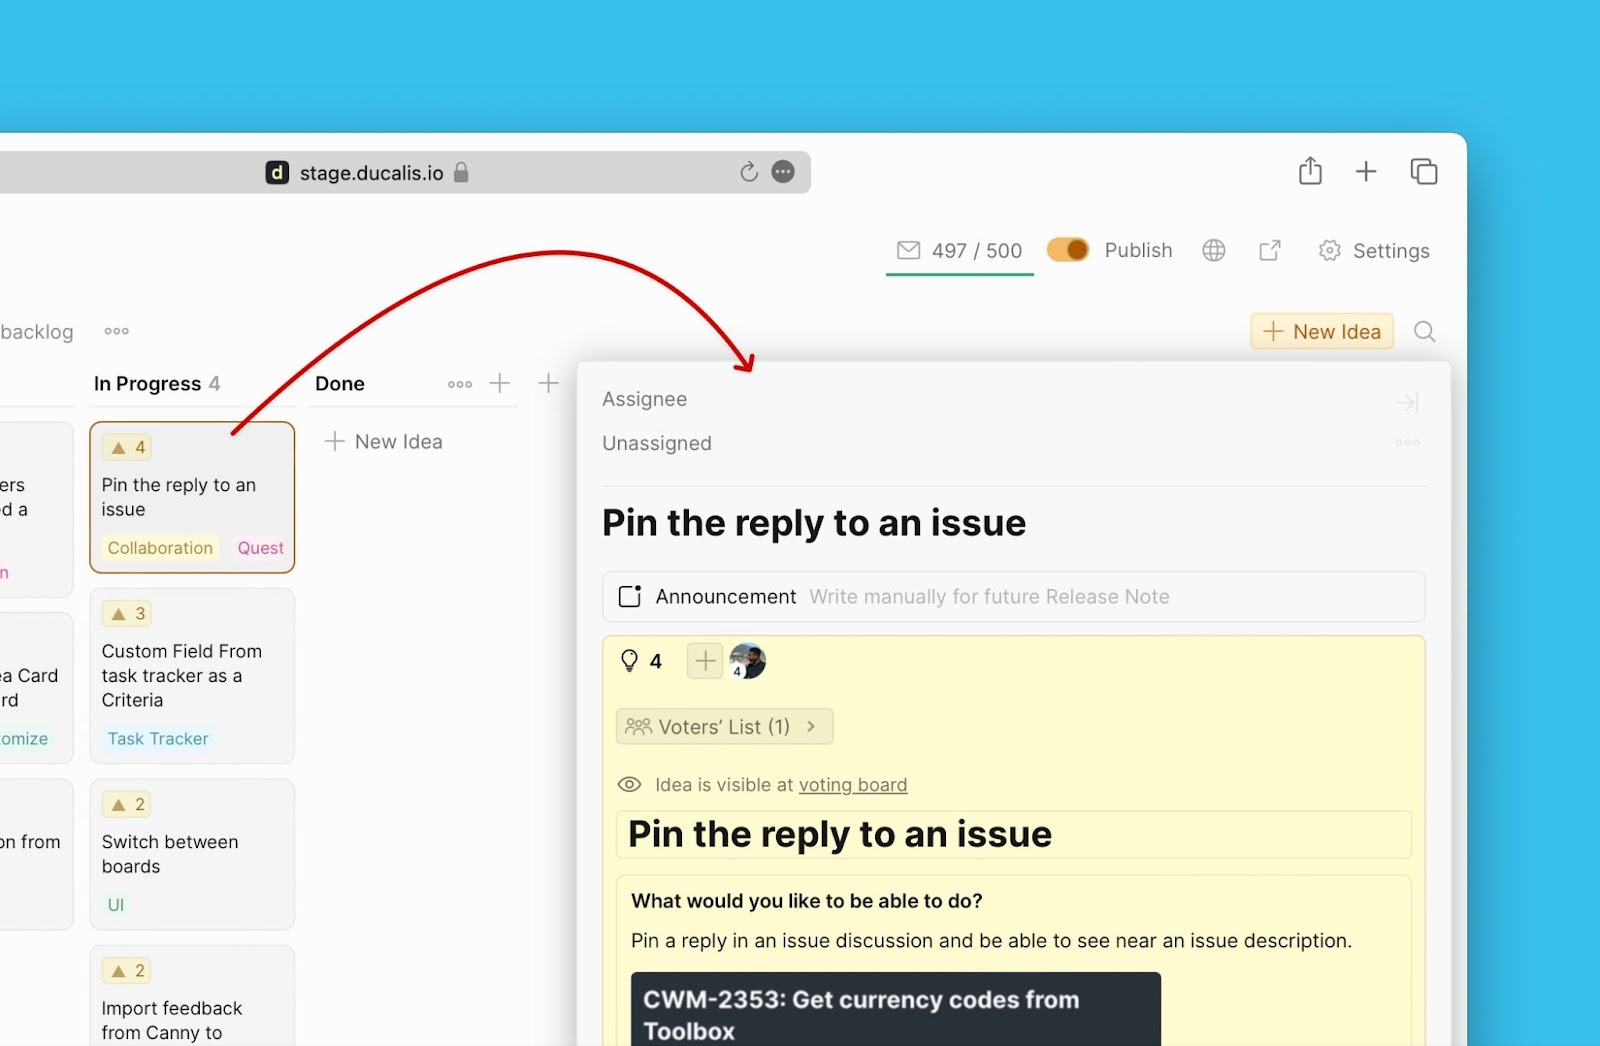
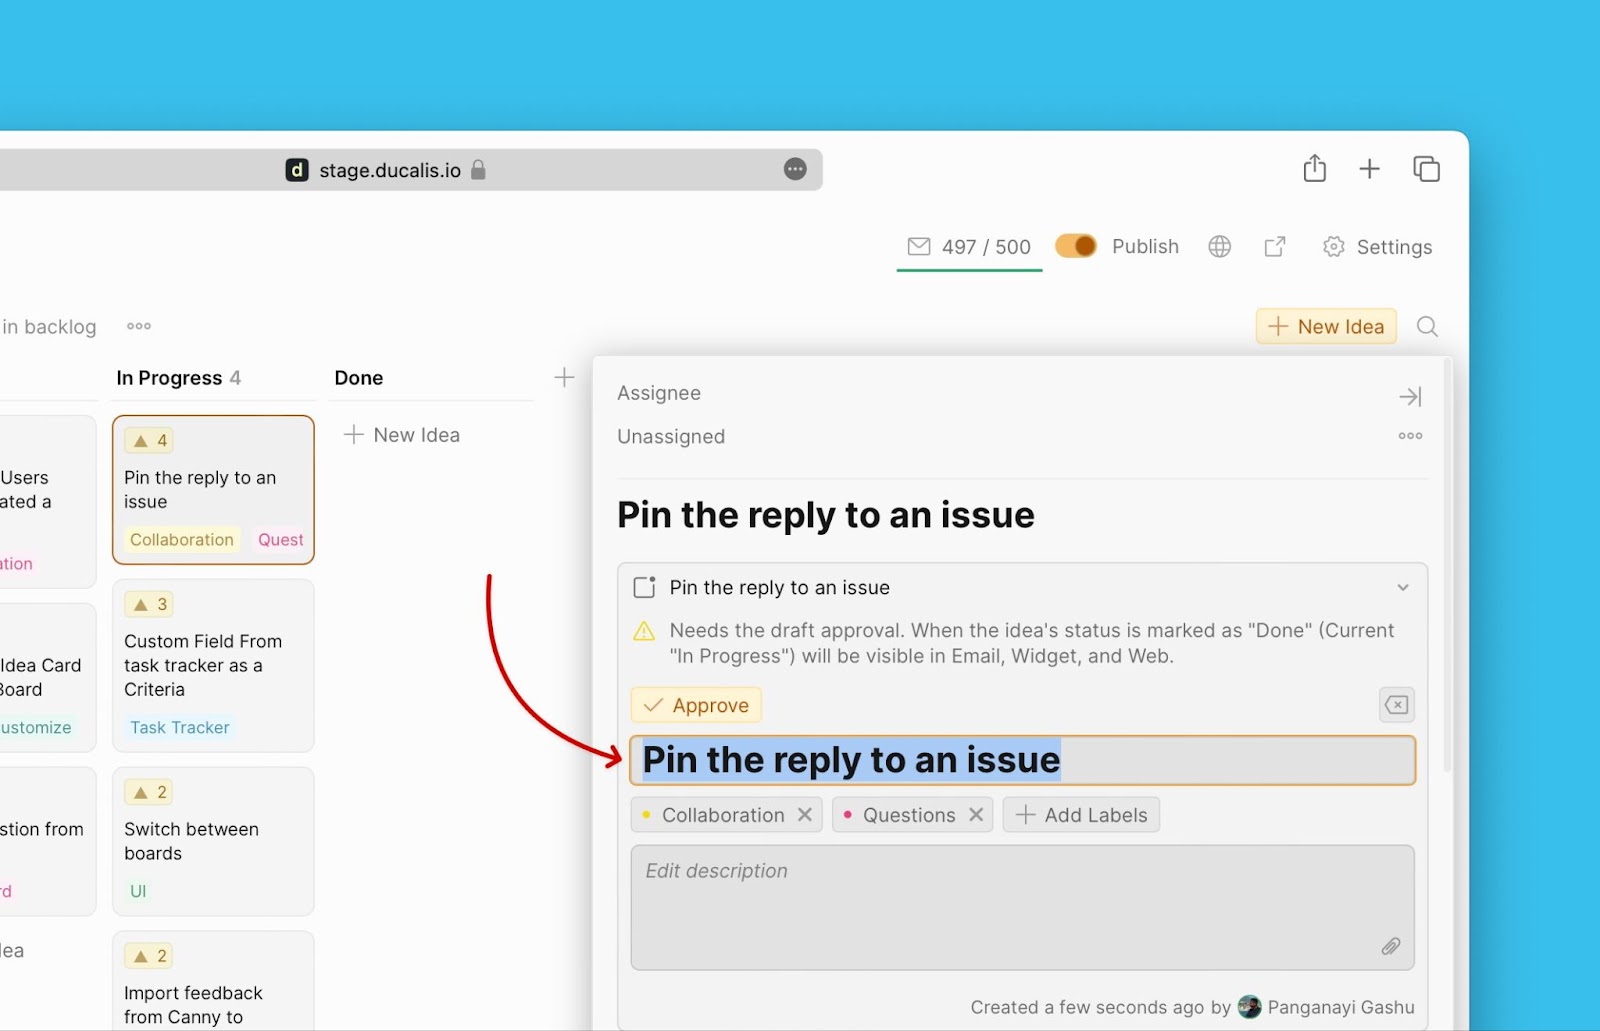
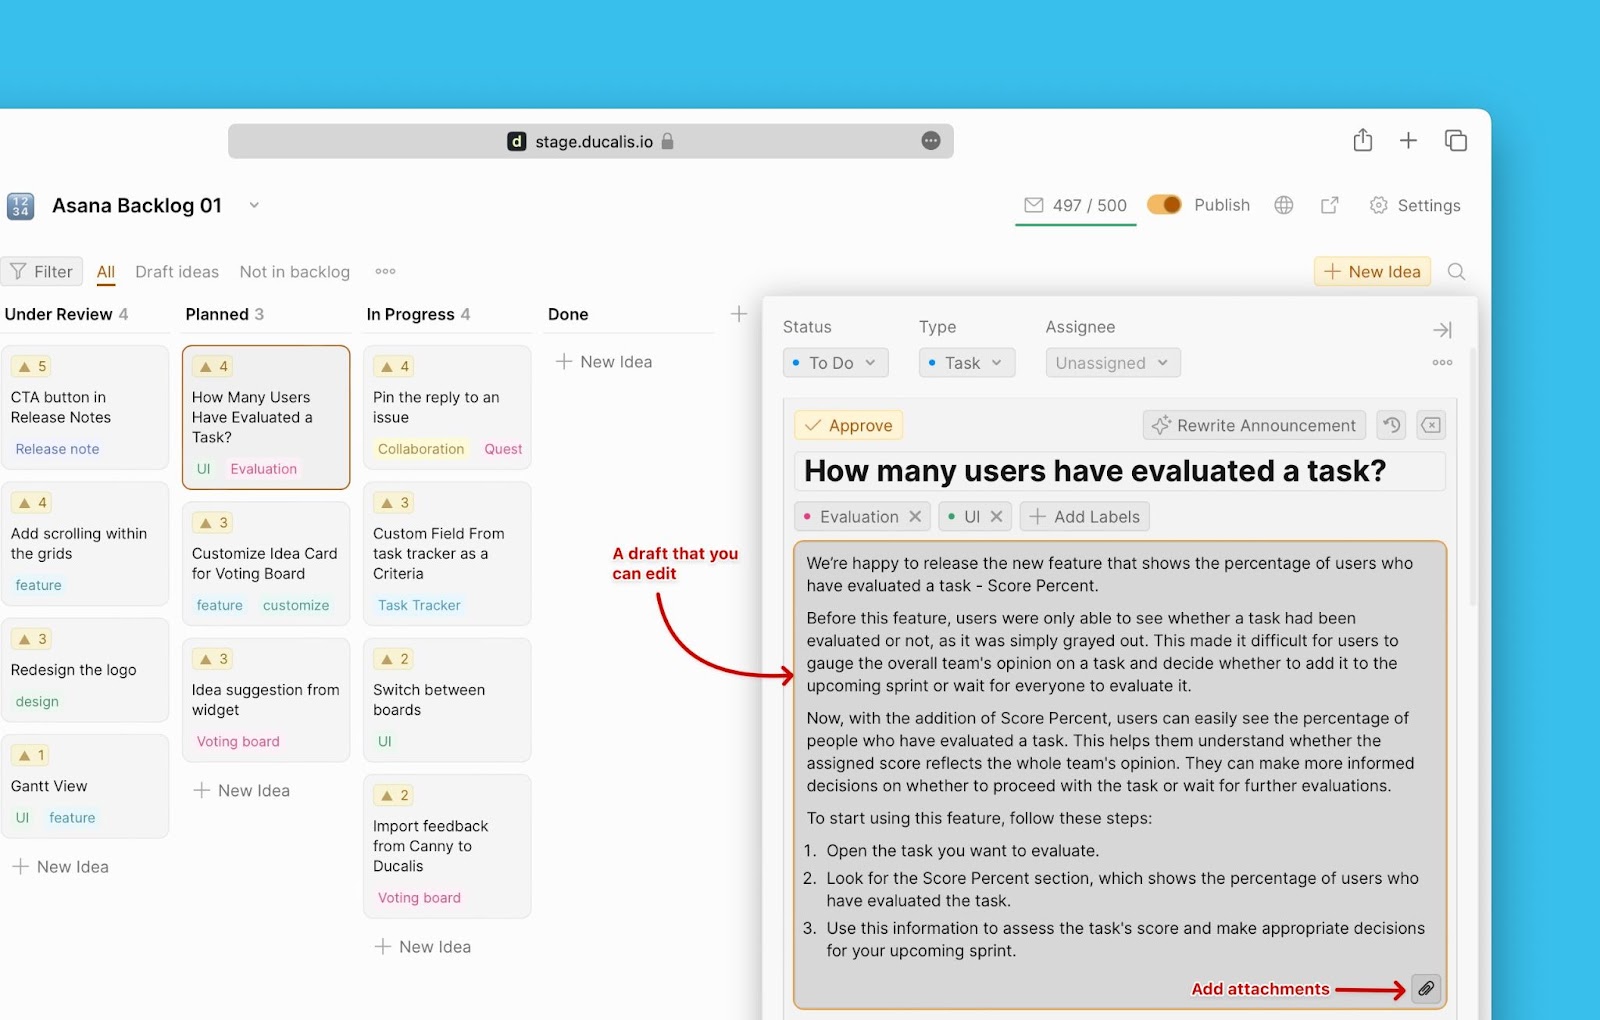
- On the card, click the announcement block to start creating an announcement.
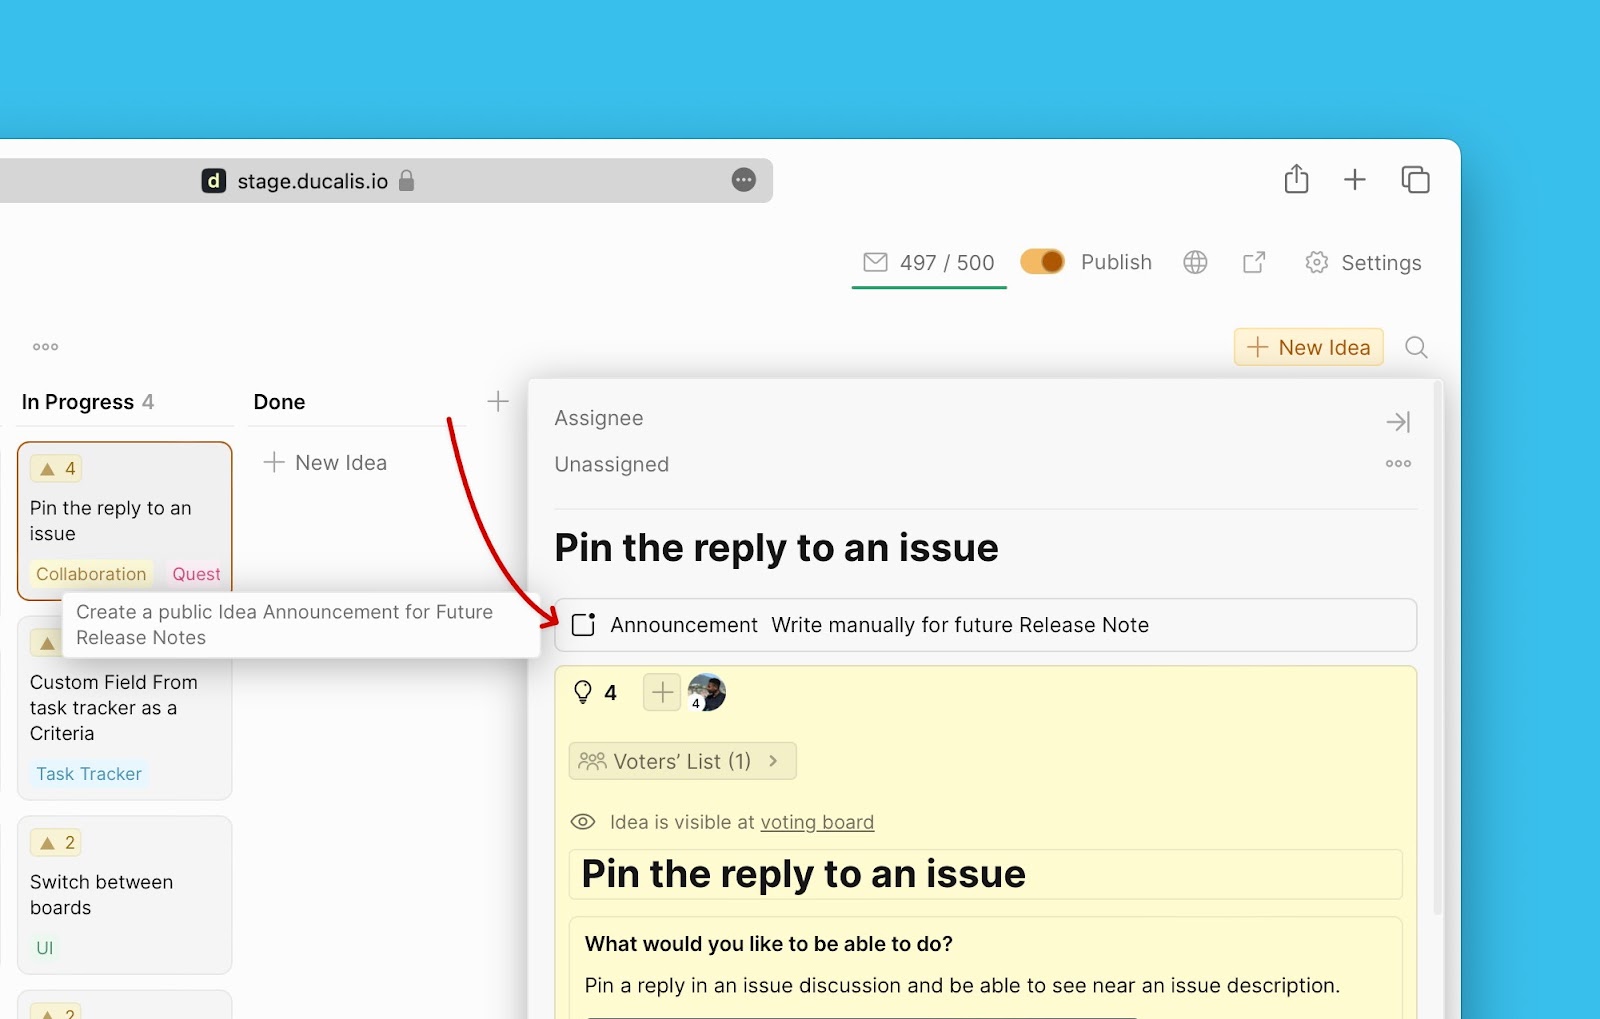
- If you need to edit the name of the announcement, you can start with that.
- Write the description. It should be understandable and highlight the value it is adding to your users’ experience.

- Add labels that can be used as filters by users to find the announcement on the changelog page.
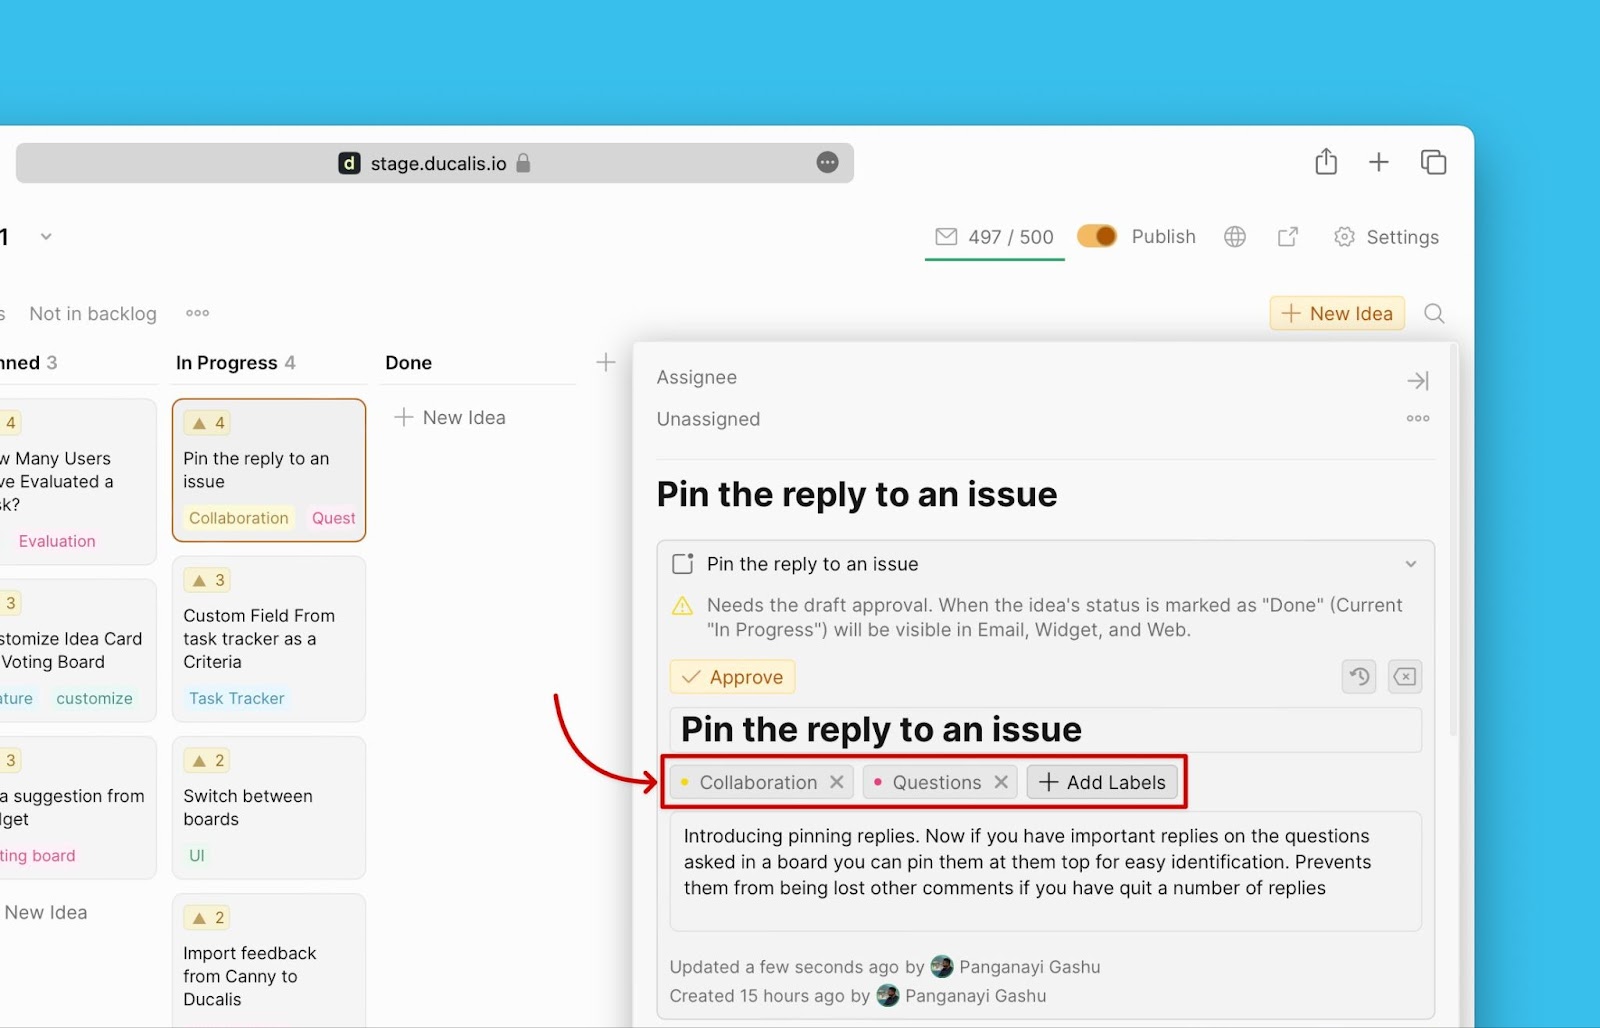
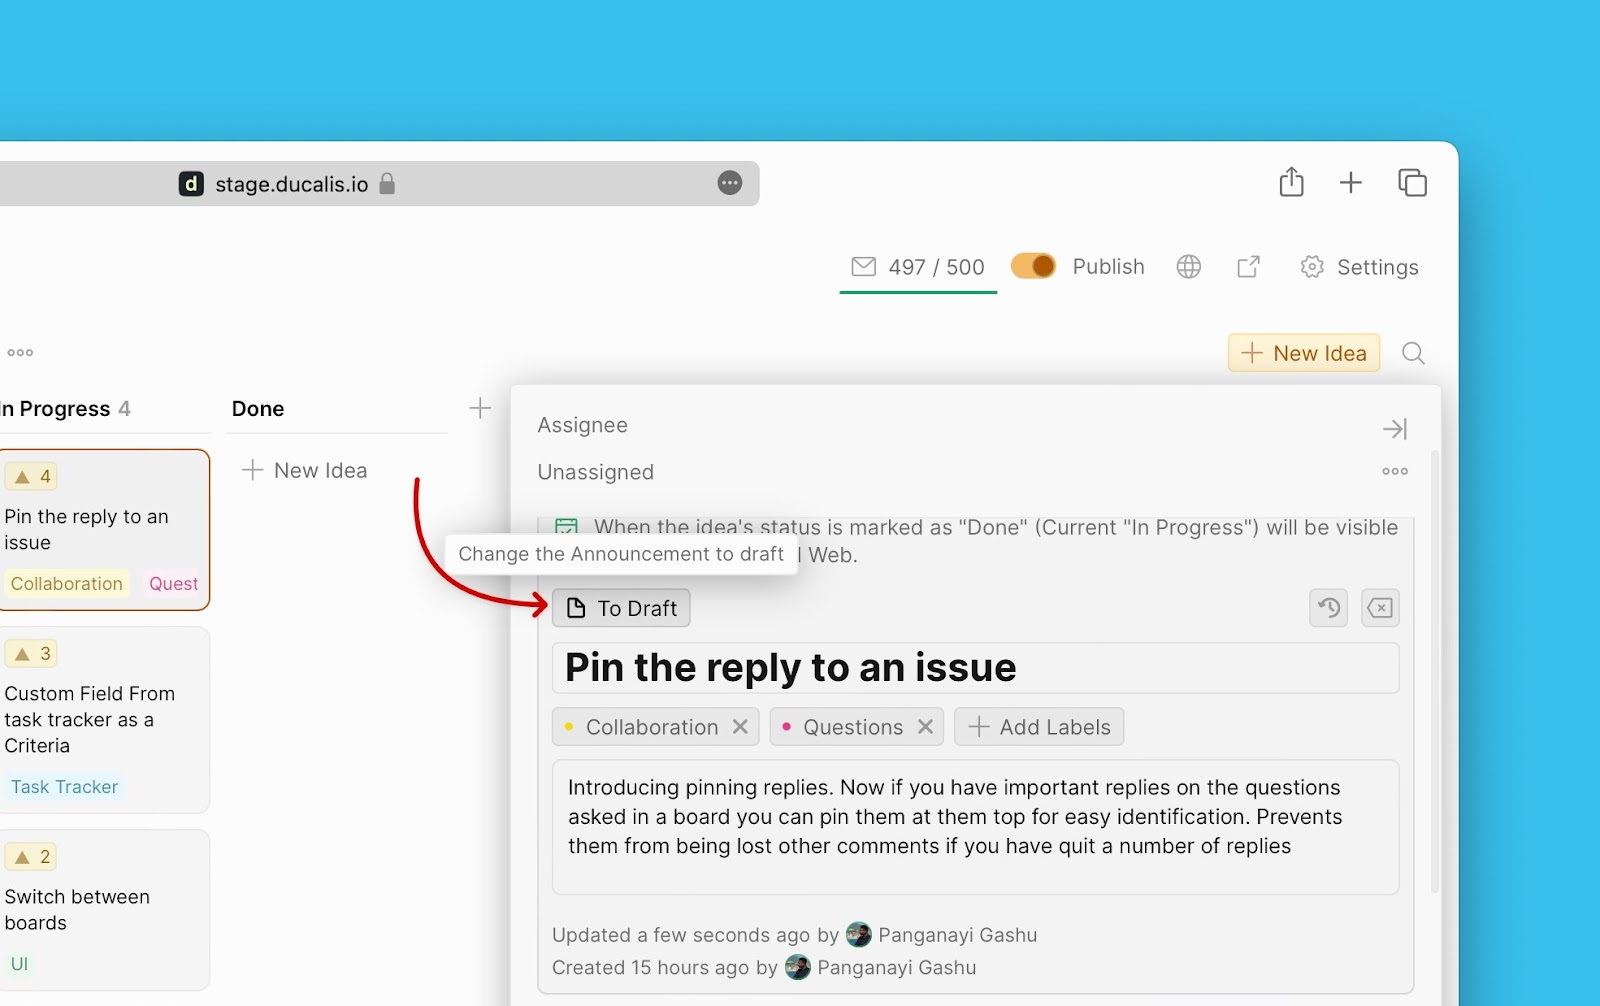
- Initially, the announcement is saved as a draft, and for it to be published when you move the idea to Done, you have to approve it.

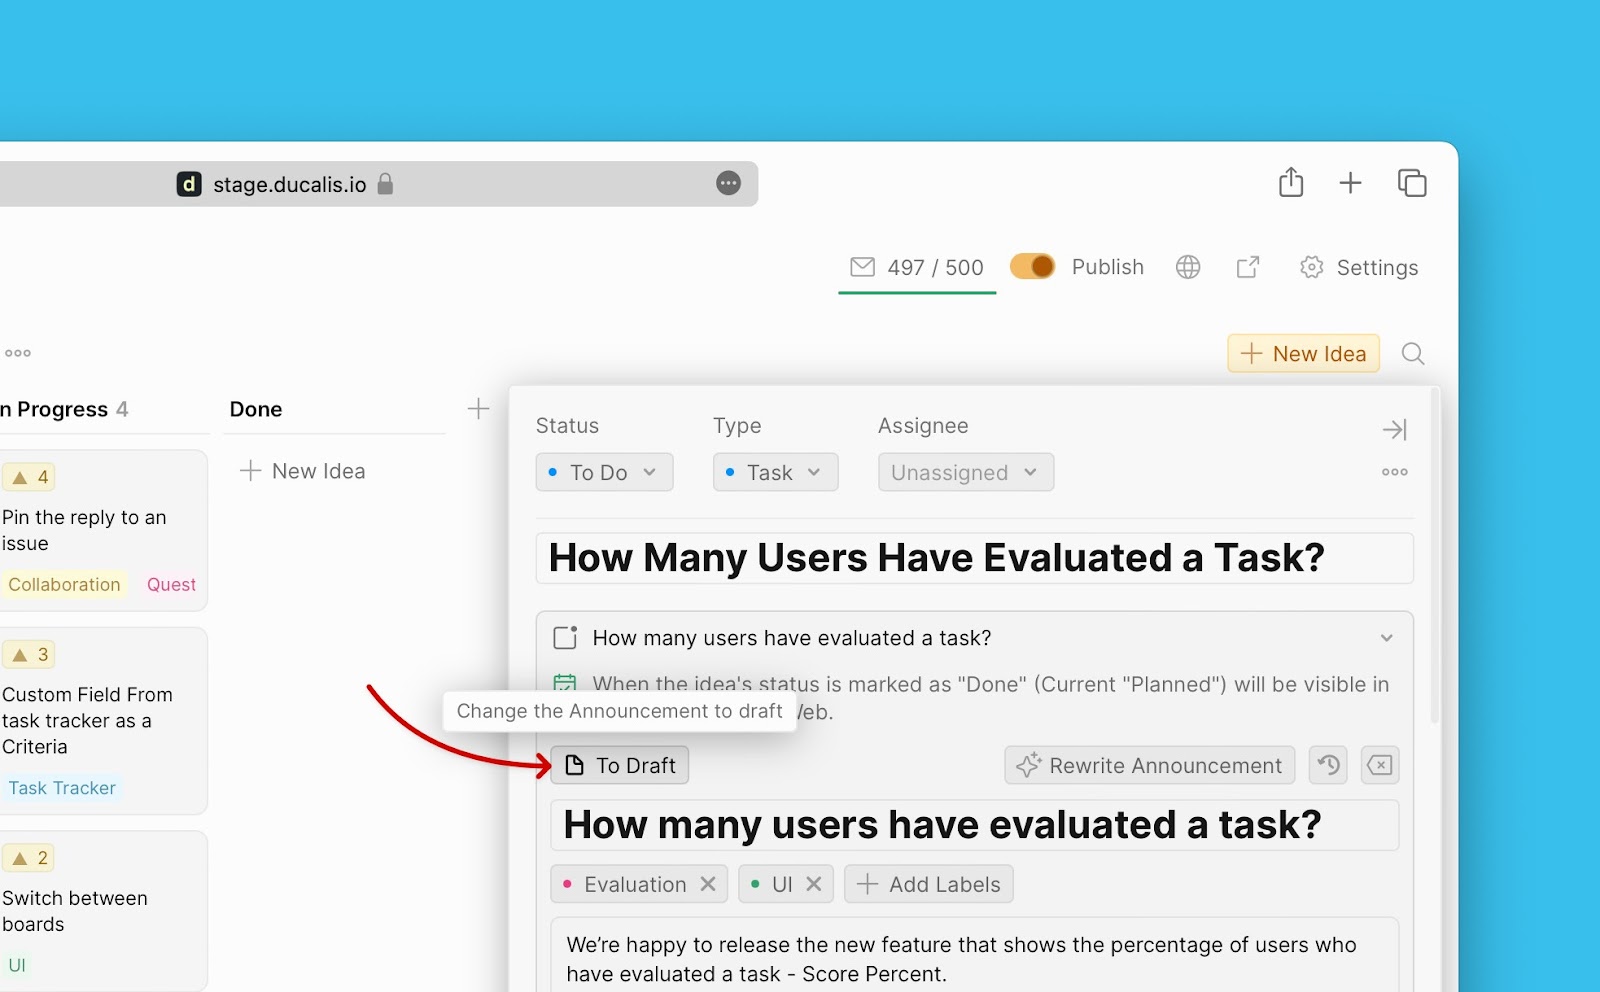
- You can still move it back to draft when you want to make any changes.
Create Announcements Using Ducalis AI
Instead of the admins creating the announcements themselves, you can use the Ducalis AI. The AI will write the announcements for the features that you will be releasing. You still have the chance to go through the announcements before they are published on the changelog page.
Turn on the AI Assistant
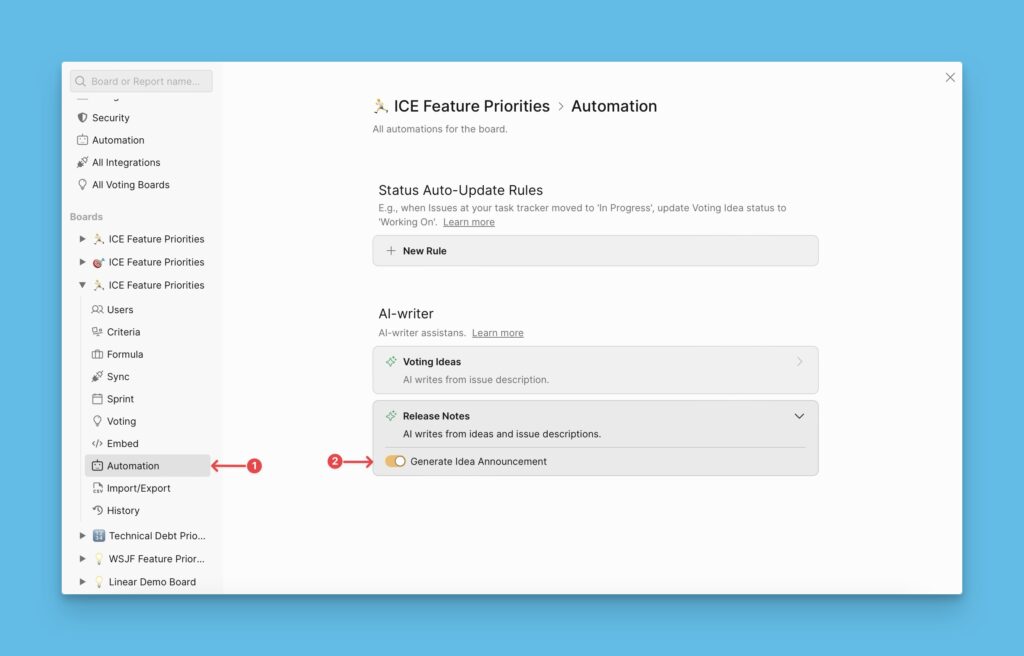
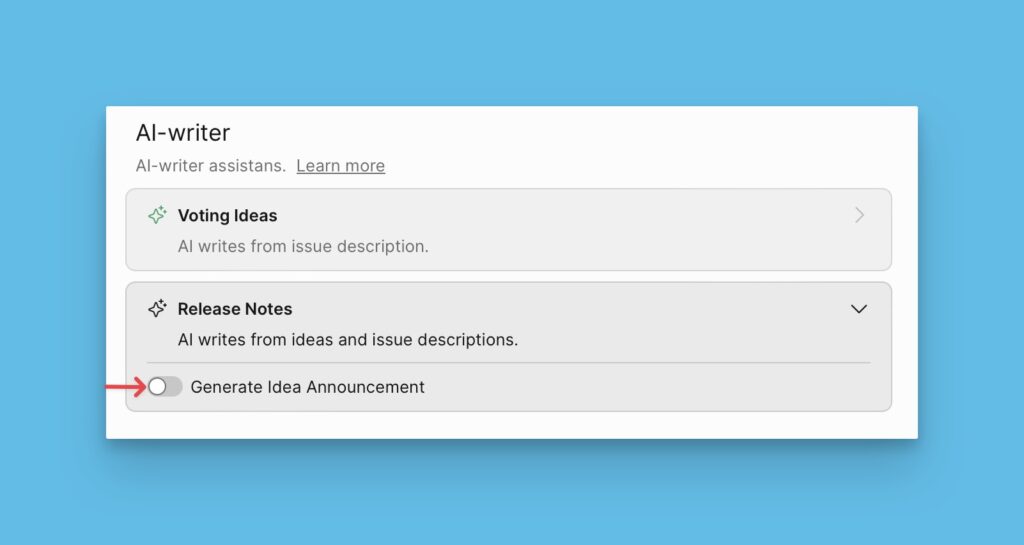
To use this feature, you need to switch it on first because it is off by default.
- Head over to the Voting board settings.
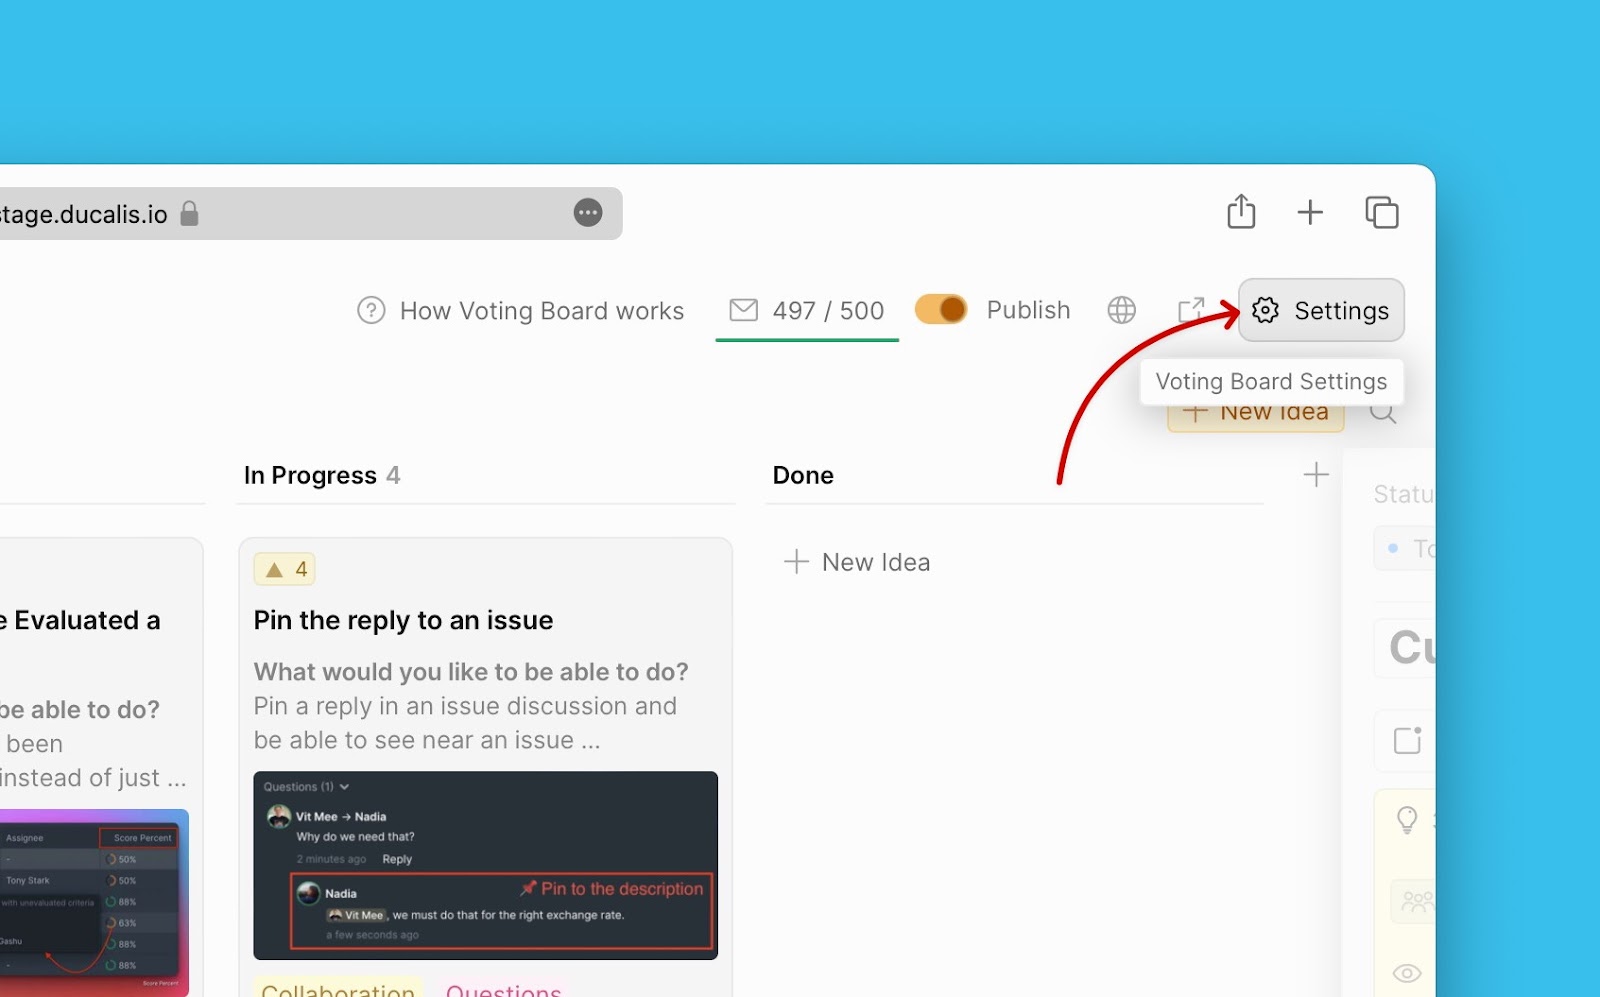
- Then go to Automation > AI-writer.
Steps to Follow to Create an Announcement using Ducalis AI
- Head over to the idea which you want to create an announcement for.
- On the card, click the announcement block.
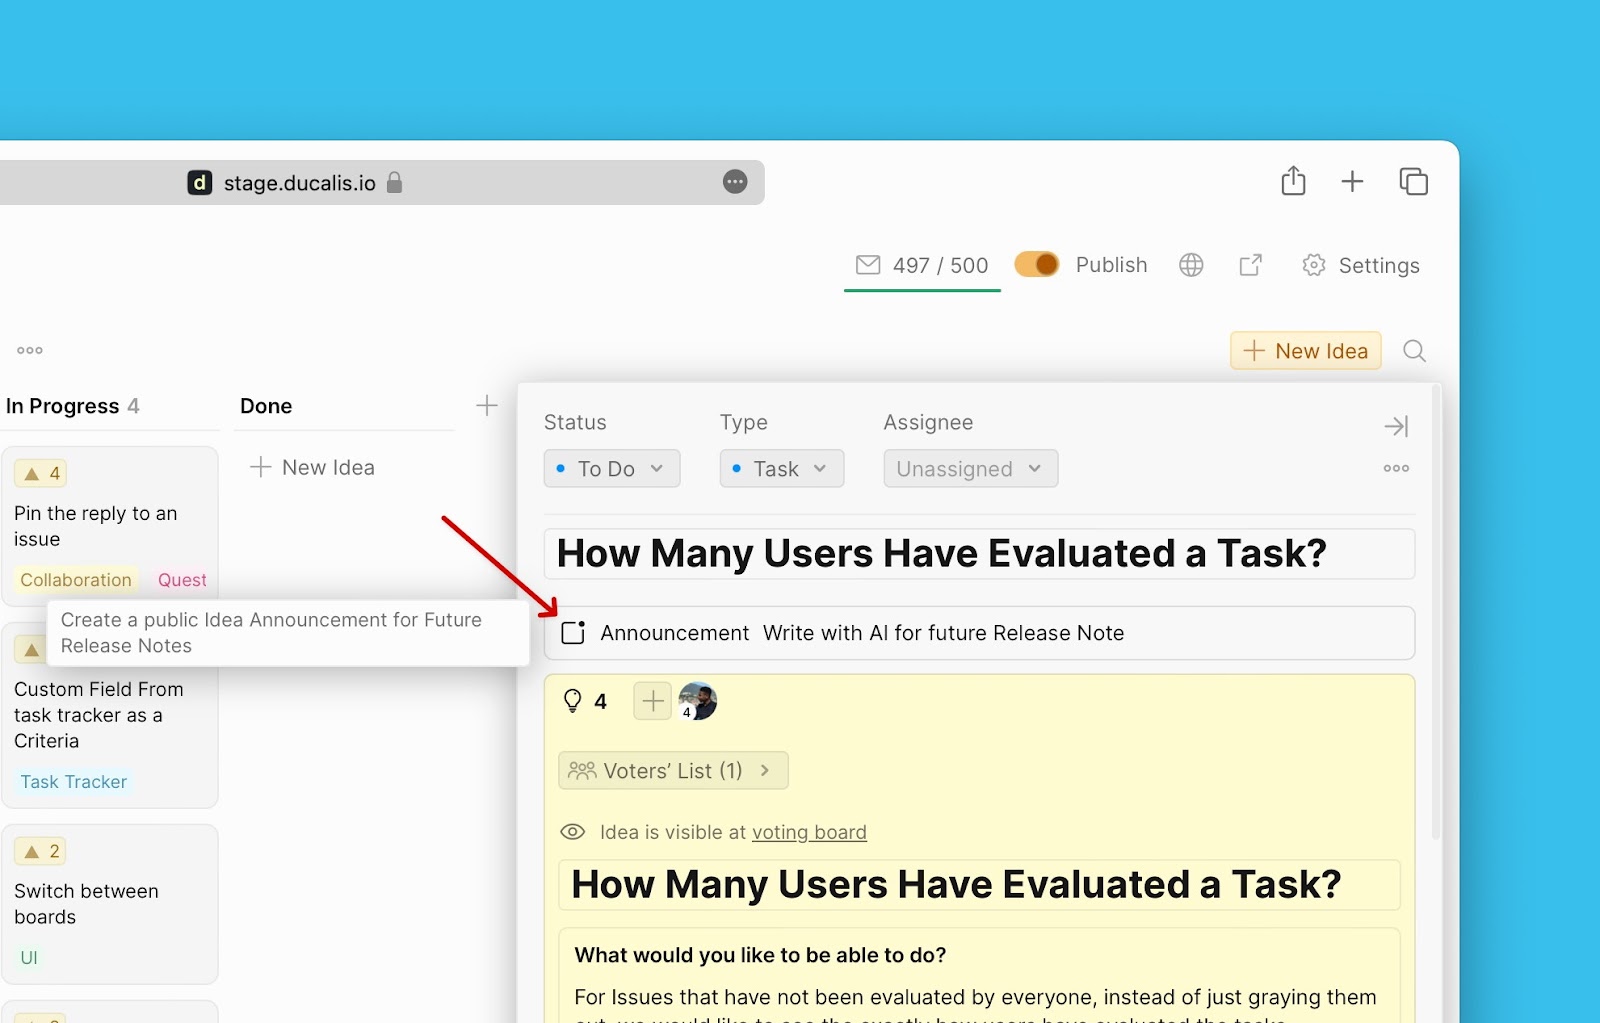
- The moment you click on the block, the AI will start to generate an announcement for the idea.
- If you like the generated announcement, you can save it. If you’re not satisfied, you can click Rewrite Announcement for the AI to write a new summary altogether.
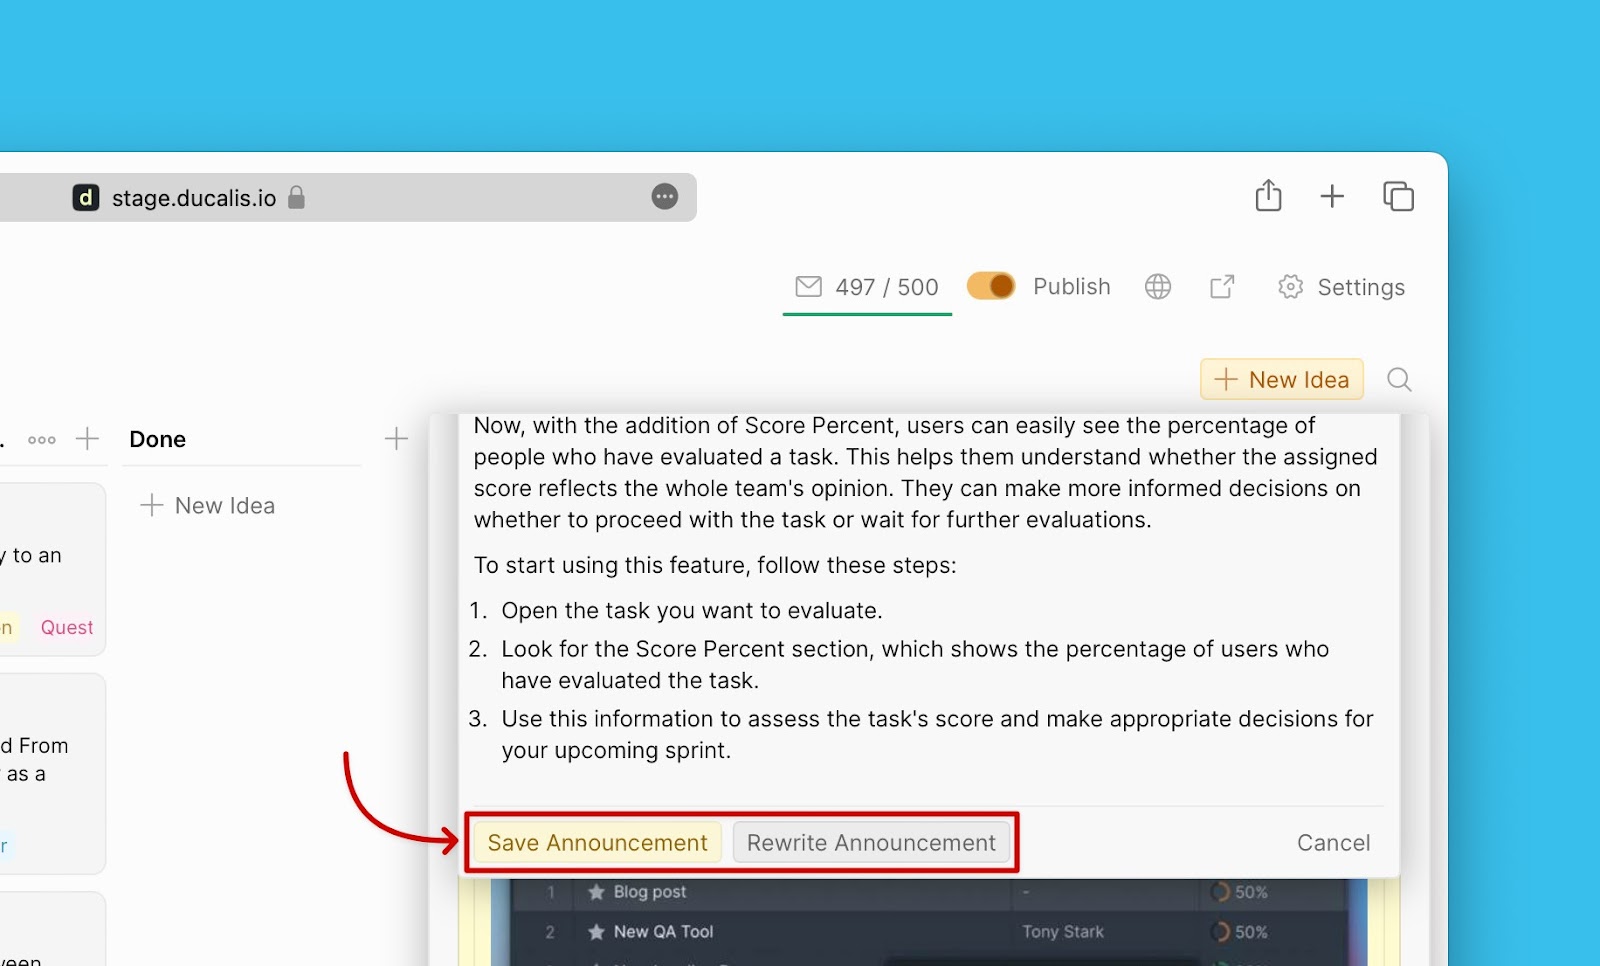
- When you click Save Announcement, it will be saved as a draft.
- You have the opportunity to go through it, and edit parts where you see require editing. You can add attachments.
- As a draft, when you move the idea to done status, i.e.you release the feature, the announcement will not be published on the changelog page.
- For the announcement to be published on the changelog page when you move the idea to Done, you need to approve it.

- You can still move the announcement back to draft when you want to make any changes to the announcement.
Automate Announcement Creation
To avoid wasting time and energy repeating this process each time that you want to create an announcement, you can automate the creation process.
When you update the status (In Progress → Done) of an internal issue:
1. the status of the public idea that is linked to that issue will also be updated.
2. once updated, the Ducalis AI will create an announcement for that public idea.
3. the announcement will be saved as a draft until you go through it and approve it for publishing.
What Should You Do To Automate the Announcement Creation Process?
Turn On Ducalis AI
Firstly, you need to switch on the Ducalis AI under the voting board settings.
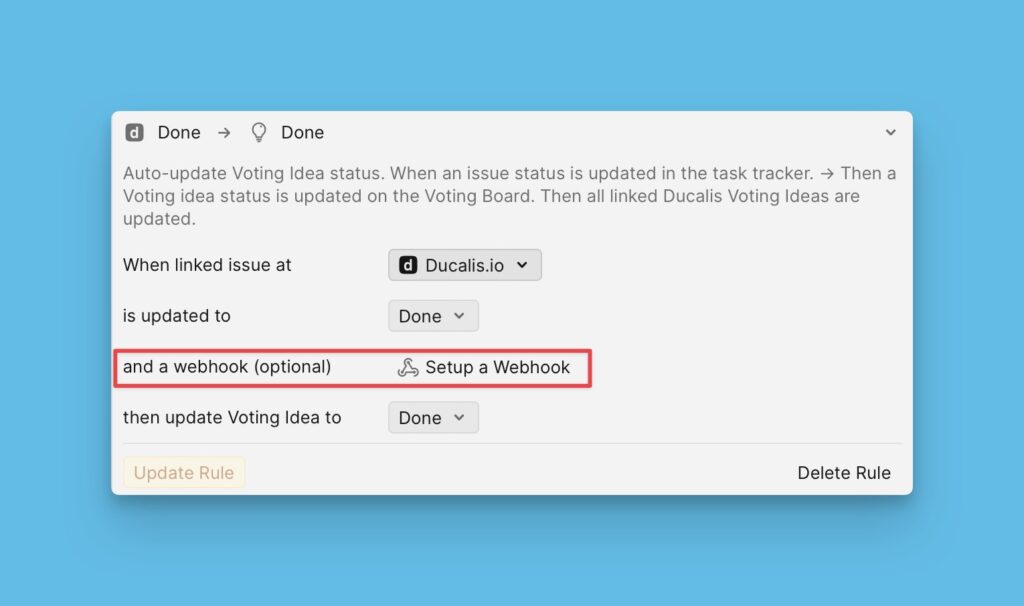
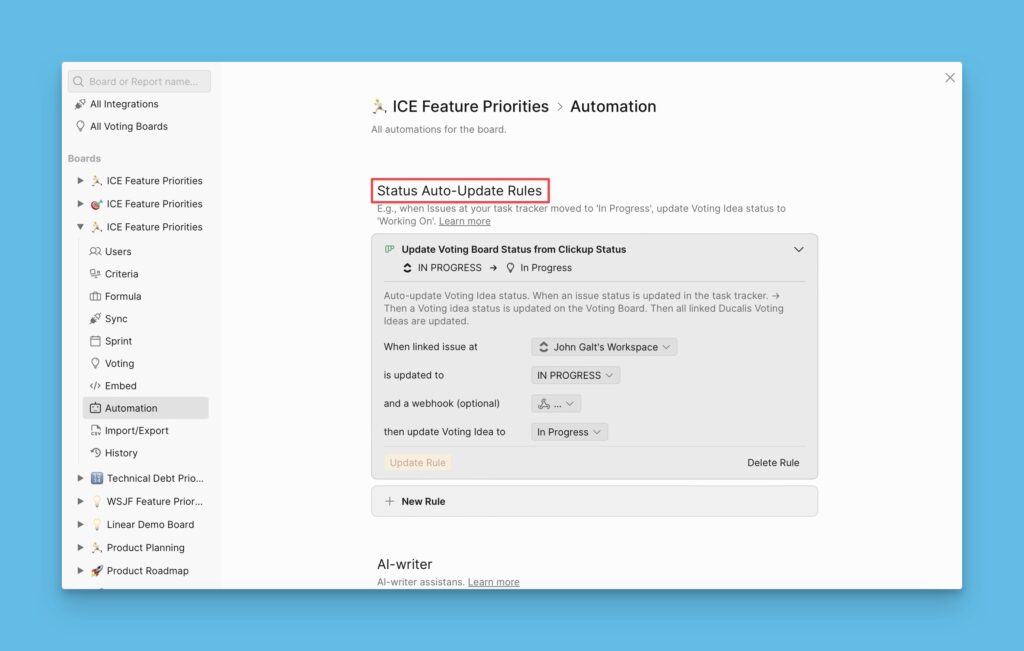
Set Up Status Auto-Update Rule
While still in the Automation settings, you should set up the status auto-update rule. Each time you update the status of an internal issue (In Ducalis or task tracker), the status of the linked public idea will also be updated automatically.
Set Up Webhook
If you want the Changelog newsletter to also be sent automatically when the announcement is moved to the Done status, then you need to set up the webhook as well.