The first thing to do once you get into the prioritization board is to add the issues that need to be evaluated for prioritization.
To add issues, you can:
- Create them manually
- Import from a task tracker
- Import a CSV file with issues
Right when you open the board, you will see sample issues. You can go through them as they not only save to show how a board with issues looks like, but they also save as a guide on how you can start using Ducalis.

Importing Issues from a Task Tracker
If the issues are in a task tracker (Jira Cloud, Asana, Linear, GitHub, ClickUP, Trello, YouTrack, Jira Server), you can import the issues from the task tracker to Ducalis. You have to start by connecting the tracker with Ducalis. Once connected, you will be able to import the issues to the board.
Creating Issues Manually
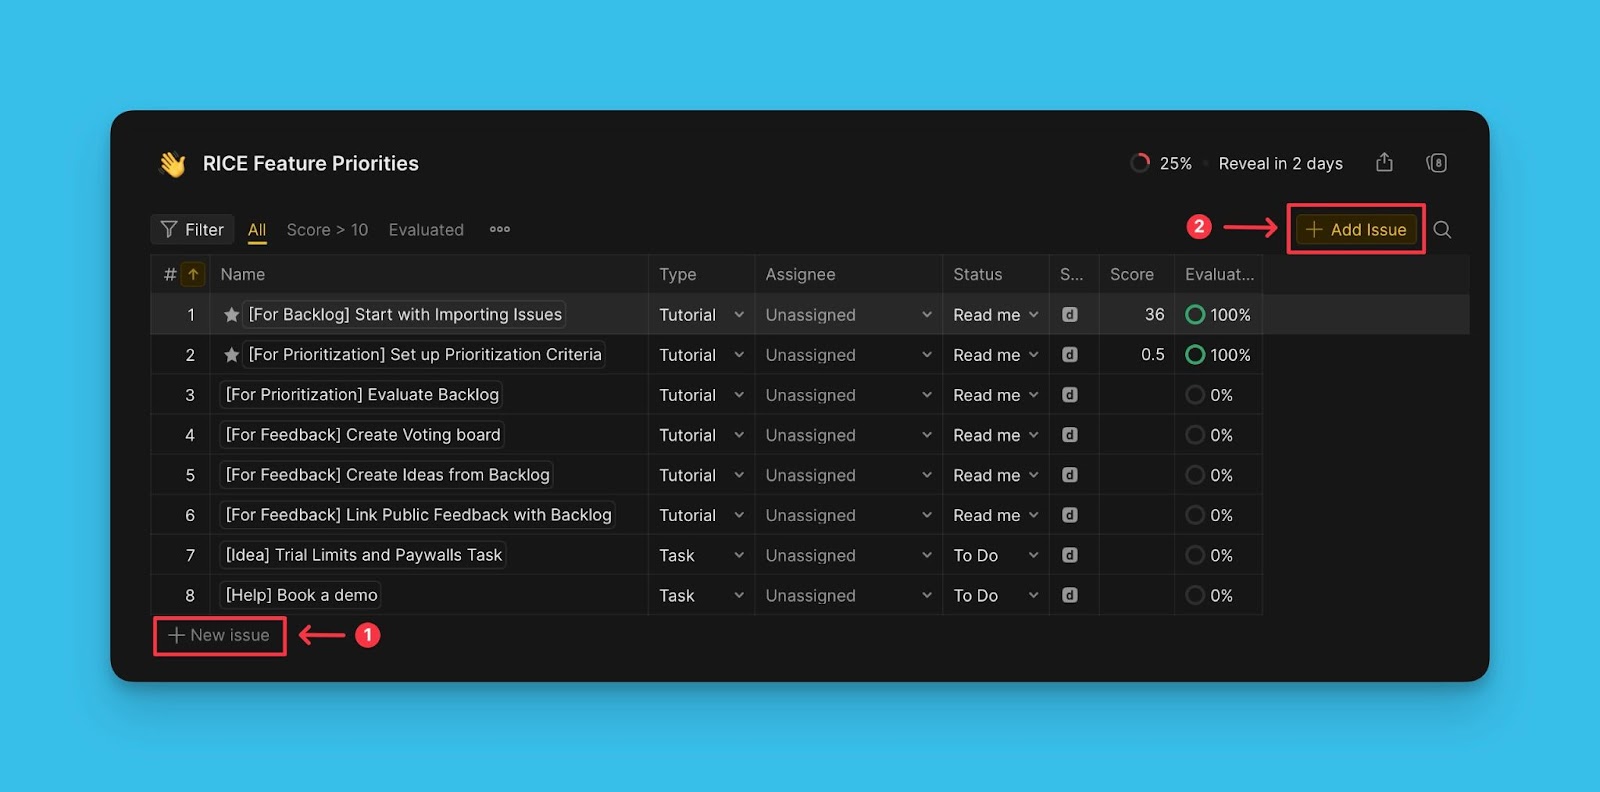
Issues can be created manually in a Ducalis board. This method is used by users who do not have issues importing from another source. To start creating an issue, click + New issue on the table, or Add issue in the top right corner.
Importing a CSV File with Issues
Another quick way to bulk import issues from another source into Ducalis is to import issues via a CSV file. This method is helpful when your issues are in a tracker that you cannot connect with Ducalis.
What’s Next?
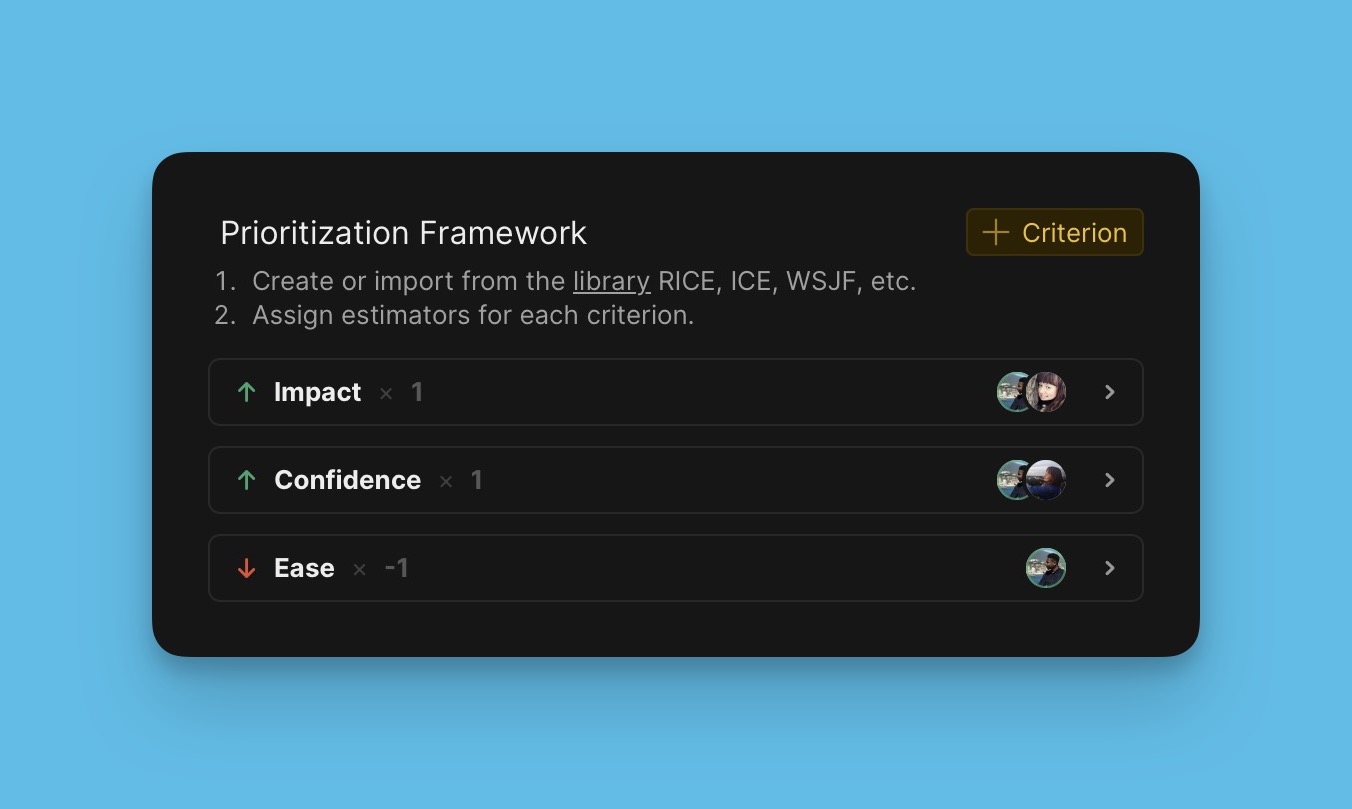
When you have added your issues that need to be evaluated for prioritization, you can go on and set up your prioritization criteria. Read more here.