Embed as iframe
Embed your Voting Board directly into your product using iframe code. Users can access the board without leaving your application.
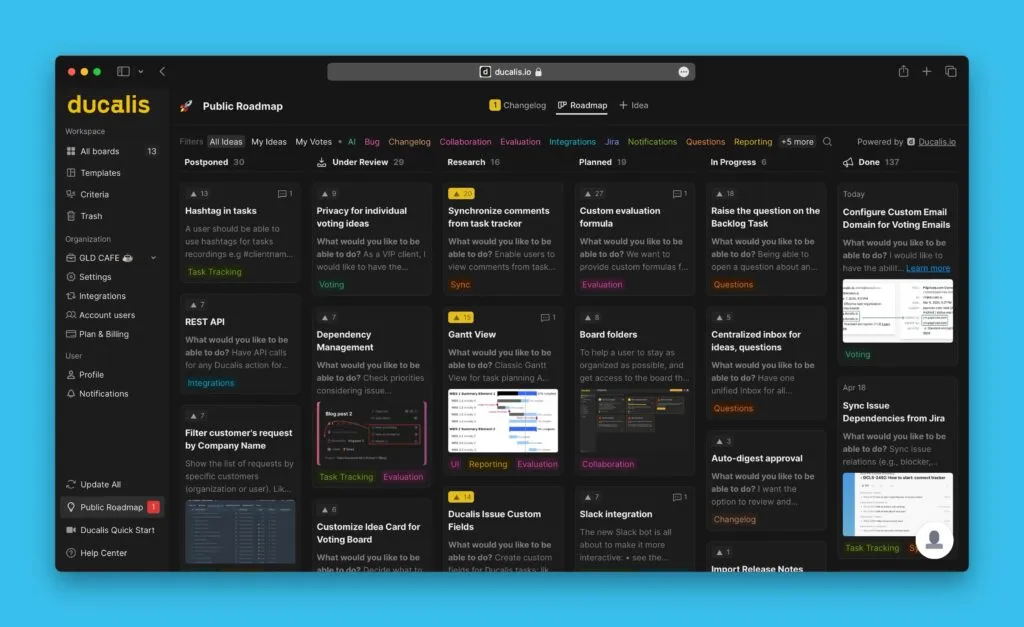
The example below shows a Ducalis Voting Board embedded into a page and opened in a frame.
Embed the board
-
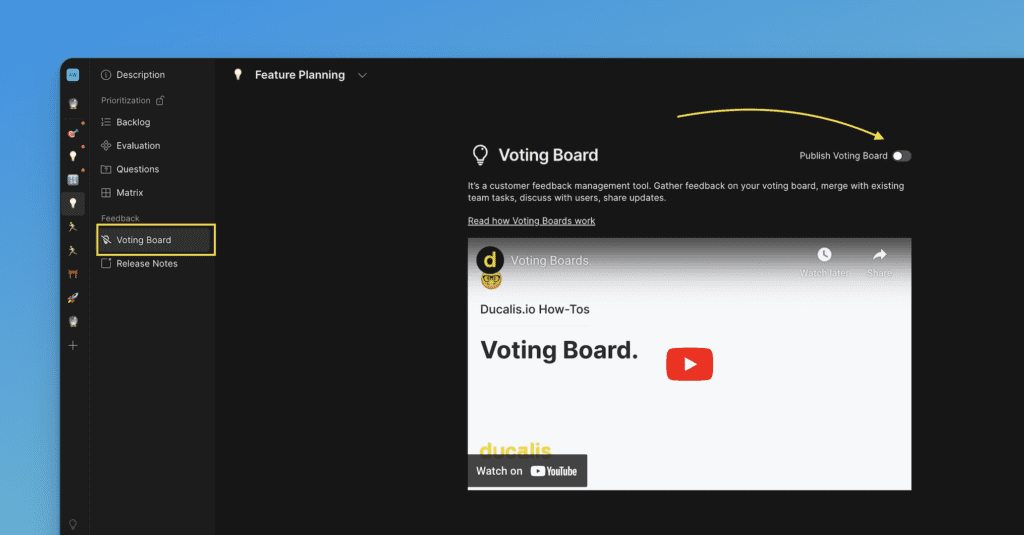
Choose the Voting Board and verify it's published.
-
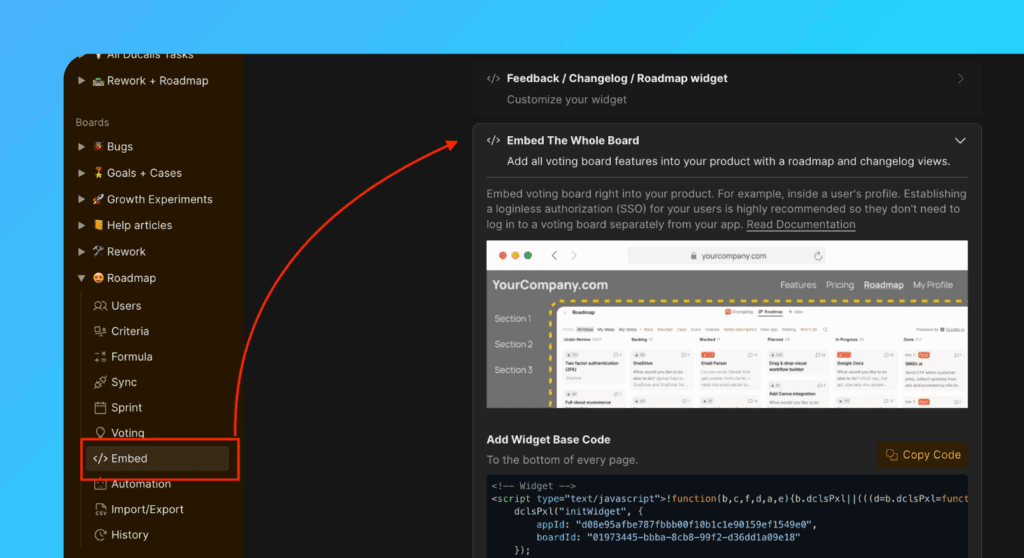
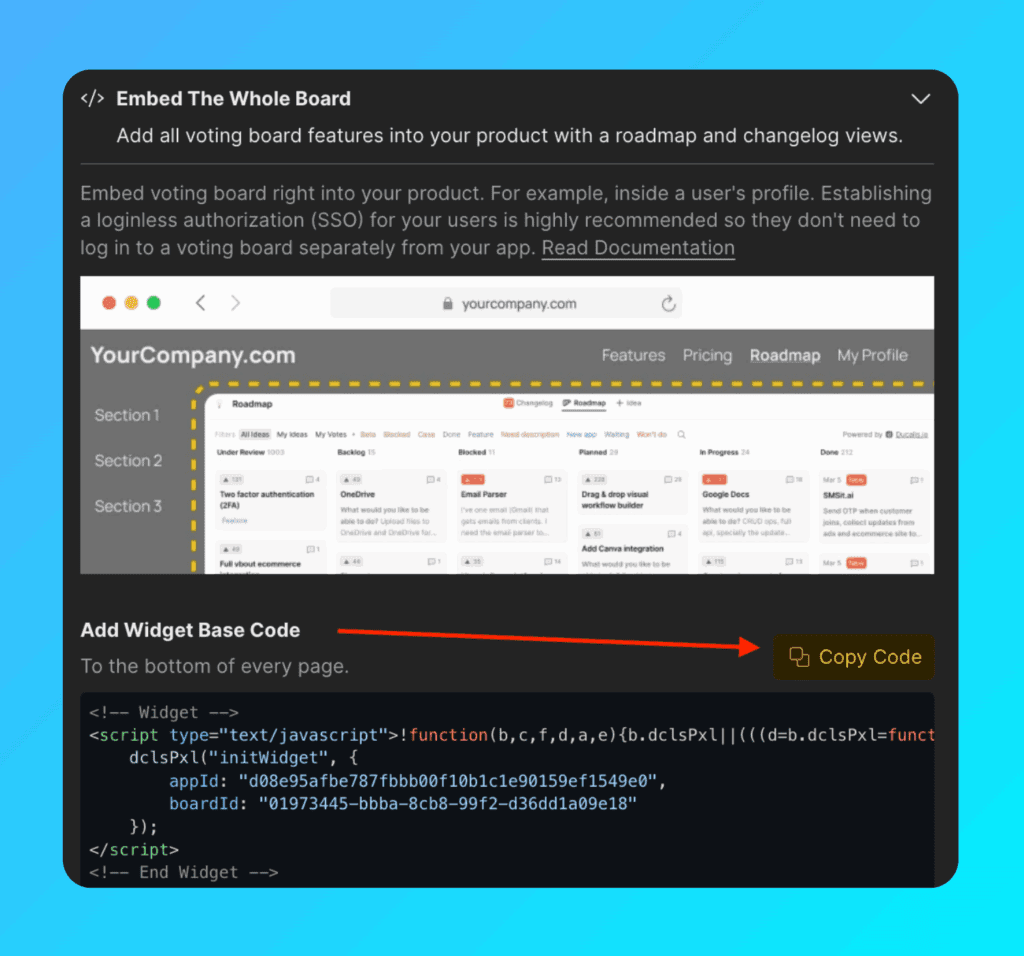
Go to Voting settings → Embed → Embed The Whole Board section.
-
Copy the Widget Base Code.
-
Add the
embedBoardobject to the widget code (required for embedding).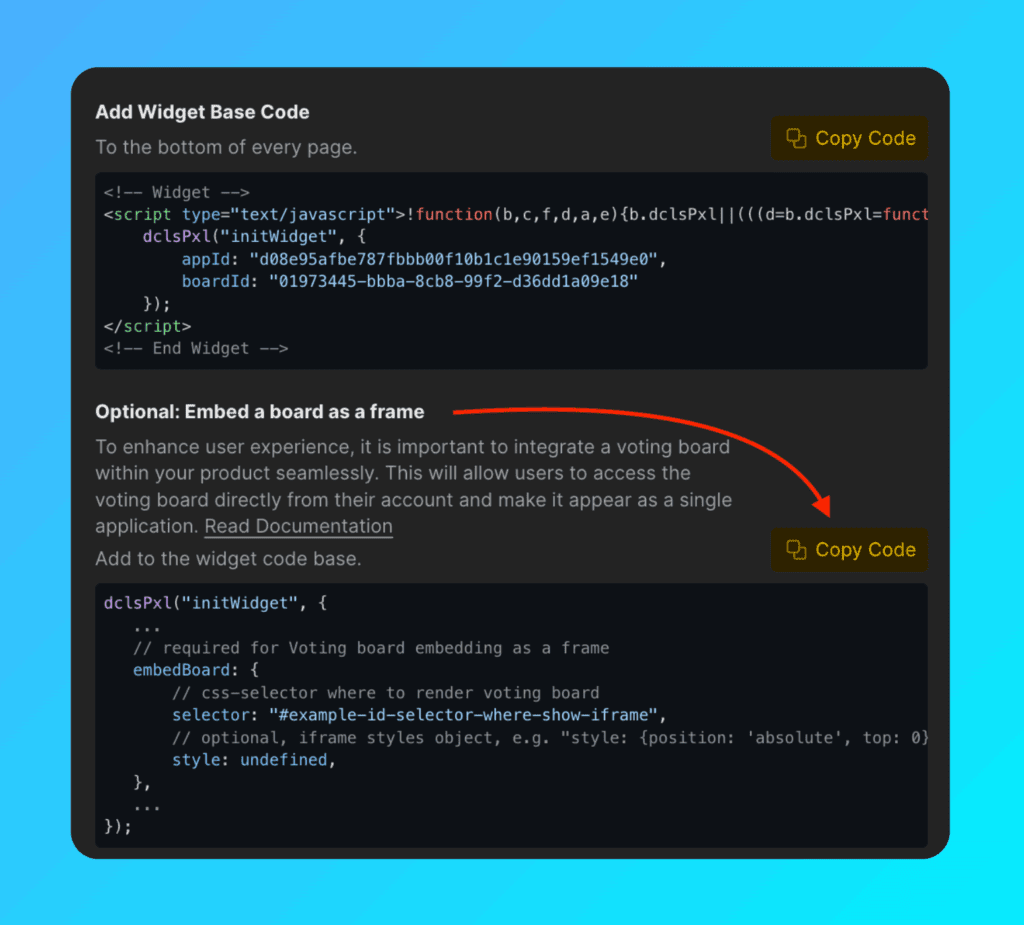
Your final code should look like this:
dclsPxl("initWidget", {
    // Required
    appId: "dc9ae89*******",
    boardId: "78aef2c7c0********",

    user: {
        // Required
        email: "Your user Email",
        hash: "User hash",

        // Optional
        userID: "Your user ID",
        name: "Your user Name",
        avatar: "https://you-user-avatar-domain/avatar.png",
        company: {
            id: 123,
            name: "Your user Company name",
            customFields: {
                created_at: "2019-06-02 17:10:00",
                spend: 123000,
                mrr: 100,
                plan: "pro",
                prop: value,
            }
        }
    },

    // Required for Voting Board embedding
    embedBoard: {
        selector: "#selector-where-show-iframe", // CSS selector where to render Voting Board
        style: undefined, // Optional, iframe styles object, e.g. "style: {position: 'absolute', top: 0}"
    },
});
Set the default page
Choose whether the Roadmap or Changelog page opens first when users load the widget.
Configure defaultView in the code. Set it to roadmap or changelog:
dclsPxl("initWidget", {
    // Optional, default is undefined
    // Use 'roadmap' or 'changelog' to open specific page
    defaultView: undefined,
});
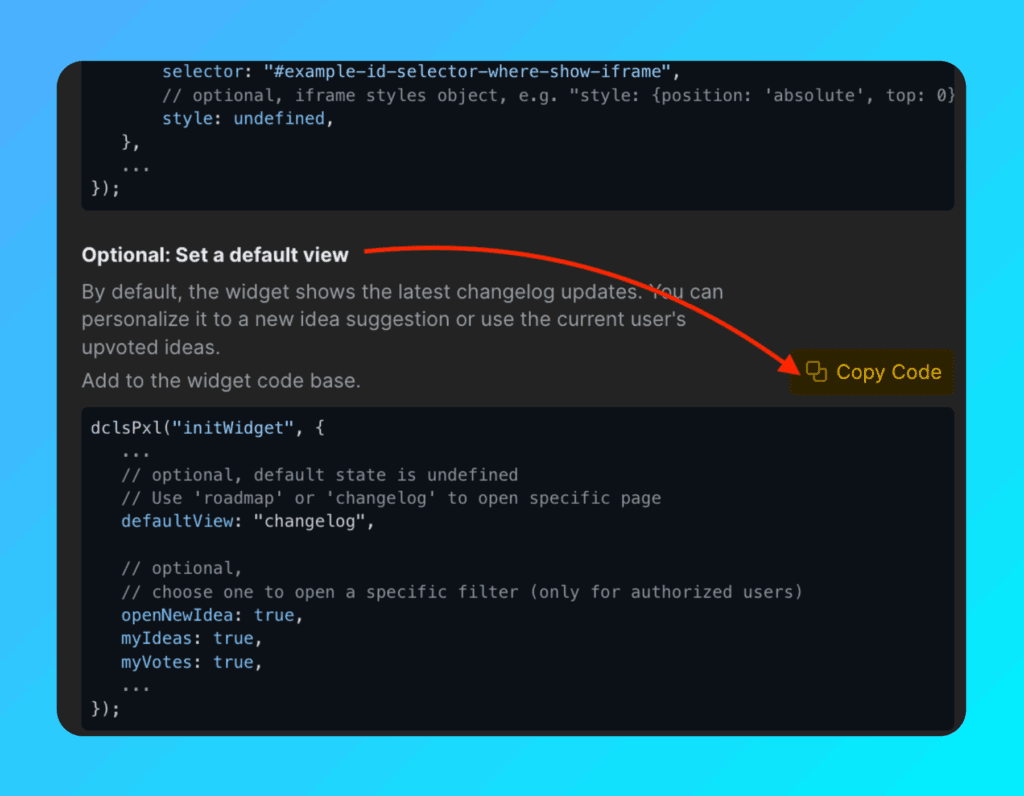
For the Changelog and Roadmap pages, you can optionally open a specific filter or action (only for authorized users):
dclsPxl("initWidget", {
    // Optional
    // Use to open a specific filter (only for authorized users)
    openNewIdea: true,
    myIdeas: true,
    myVotes: true,
});
Add notification bubble
Show notification badges to alert users about new updates and releases.
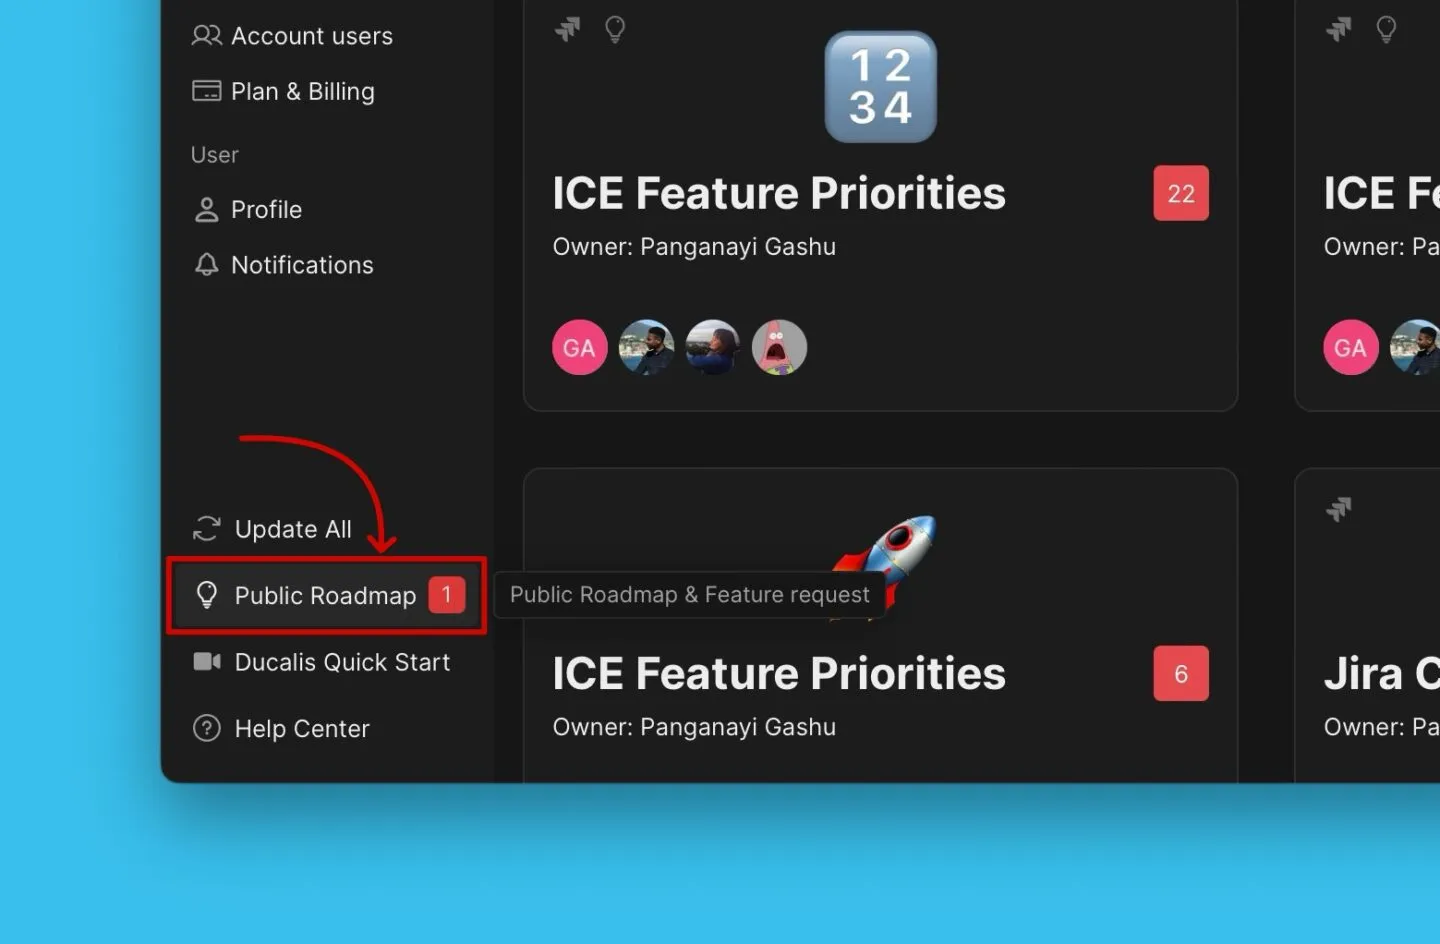
Add the bubble object to the widget code:
dclsPxl("initWidget", {
    bubble: {
        // Optional, default is ".Ducalis-changelog-widget"
        // Use for bubble without widget
        selector: '#embedBoardBuble',

        // Optional, default is undefined
        // Clears initial styles. Use for custom styles by className ONLY.
        className: 'some-class-name',

        // Optional, default is undefined
        // Customizes initial styles.
        style: {
            right: '7px',
            top: '7px',
            backgroundColor: '#db3737',
            borderRadius: '4px',
            fontSize: '13px',
        }
    },
});
Customize background
Match the board to your interface and brand by adding a transparent background:
embedBoard: {
    // Optional, default is false
    // Makes iframe and board background transparent
    transparent: true,
}
Add custom CSS class
Add a custom class name to the notification bubble without default styles. You can customize the notification bubble with your CSS.
Use bubble.className to specify your class:
bubble: {
    // Optional, clears initial styles
    // Use for custom styles by className ONLY. Default is undefined
    className: 'some-class-name',
}
The parameter bubbleClassName still works but will be deprecated. Use bubble.className instead.
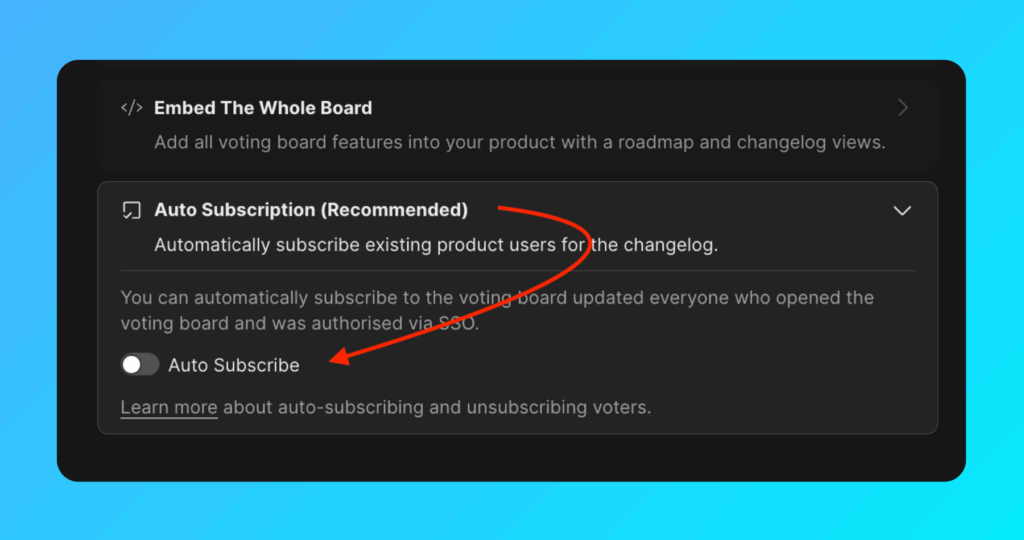
Auto-subscription to release notes
Auto-subscription to release notes is enabled by default. This prevents the need to constantly import new active users.
Users are subscribed automatically when:
- You send user data to Ducalis via the Widget (
user.emailanduser.hashare required). - The user opens the widget or board frame.
To send release notes to subscribed users, set up a custom email domain.
