Documentation
Ducalis is an all-in-one tool for issue prioritization and customer feedback management. This article outlines how Ducalis helps product teams prioritize work and collect customer feedback.
Task Prioritization
Fast Navigation
Ducalis excels in speed and flexibility, offering lightning-fast issue filtering and search, and also real-time updates from the task tracker you would have connected.
Learn how to import issues from task trackers and use filters for quick search.
Customizable Prioritization Framework
Customize your backlog prioritization framework for each board based on your sprint goals or company objectives.
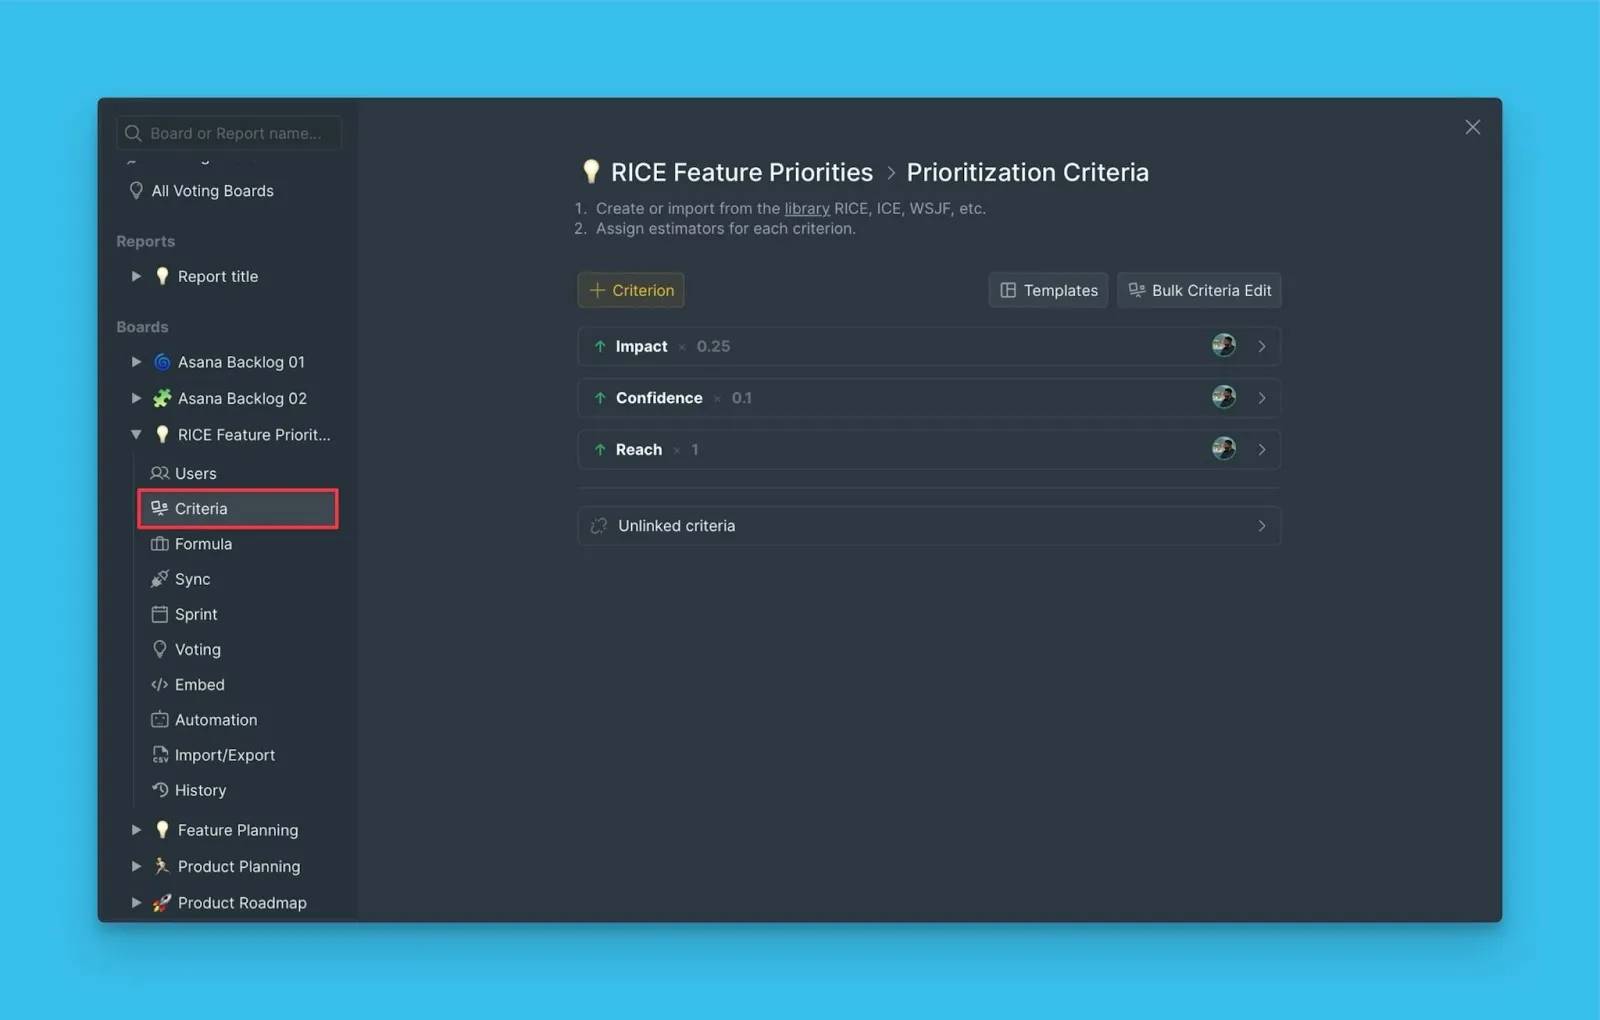
Set up your prioritization criteria and configure the total score formula to match your workflow.
Poker Planning Technique for Backlog Prioritization
Utilize the Poker Planning technique to ensure unbiased scoring and facilitate productive backlog discussions.
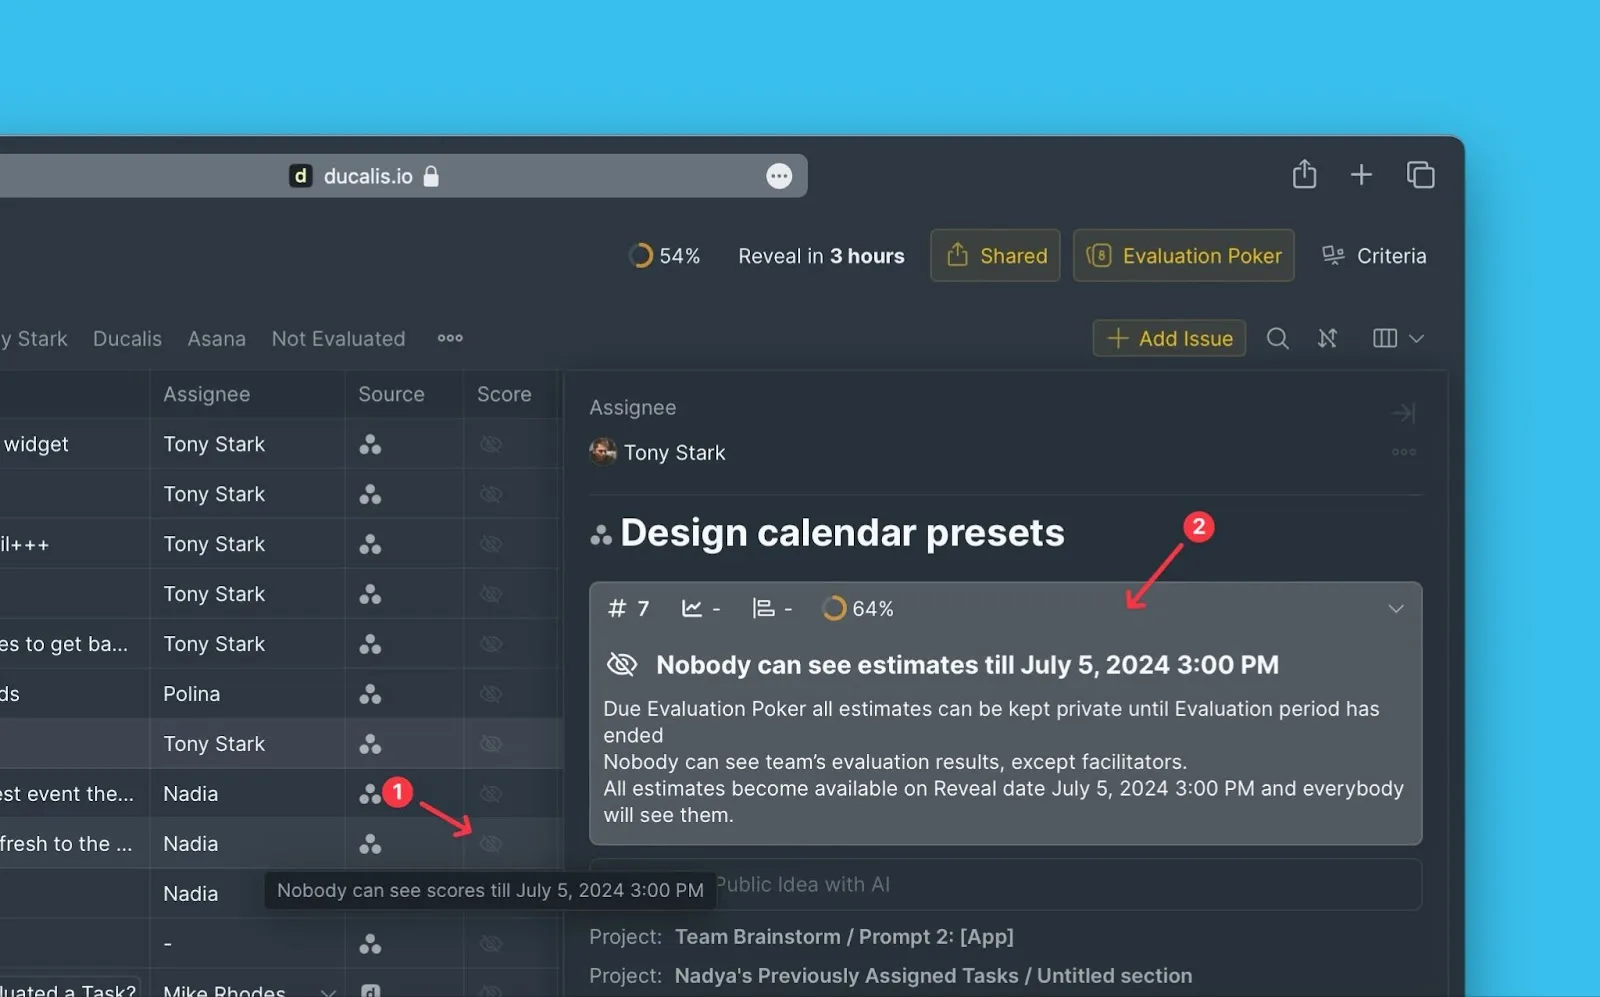
Learn more about Evaluation Poker and sprint planning settings.
Team Alignment
Analyze the team's alignment with the company's priorities. Discuss areas of low alignment and re-evaluate.
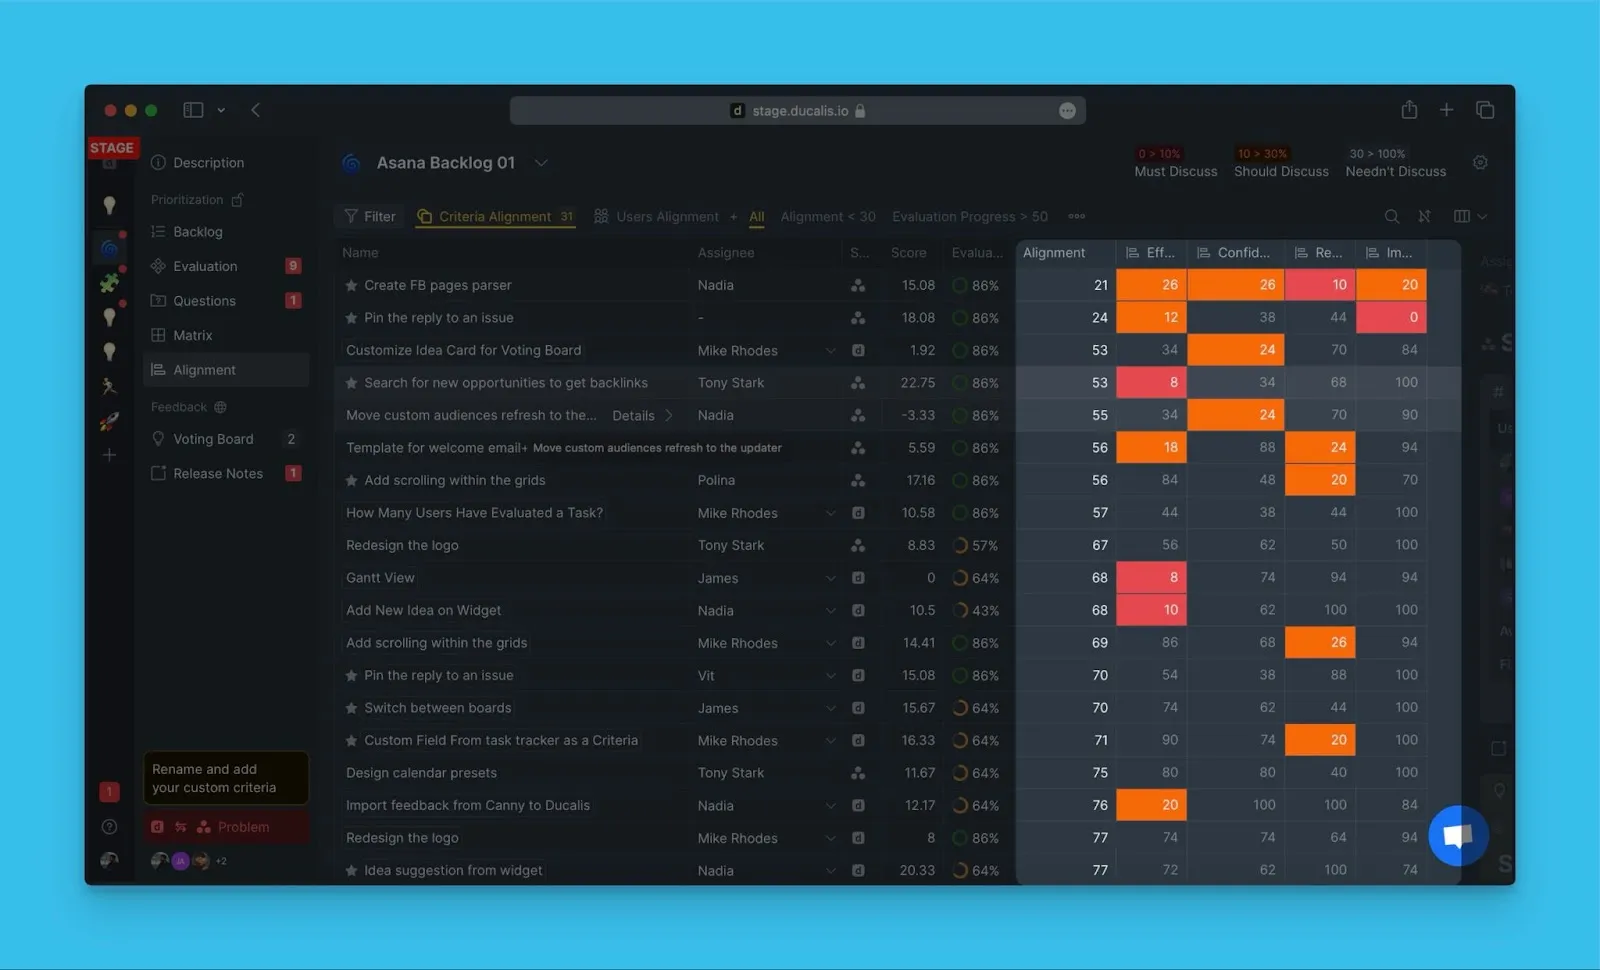
See the alignment reports to identify where team priorities diverge.
Eisenhower Matrix
Get a bird's eye view of your prioritization results using the 4 by 4 matrix grid of value against effort.
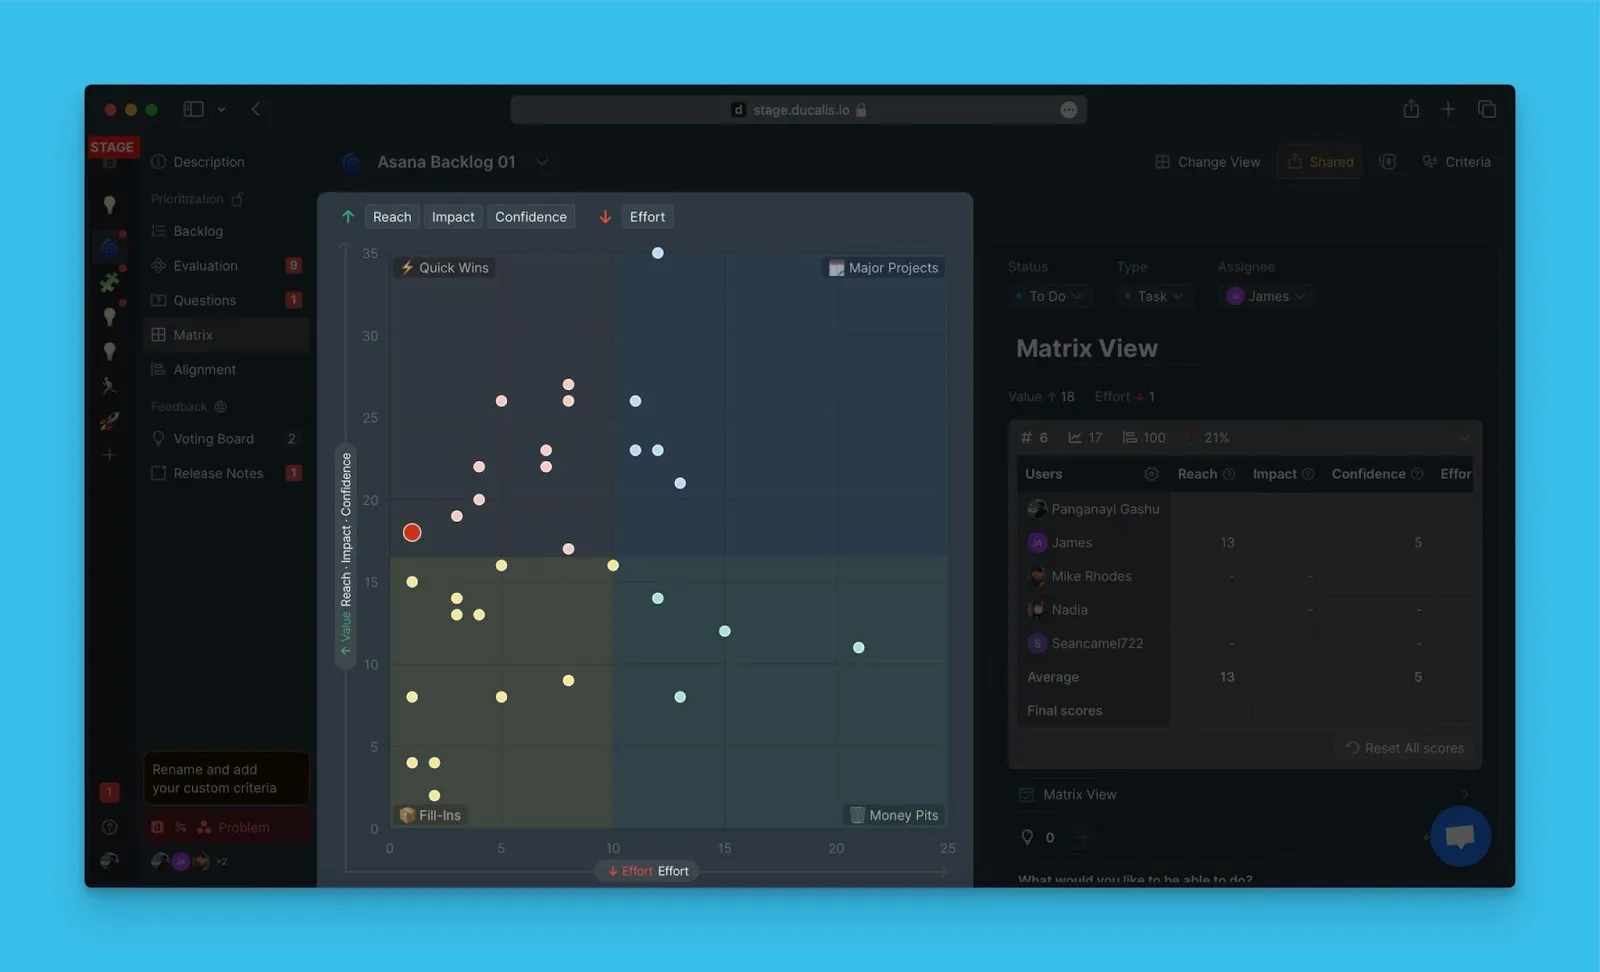
Explore the Matrix page features and Top Priorities.
Reset Scores
You can have scores automatically reset with your changing sprint goals for the team to re-evaluate.
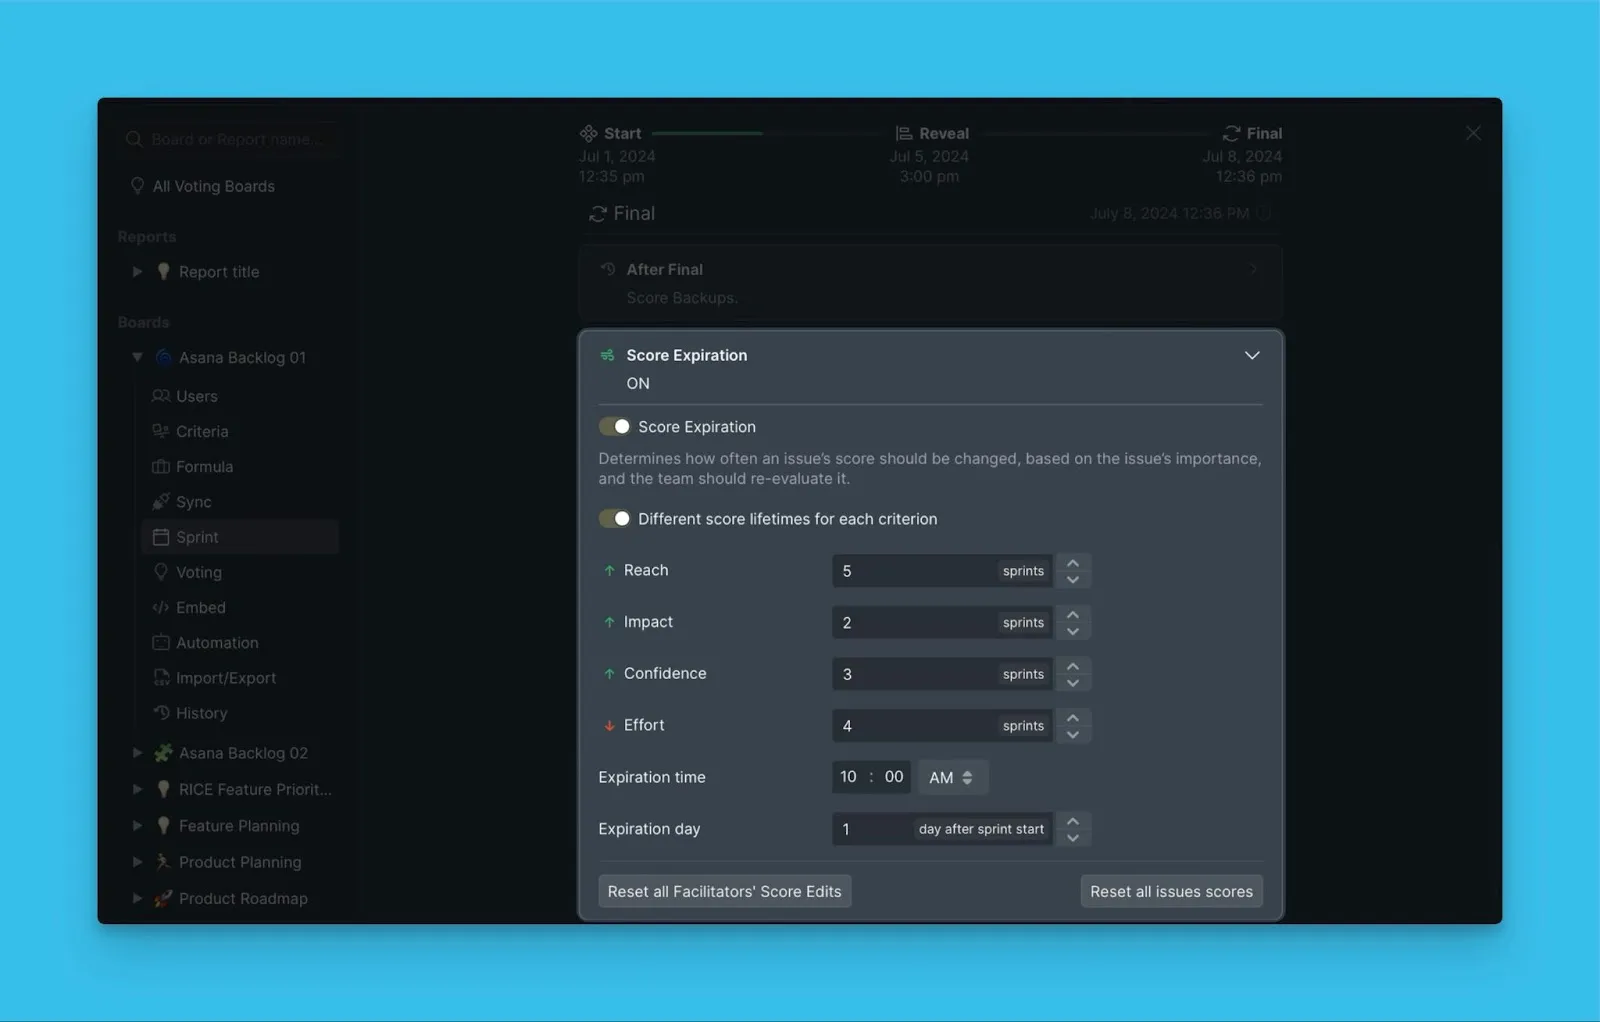
Configure score expiration and manual score reset.
Aggregated Report Board
Visualize your top priority issues of all the boards in your organization in one place — the aggregated report board.
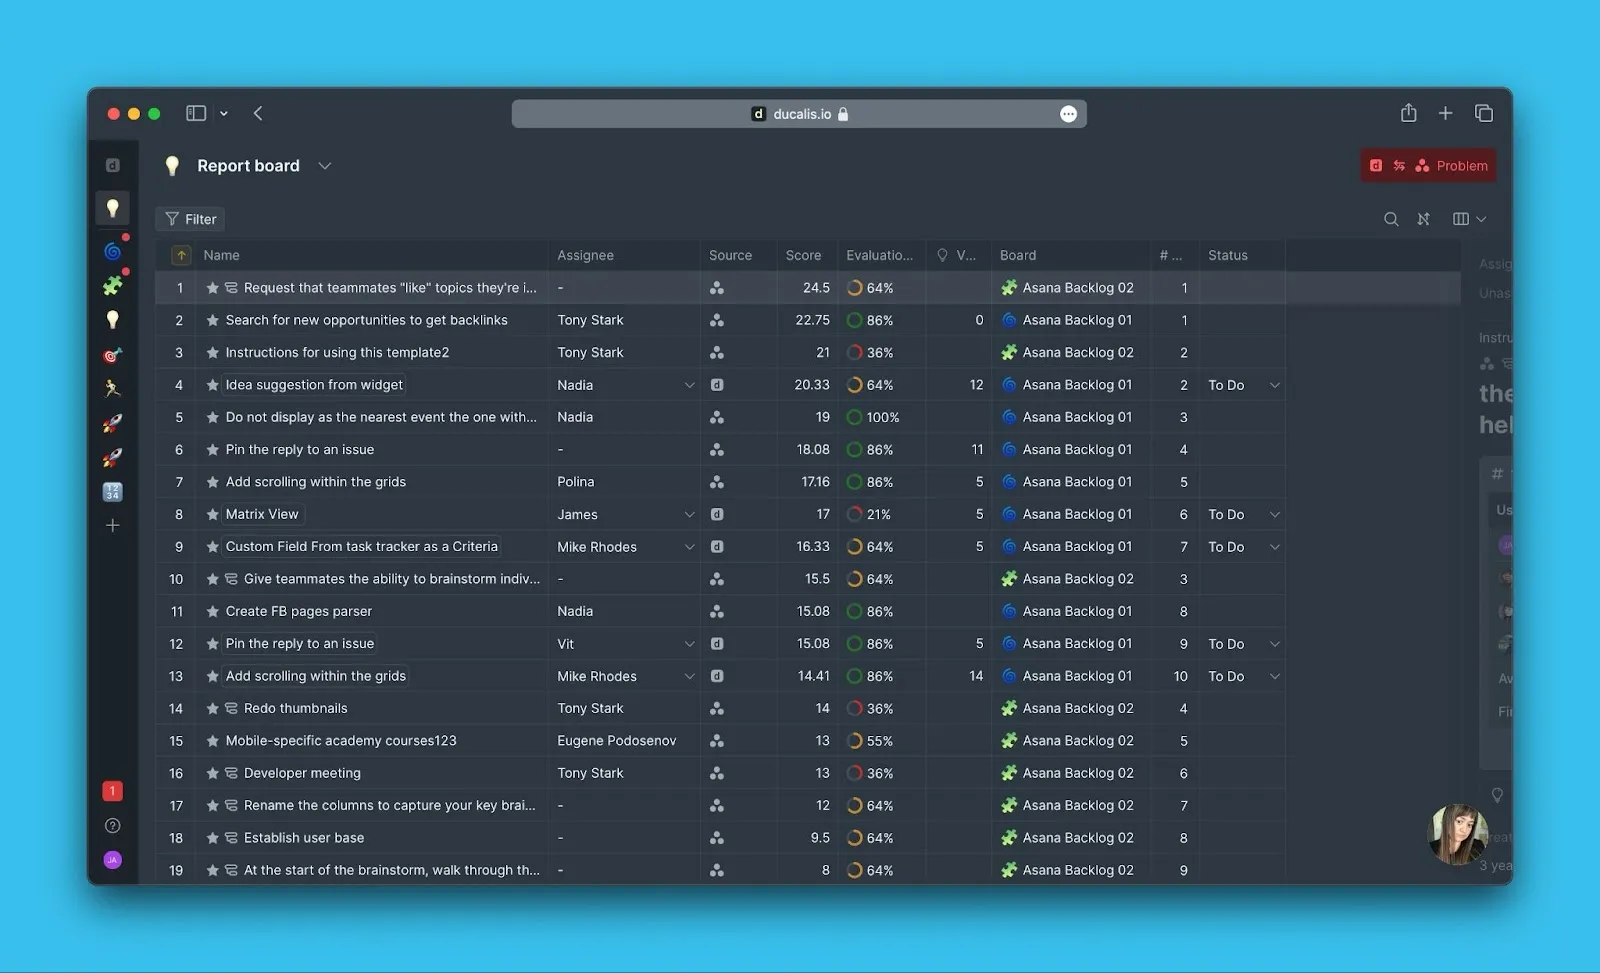
Learn about end-to-end prioritization reports across all boards.
Planning
Gantt Chart
Prioritization gives you a ranked list — the Gantt chart shows what actually fits into your sprint or quarter. Visualize what your team takes into work, set dependencies, and adjust as plans evolve.
Learn more about the Gantt chart and explore all Planning (Gantt) features.
Feedback Collection
Public Roadmap
Create a public version of your internal backlog to share your progress with clients and stakeholders.

Set up your Voting Board and create a product roadmap.
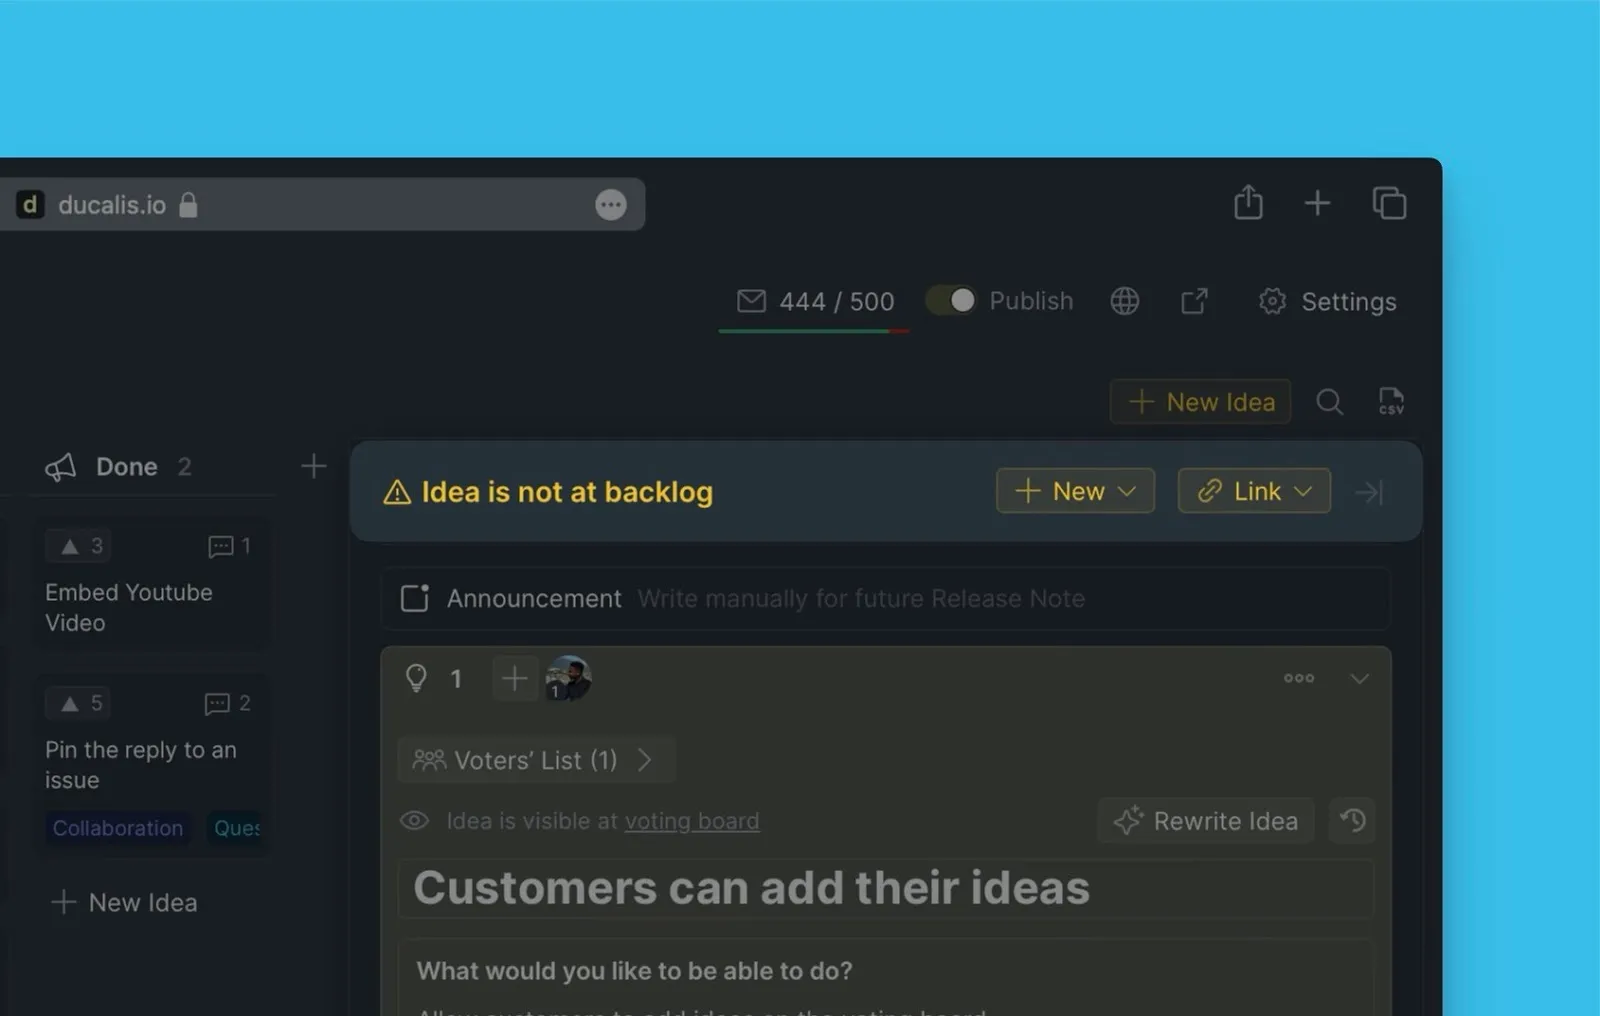
Collect Ideas from People
Collect ideas effortlessly from your clients. Customers can leave their feedback on the voting board.

Learn about creating public ideas and managing voters.
Add Ideas to your Backlog
Seamlessly add the ideas to your internal backlog for evaluation.
See how to add public ideas to your internal backlog.
Idea Auto-Status Updates
You can automate status updates for ideas linked to internal issues.
Configure status auto-update rules to keep customers informed automatically.
Changelog Auto Updates and Release Notes
Generate a changelog and release notes to inform your users about new releases.
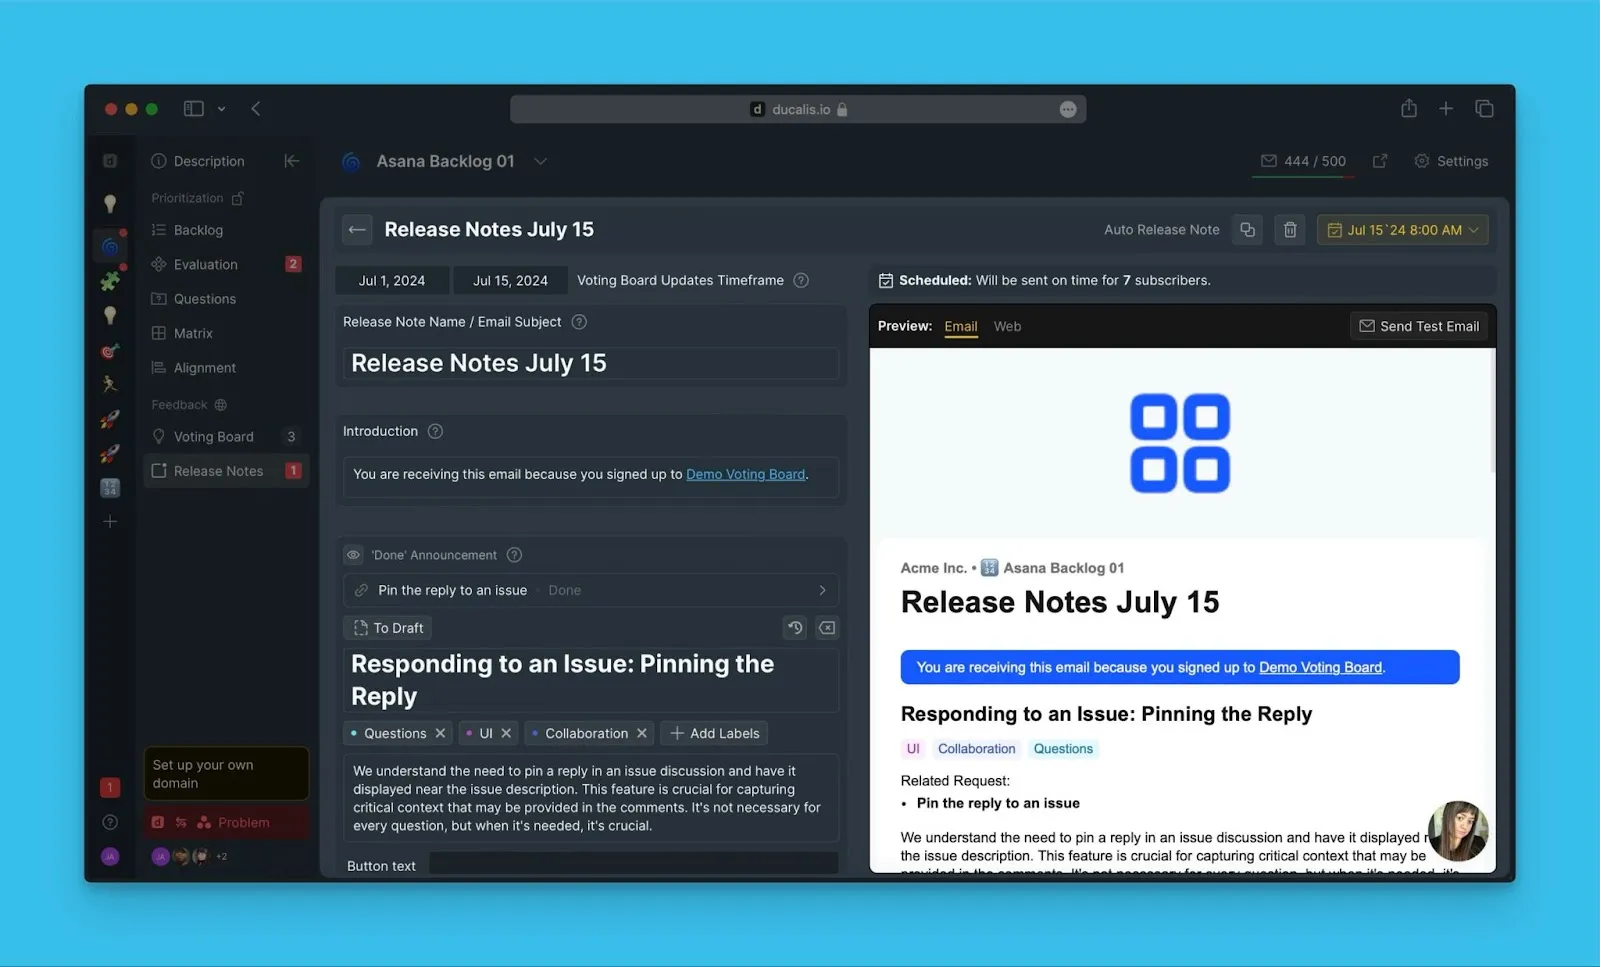
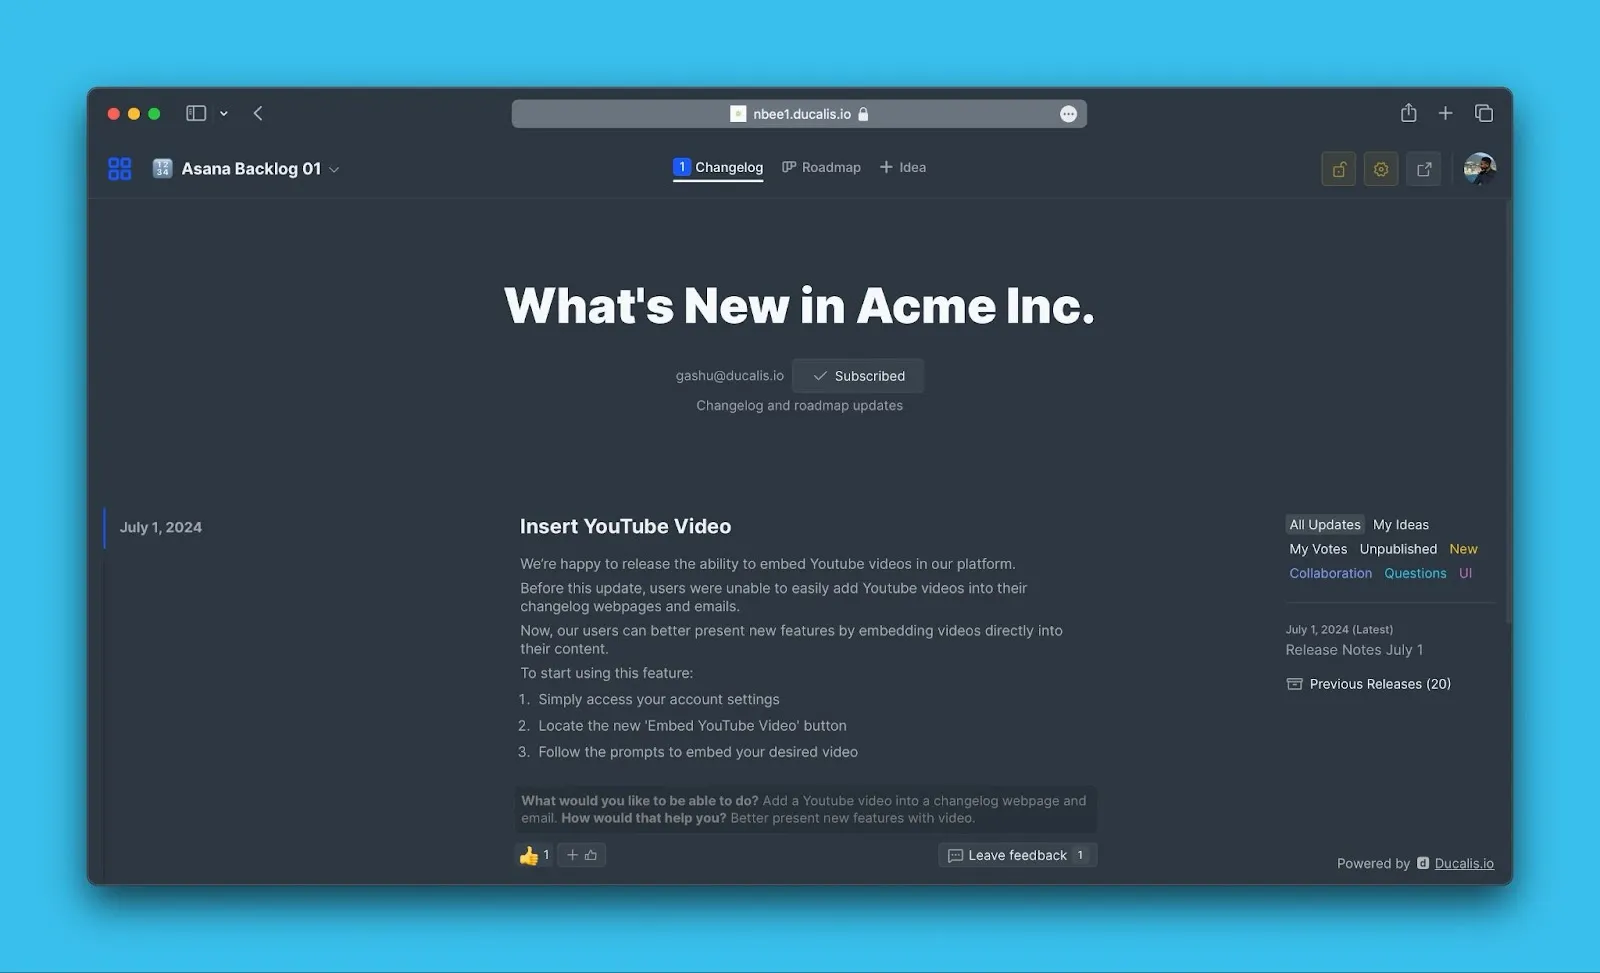
Learn about Release Notes and embedding the changelog widget.
Integrations
Connect Ducalis with your existing tools:
Task Trackers: Jira Cloud, Jira Server, Asana, ClickUp, Linear, Trello, YouTrack, Kaiten, GitHub
Messaging: Slack, Discord, Mattermost, Telegram
More Resources
- Organization & User Management — Invite teammates, manage roles and permissions
- Filters & Search — Advanced filtering and search capabilities
- AI Features — AI-powered assistance for creating content
- Notifications — Configure notification preferences
- FAQs — Frequently asked questions