Connect
Connect Jira Cloud to Ducalis to import your backlog for prioritization, collecting feedback and sync results back.
Connect to Jira Cloud
-
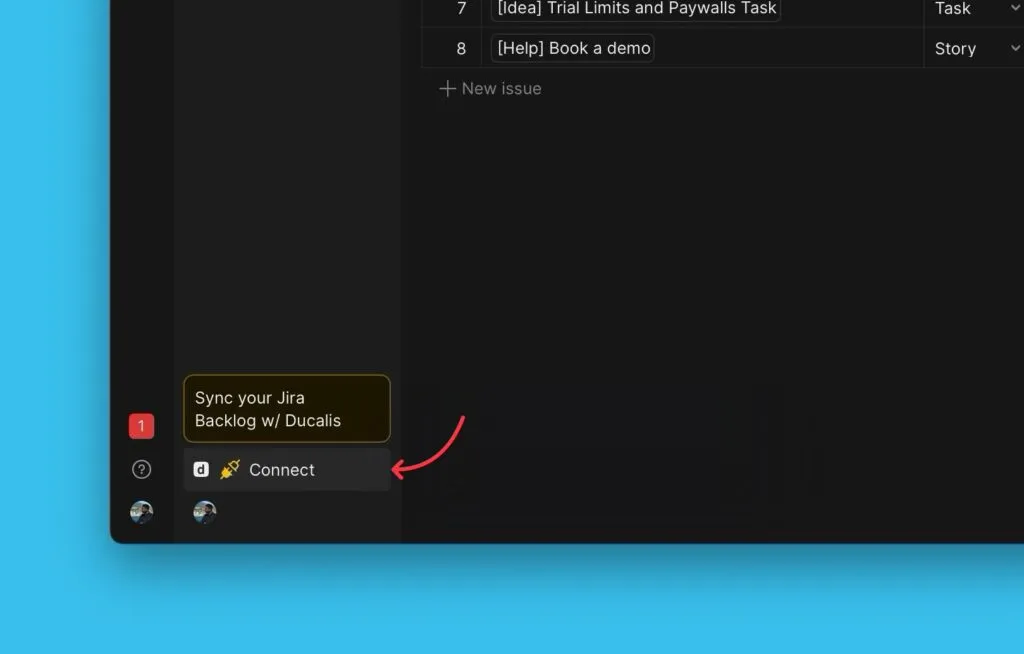
In your Board, click Connect in the left menu to open Sync settings.
-
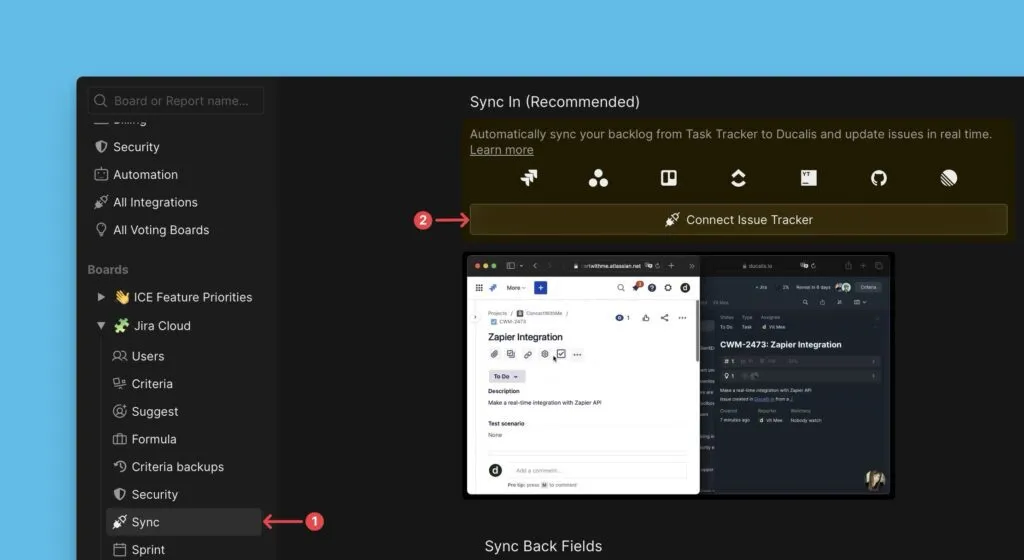
Under Sync, click Connect Issue Tracker.
-
Select Jira Cloud as your issue source.

-
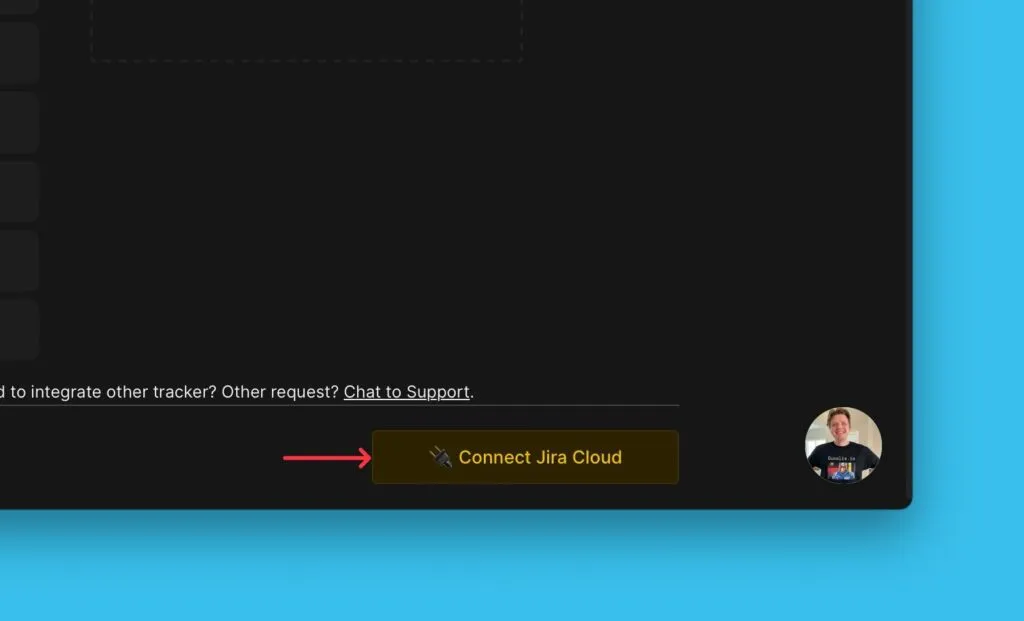
Click Connect Jira Cloud.
-
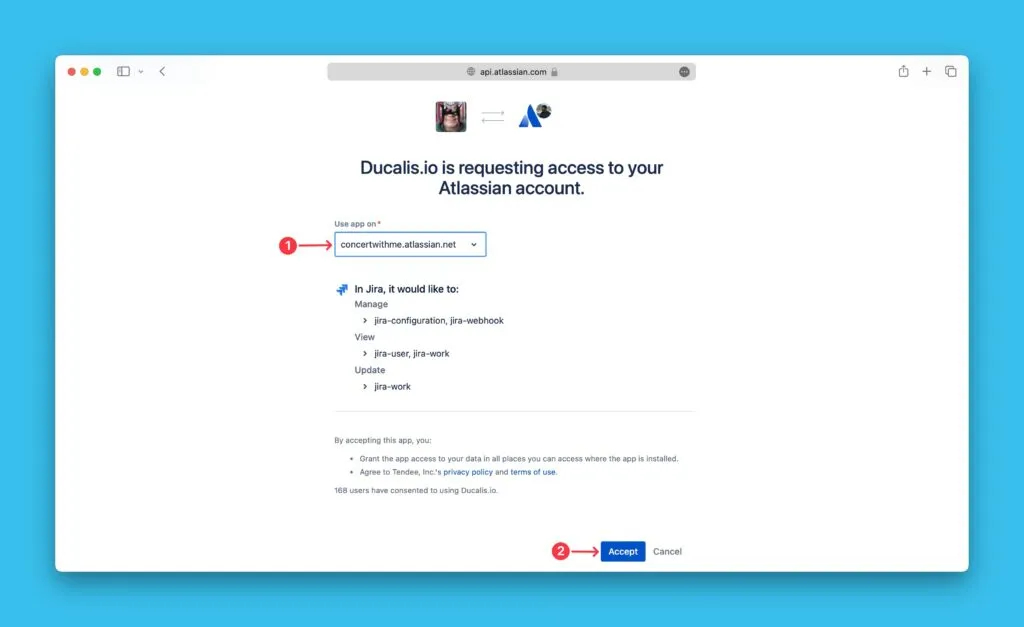
Authorize Ducalis to access your Jira account.
Remove the integration
To delete the integration between Ducalis and Jira Cloud, see Remove a task tracker integration.
What's next
Import issues from Jira Cloud using: