Step 3: Customize appearance
Customize widget appearance, button placement, and branding to match your product design.
Brand settings
Find the Make it match your brand section.
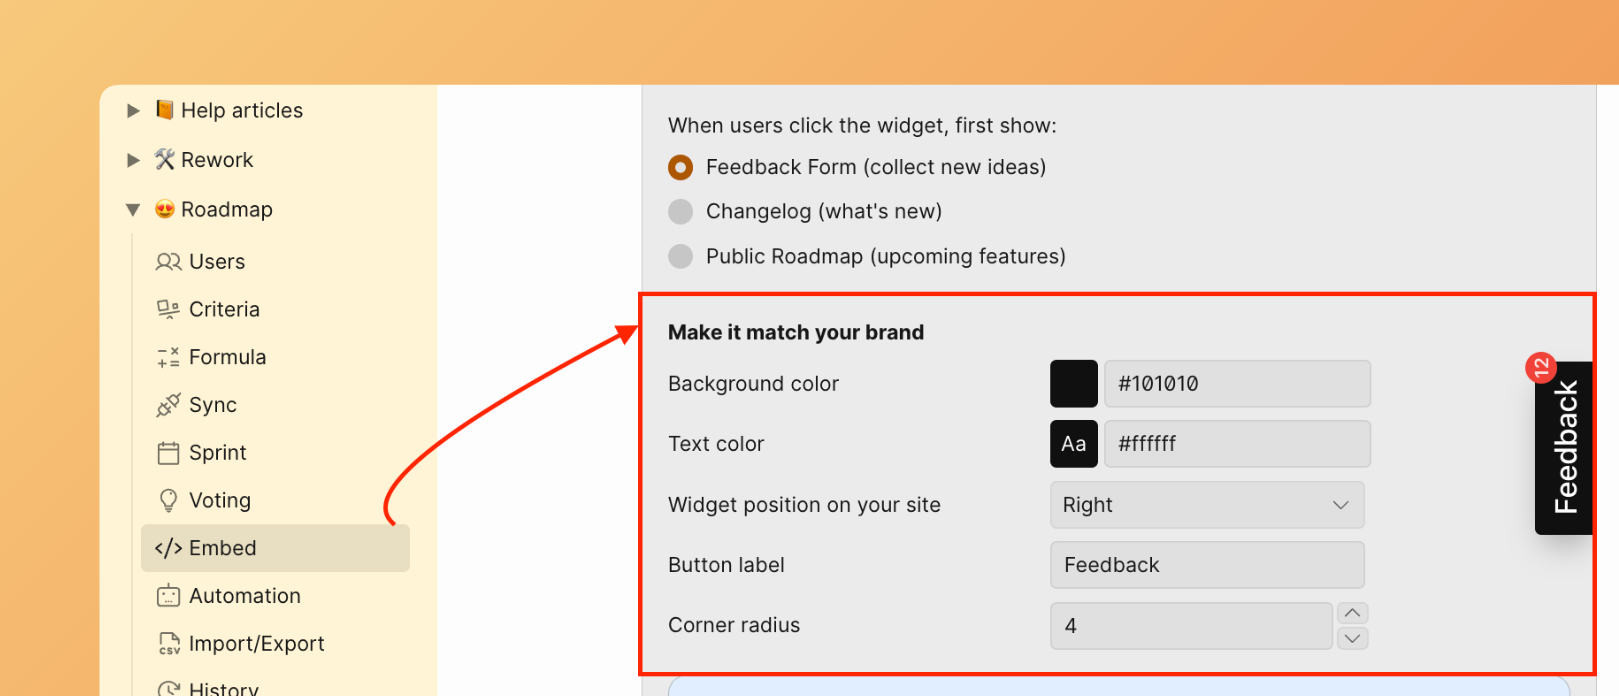
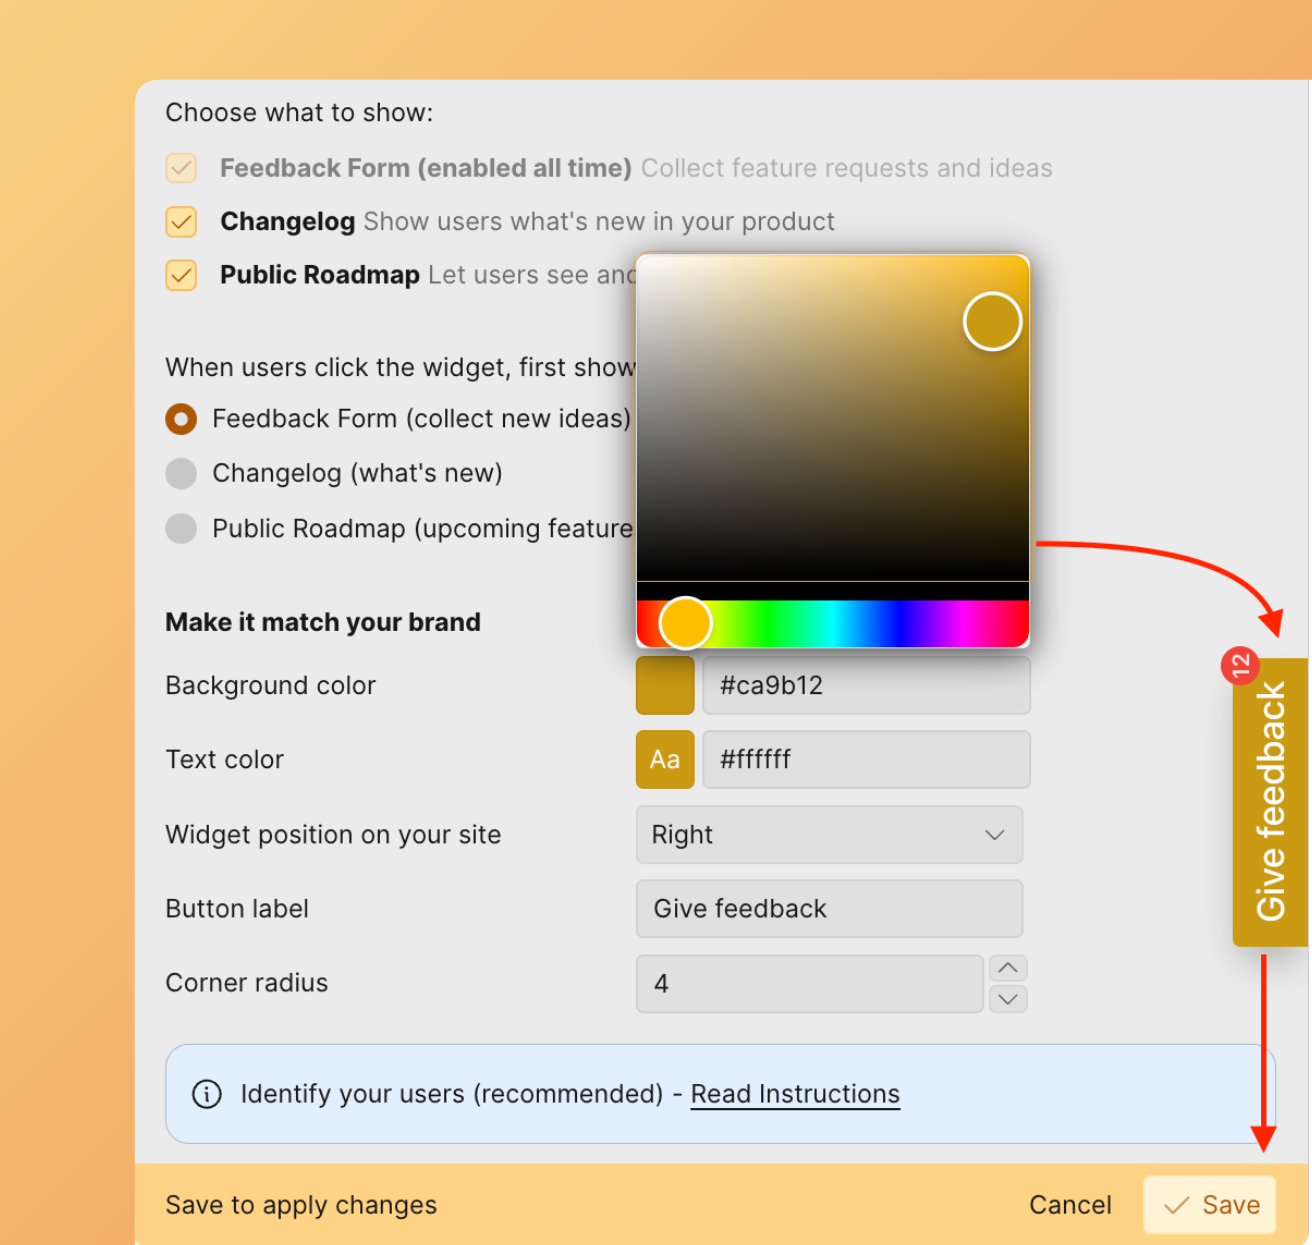
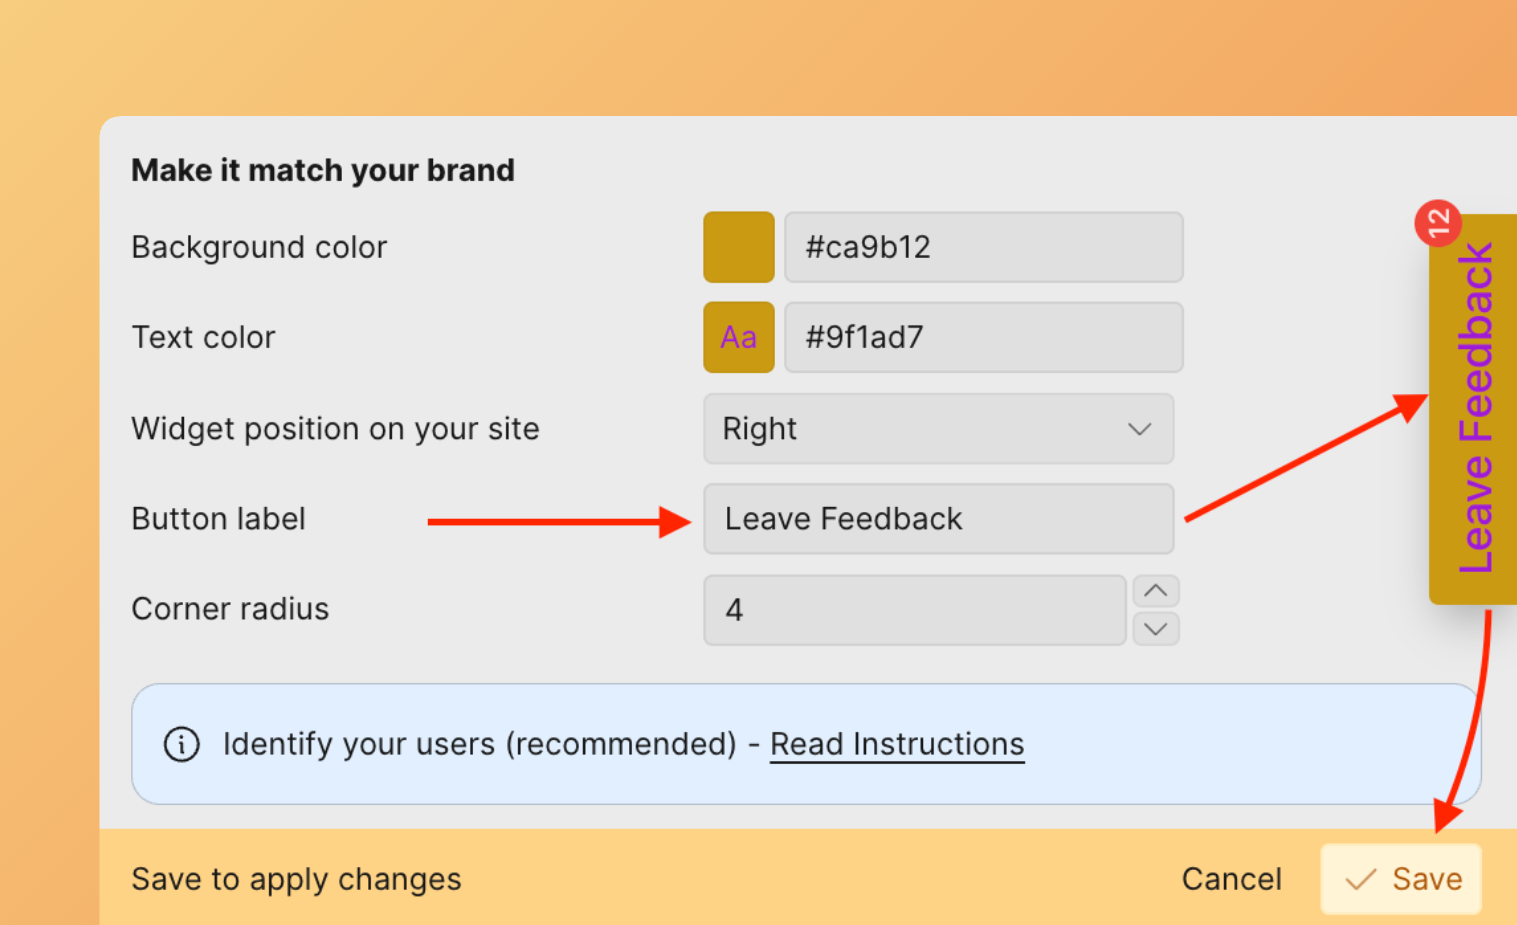
Background color
Select your brand color for the feedback button background and widget interface elements.
Click Save to apply changes.
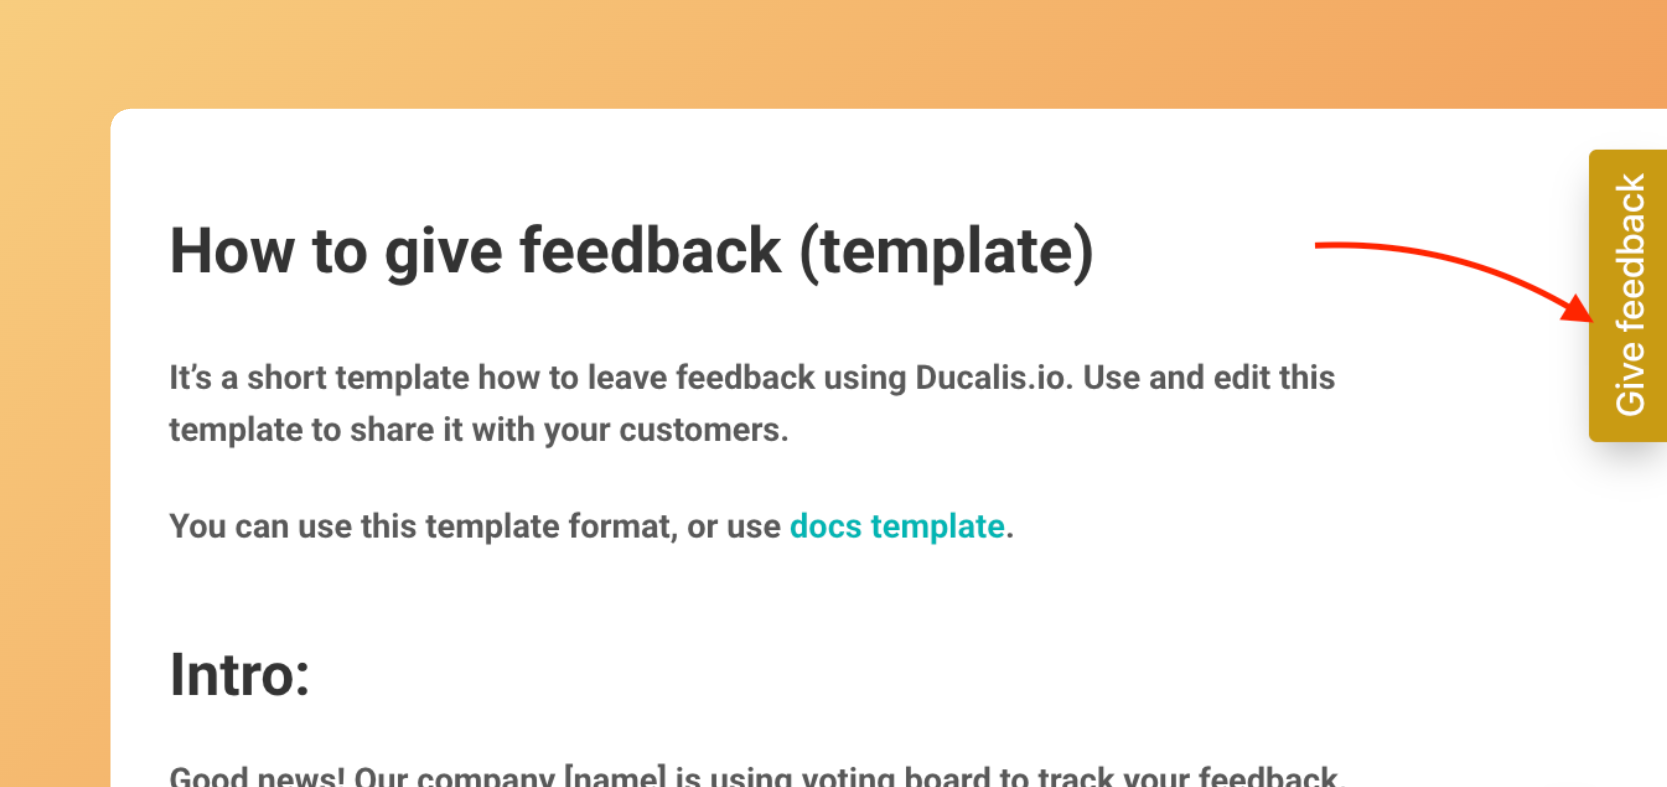
The widget form with the applied brand color:
Text color
Choose the text color that appears on the button.

Click Save to apply changes.
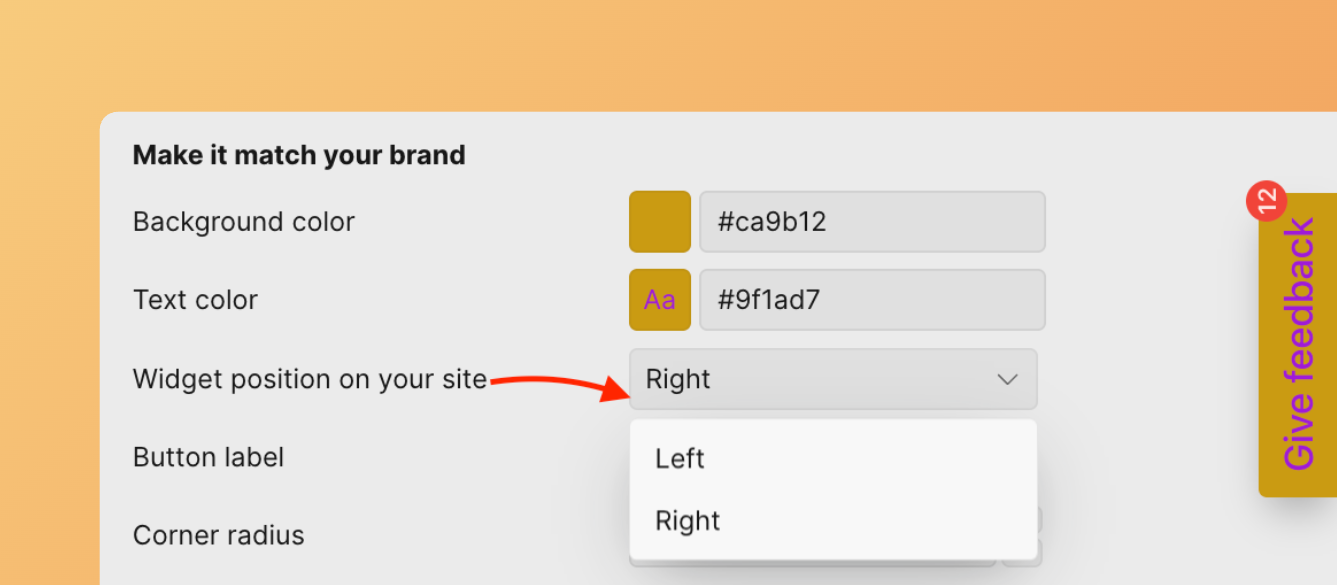
Widget button position
Control where the widget appears on your website by selecting left or right positioning.
Button label
Customize the text displayed on the widget button.
Click Save to apply changes.
Language settings
Set the language for all customer-facing modules, including the widget, Roadmap, Changelog, and emails. Learn how to configure language.
Feedback form
Create templates for new Ideas based on the feedback type you're collecting (feature requests, bugs).
-
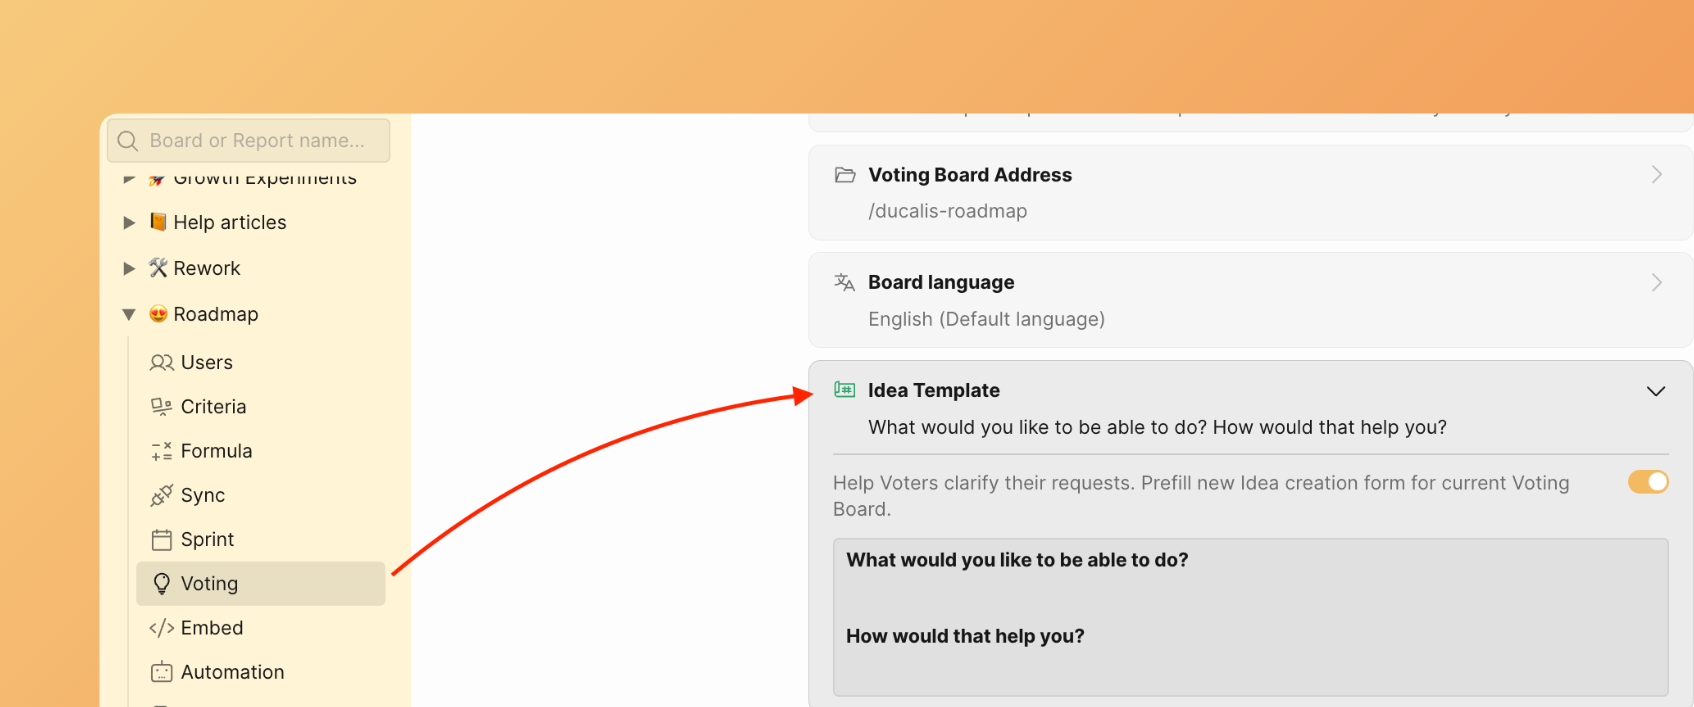
Go to Voting Board settings.
-
Scroll down to the Idea Template section.
-
Open the Idea template block.
-
Create your template.
-
Your template saves automatically and becomes available for customers.
Widget privacy
Control who can see the widget and submit feedback: public access, sign-in requirements, domain restrictions, or email allowlist.
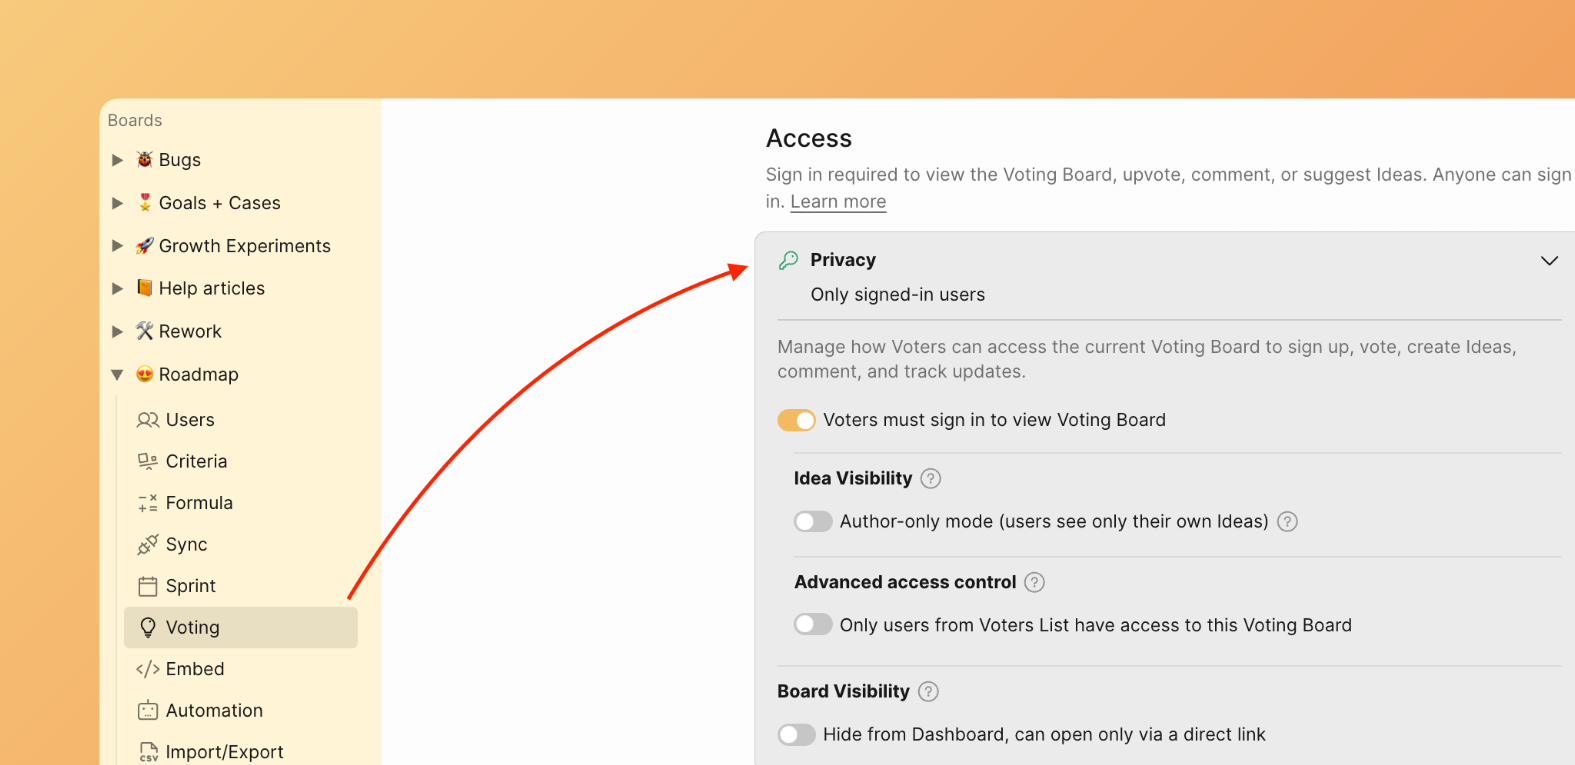
To change widget visibility, go to Voting. Expand the Privacy section under Access.
Visible to anyone
Make your Voting Board public so anyone can browse Ideas without signing in. Voters sign in only to upvote, submit Ideas, or comment.
Turn off all privacy toggles to enable public access.
Sign-in required
Require all visitors to sign in before viewing the widget.
Enable the Sign in required toggle.
Allow specific domains
Grant access to anyone with an approved email domain.
- Enable Sign in required.
- Enable Only Voters from the list.
- Enter allowed domains (e.g., yourcompany.io).
Allow specific email addresses
Grant access to individual Voters by email address.
FAQs
What widget questions are best for collecting bugs?
Example questions from the Bug Widget template:
- What steps did you take to encounter this bug?
- Which page or feature did this happen on?
- What were you doing when the error occurred?
- What browser and operating system are you using?
- Did you see an error message? If so, what did it say?
- Attach screenshot
What widget questions are best for collecting feature requests?
Example questions from the Feature Requests Widget template:
- What would you like to see added or improved?
- What goal are you trying to achieve with this feature?
- Why do you need this feature?
- Do you have any specific ideas on how we might solve this?
For a quick 3-4 field form, use:
- Title: What do you want to add or change?
- Problem: What problem does this solve for you?
- Use case: How would you use this?
What's next
Continue to Step 4: Identify voters to configure authentication and voter tracking.