Kayıt Oluşturma
İş akışınızdan çıkmadan İş Listesi veya Oylama Panosu Fikirlerinden doğrudan Yandex kayıtları oluşturun.
Önce Yandex.Tracker Bağlantısı kurulumunu tamamlayın.
Yandex Tracker'a şunları gönderebilirsiniz:
- İş Listesinden Kayıtlar
- Oylama Panolarından Fikirler
İş Listesi Kaydını Gönderme
Ducalis panonuzdan Yandex.Tracker'da yeni bir kayıt oluşturun.
-
Yandex'e göndermek istediğiniz Kaydı seçin.
-
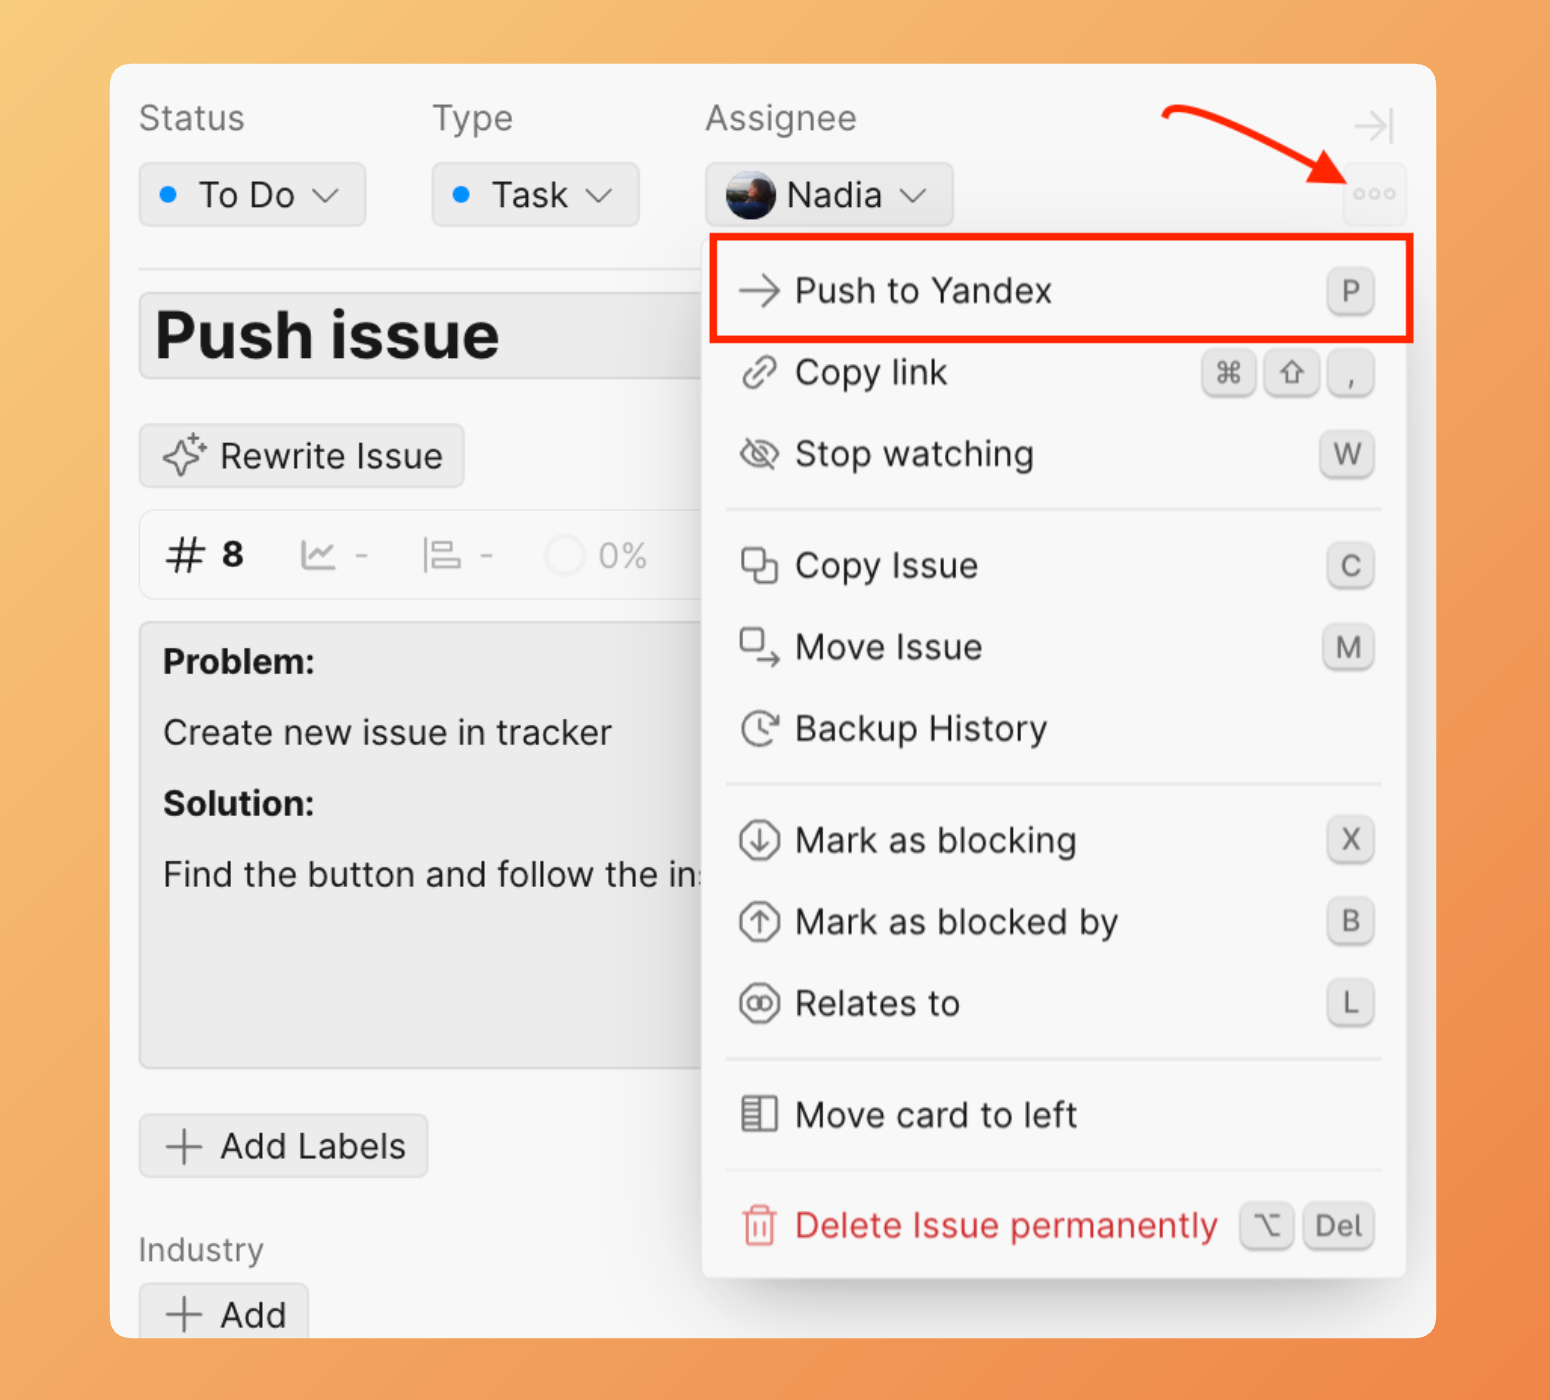
Kayıt kartını açmak için Details (Detaylar) seçeneğine tıklayın.
-
Üç nokta düğmesine tıklayın, ardından Push to Yandex (Yandex'e Gönder) seçeneğini seçin.
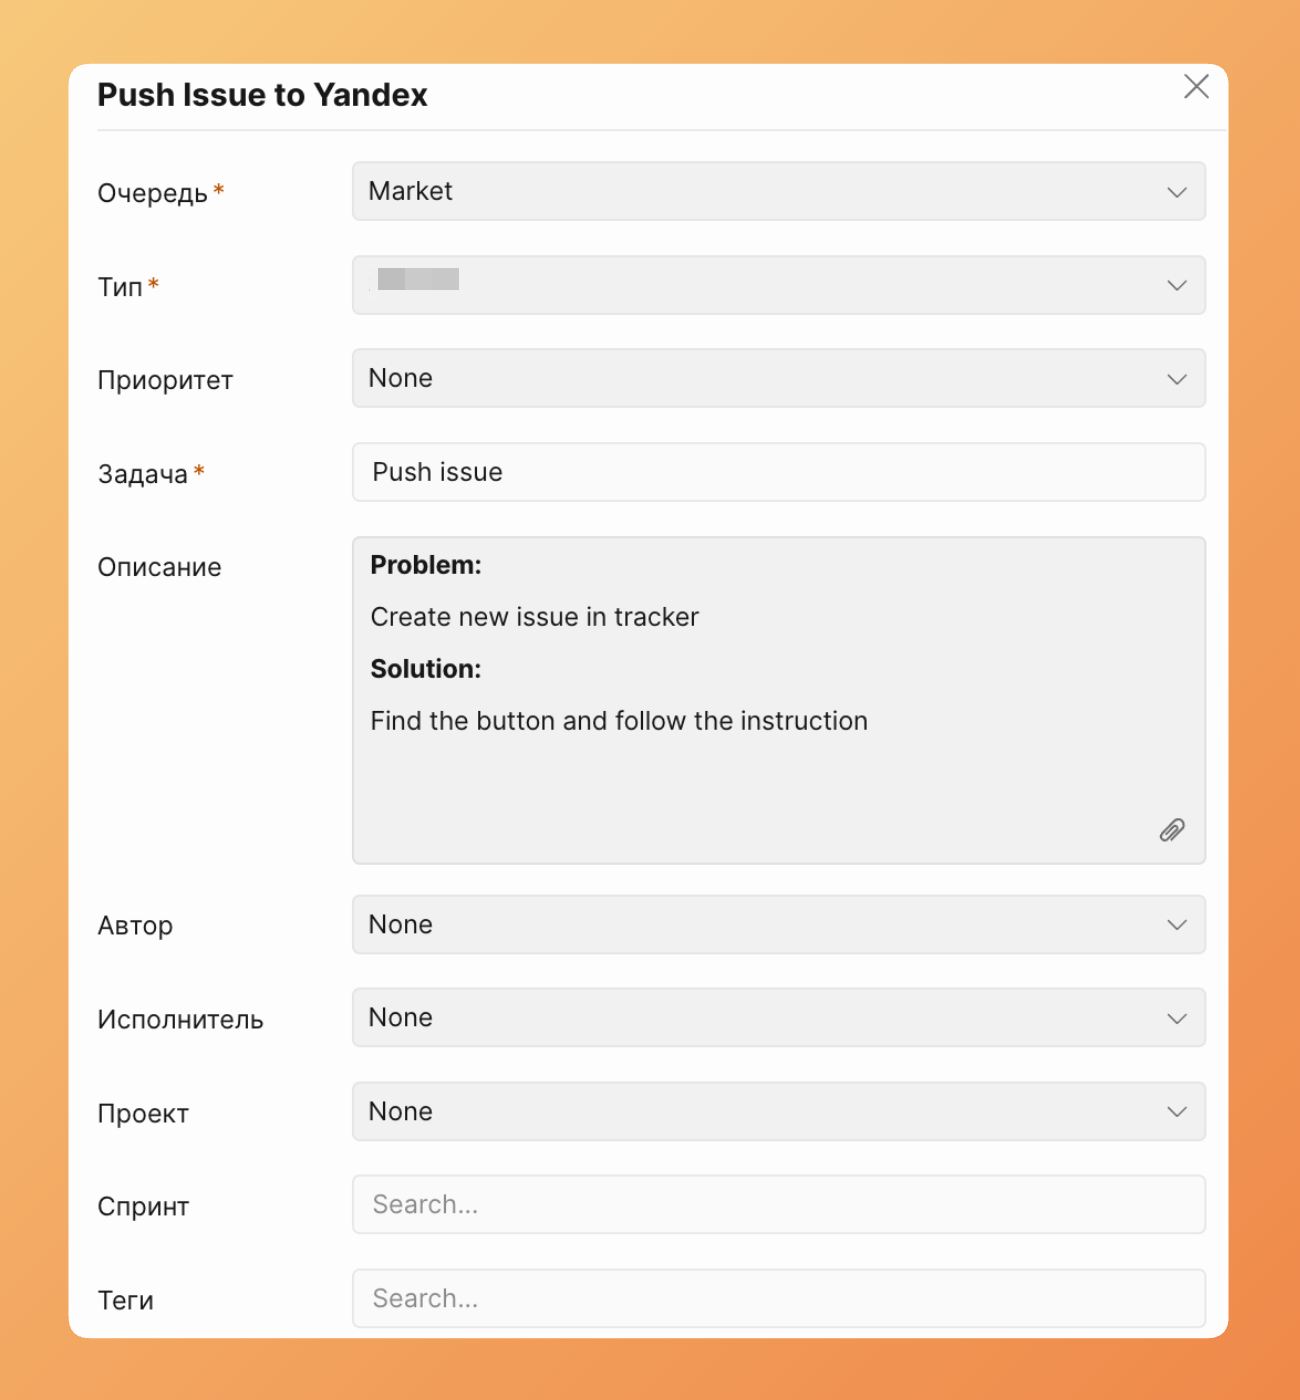
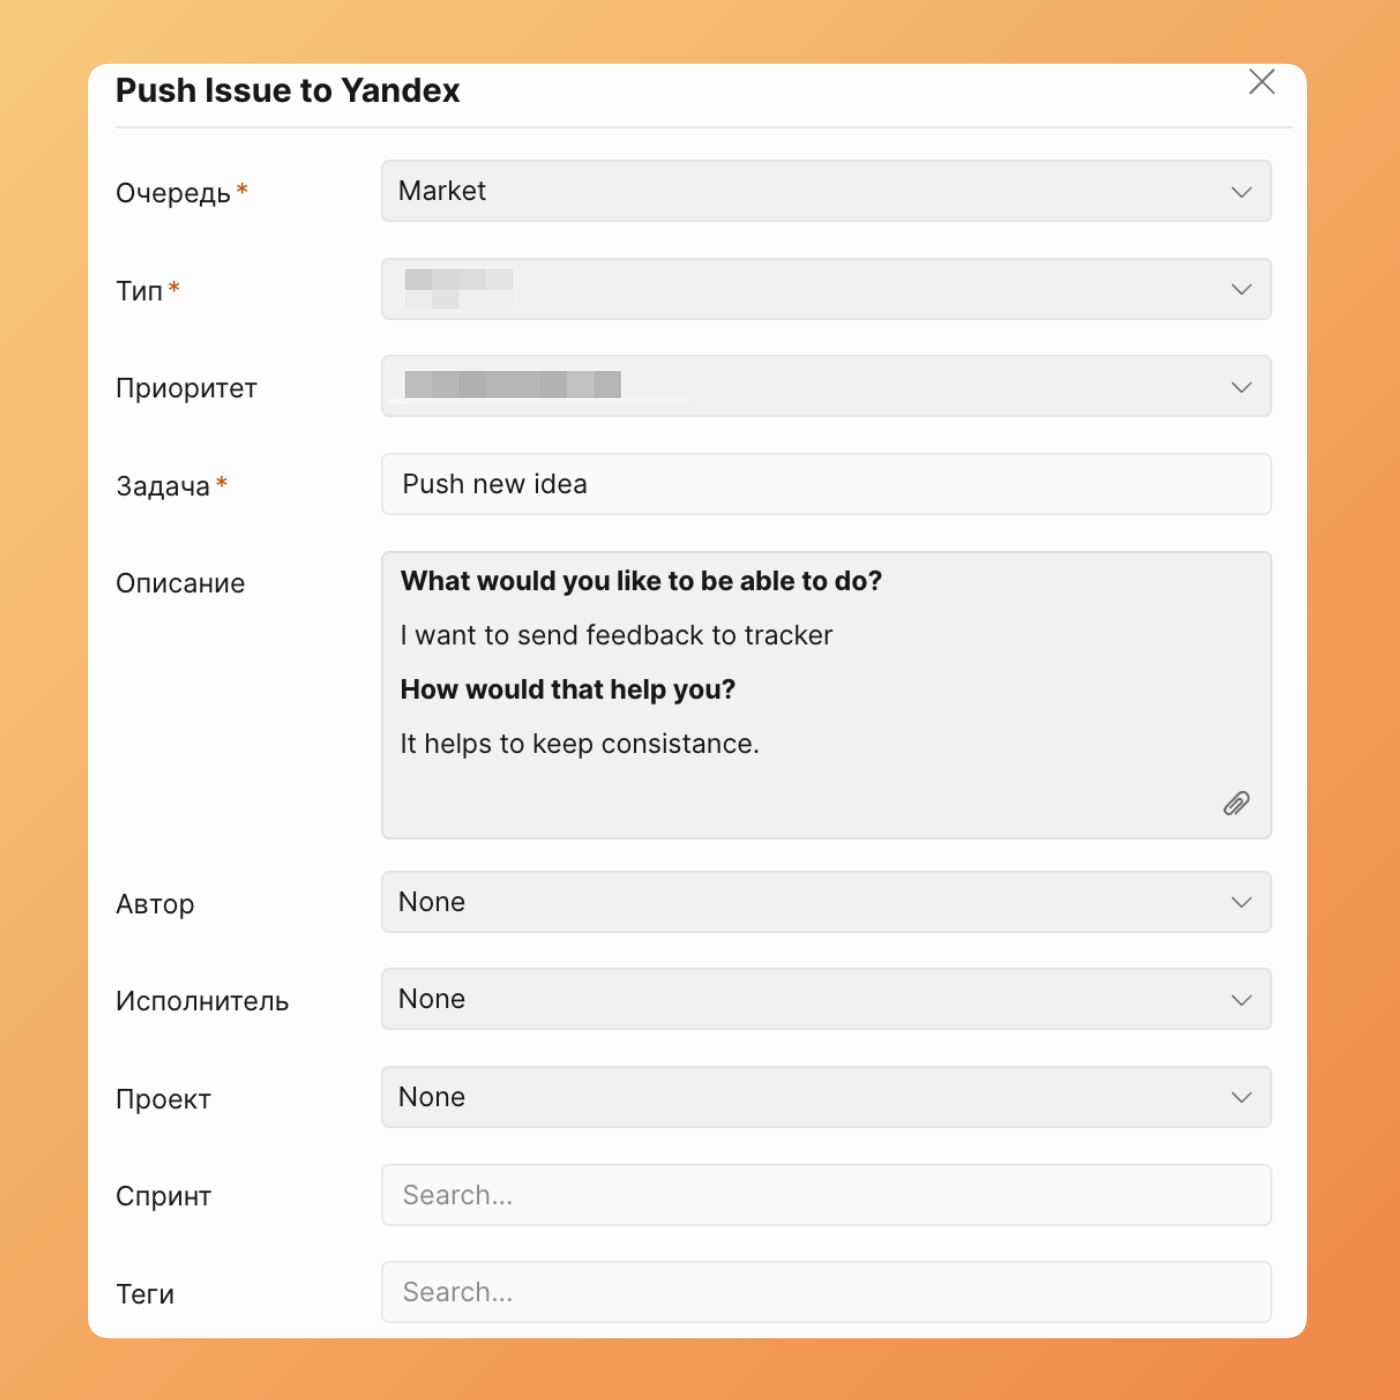
- Yandex tracker alanlarını doldurun.
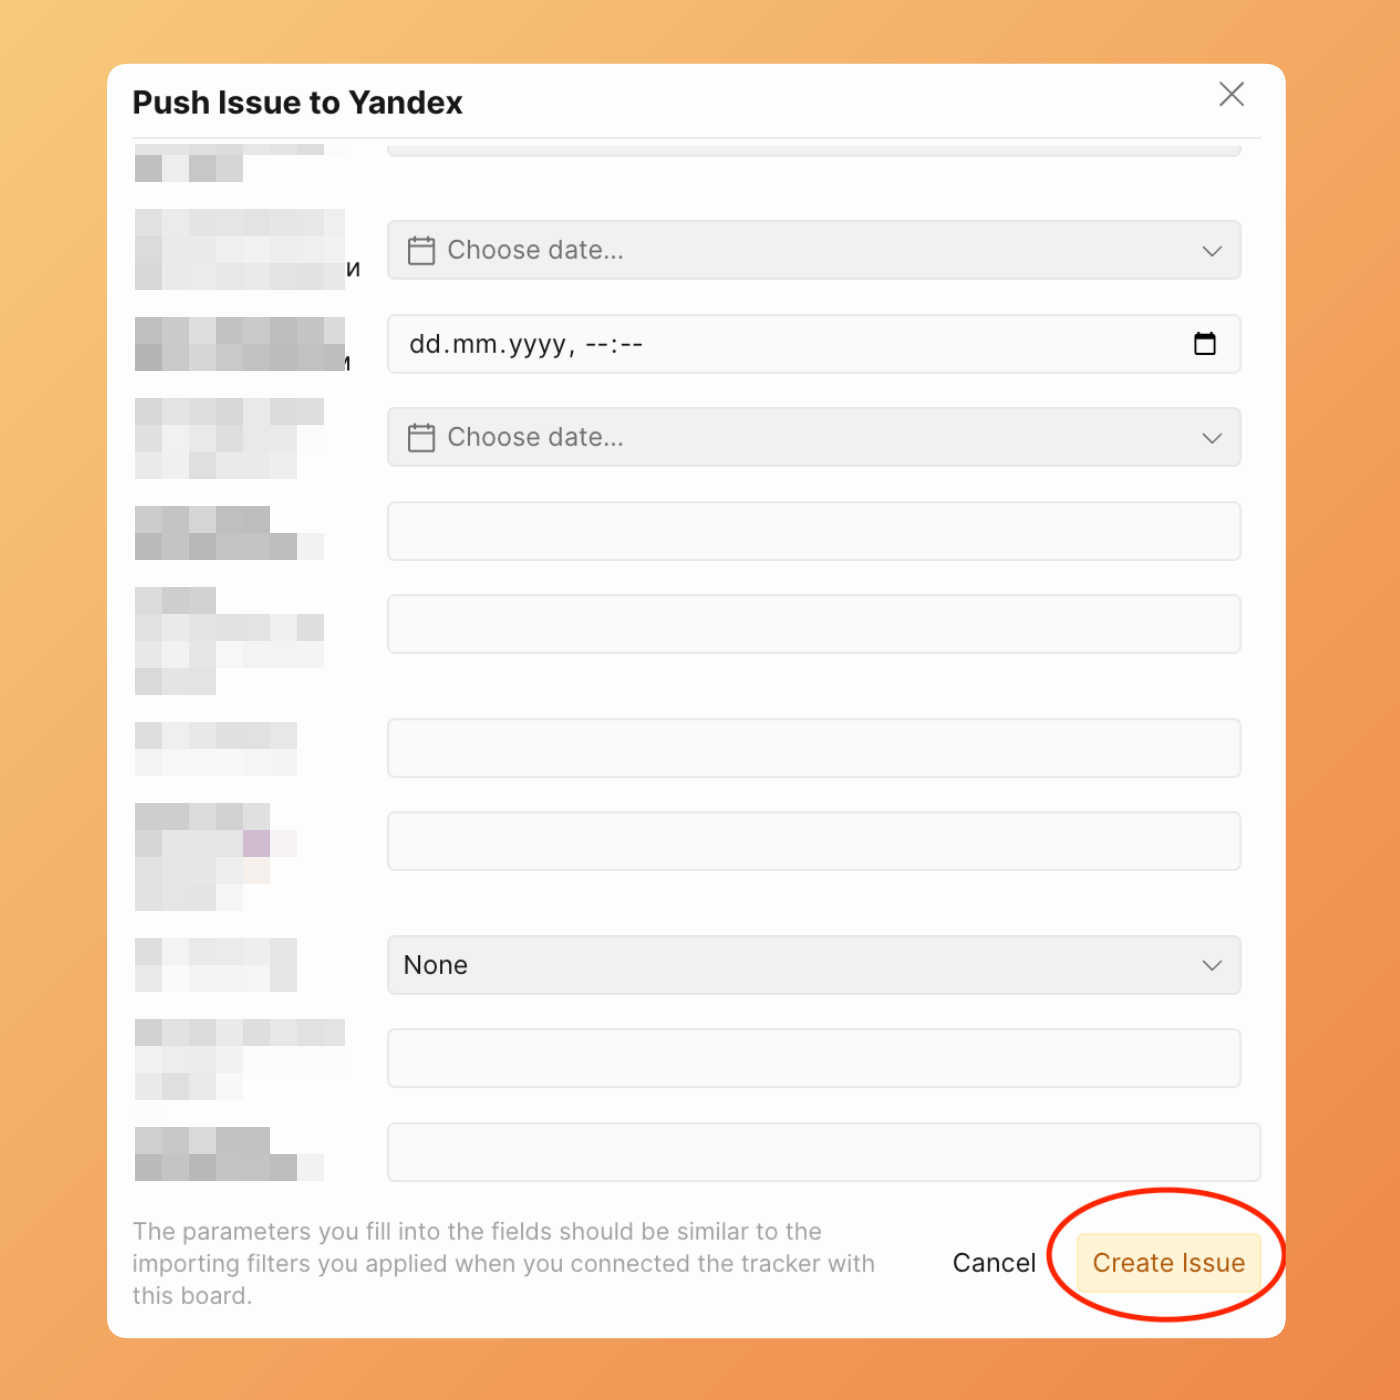
- Create issue (Kayıt oluştur) seçeneğine tıklayın.
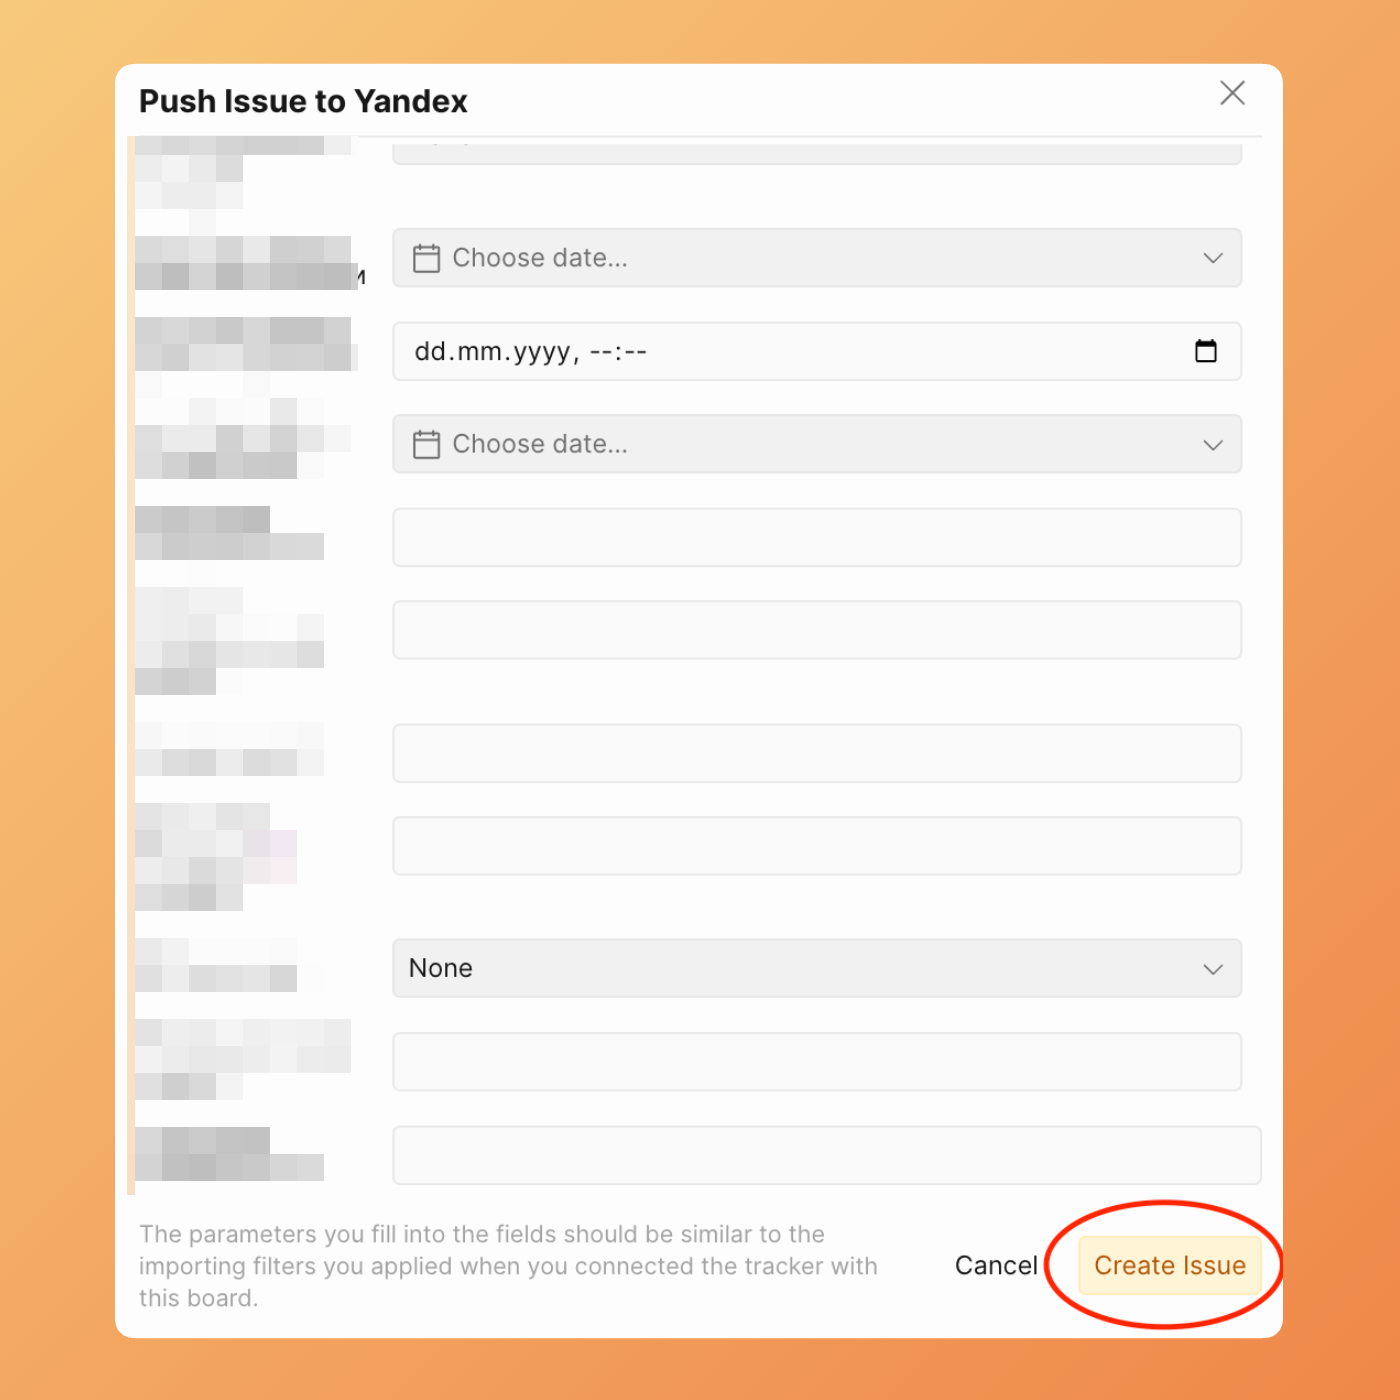
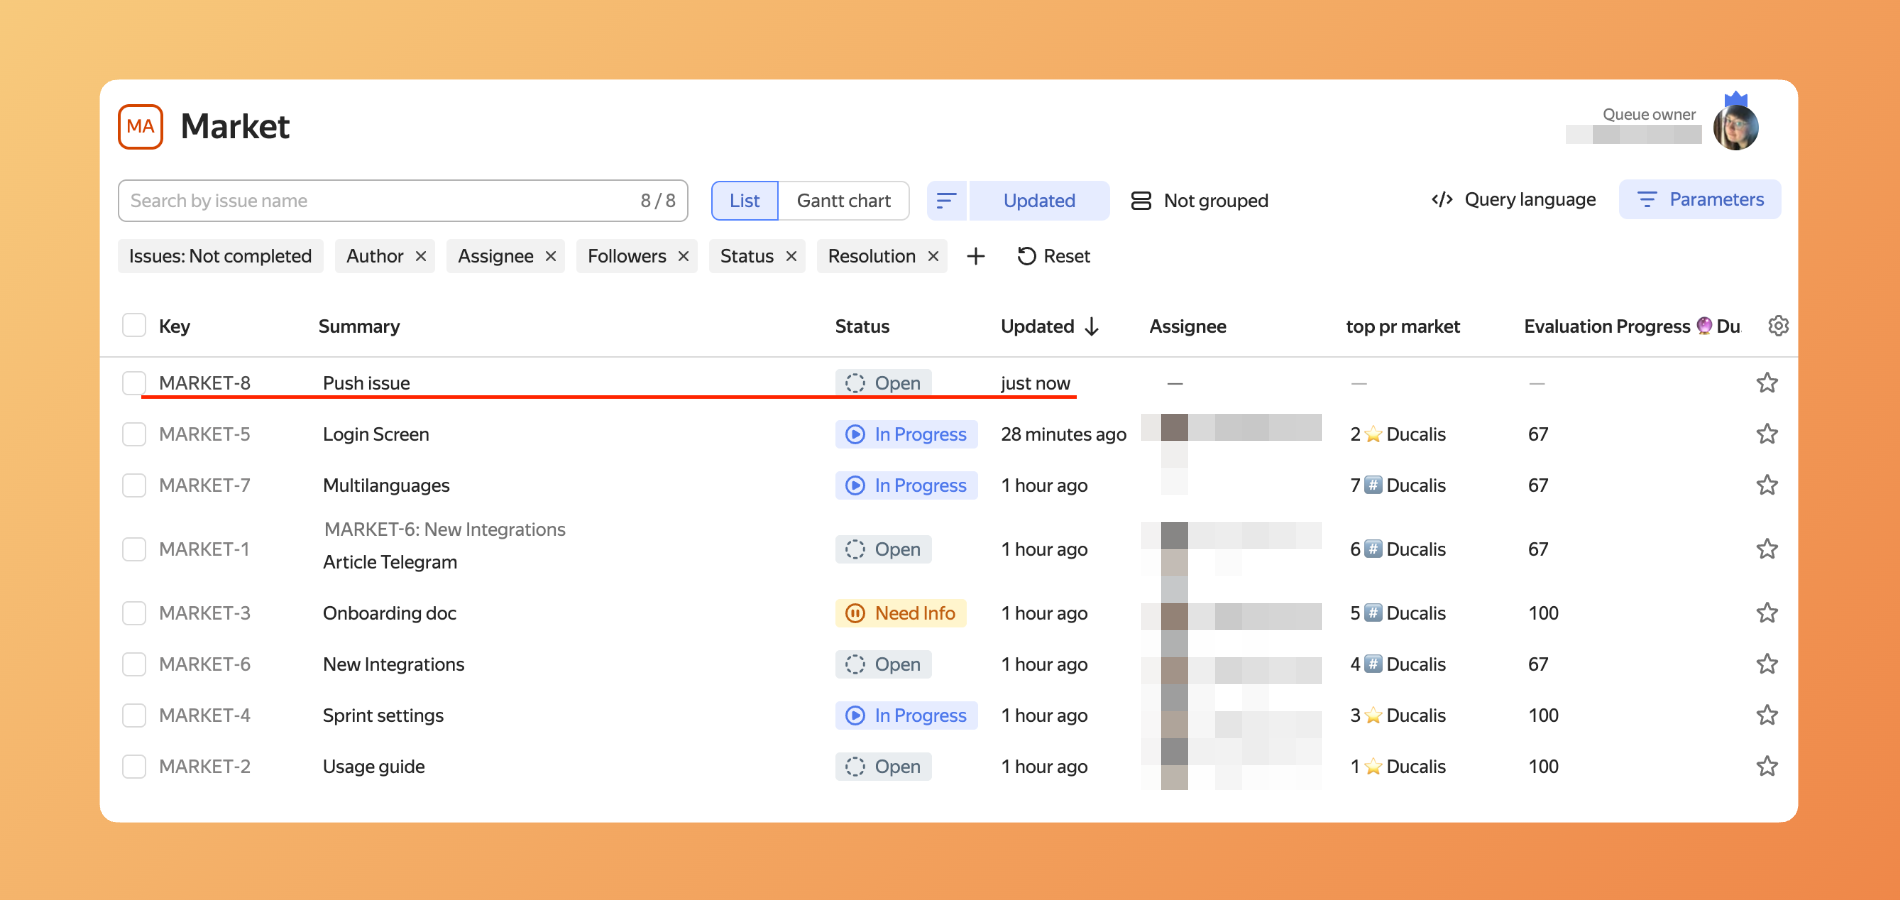
- Ducalis kaydı Yandex.Tracker'da oluşturur ve panonuza ekler.
Oylama Panosu Fikrini Gönderme
Oylama Panonuzdaki Fikirleri Yandex tracker kayıtlarına dönüştürün.
-
Panonuzu açın ve Public ideas (Genel fikirler) bölümüne gidin. Yandex'e göndermek istediğiniz Fikri seçin.
-
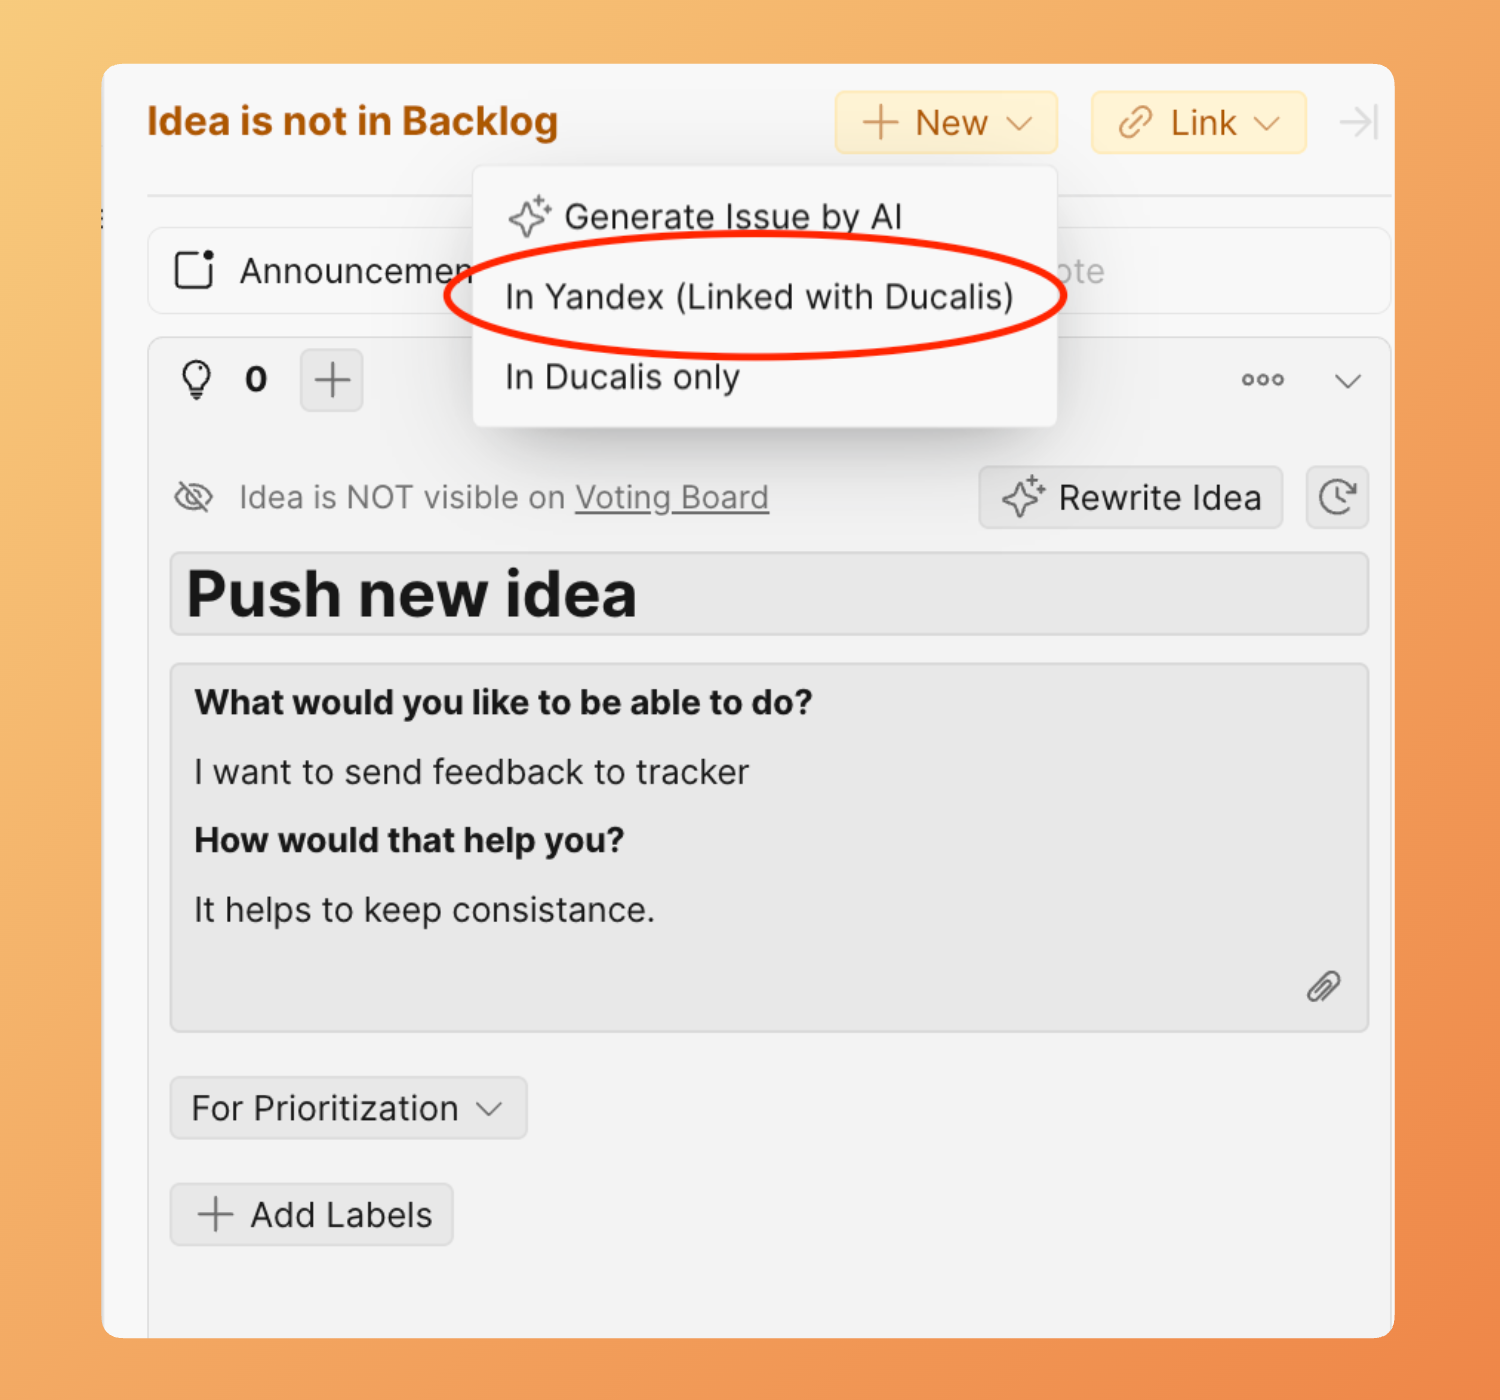
+New (+Yeni) seçeneğine tıklayın, ardından In Yandex (Linked with Ducalis) (Yandex'te (Ducalis ile bağlantılı)) seçeneğini seçin.
- Kayıt detaylarını doldurun.
- Create issue (Kayıt oluştur) seçeneğine tıklayın.
- Kayıt hem Panonuzda hem de Yandex iş listesinde görünür.
Gönderilen Kayıt, İçe Aktarma filtrelerinizle eşleşmiyorsa Ducalis içinde görünmez. Görmek için İçe Aktarma filtrelerinizi ayarlayın.