Add Prioritization frameworks
This guide shows you how to add RICE, ICE, WSJF, or any custom prioritization scoring system to Asana. Works with free or paid Asana accounts and takes about 2 minutes for the full integration.
Problems with Asana priority
Asana is an excellent tool for project management—it's fast, good-looking, and has a robust feature set. However, creating a prioritization scoring system is nearly impossible without external tools.
Asana's support forum is overwhelmed with requests about prioritization.
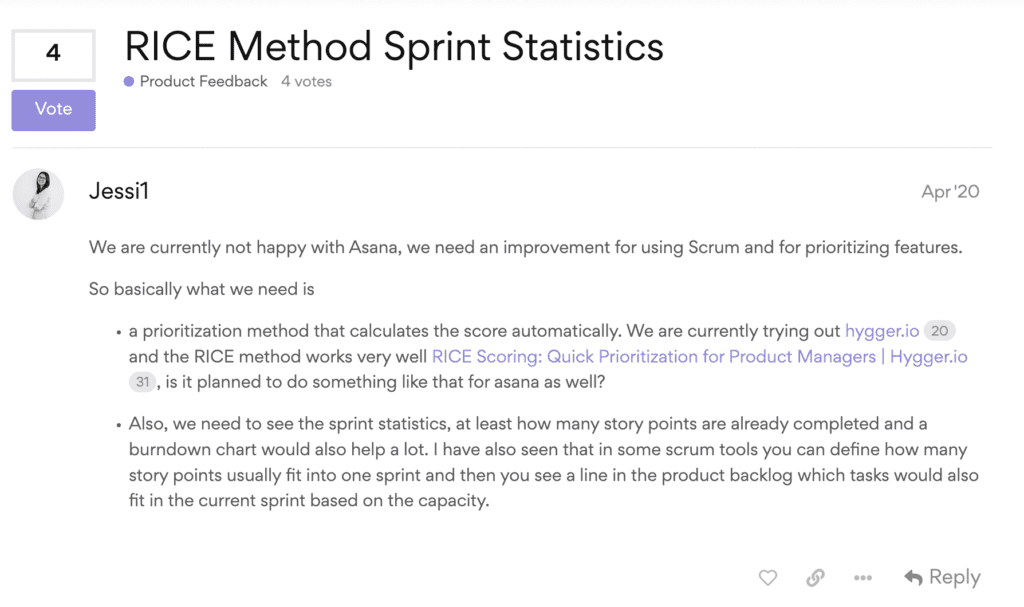
Asana limits you to manually changing task priority with only three built-in options.
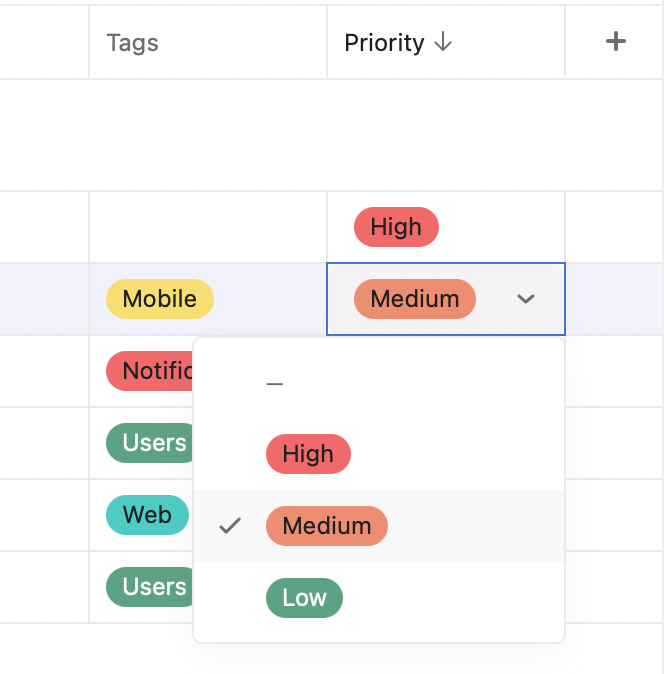
This manual prioritization approach offers only three options with no context on "why" tasks are prioritized. You can't sort your backlog by calculated priority scores.
No calculated custom fields
Every prioritization framework balances values against effort. Building straightforward prioritization scoring requires evaluating and calculating fields. Unfortunately, Asana doesn't support calculated fields—the core requirement for prioritization workflows. That's why Asana users have invented numerous workarounds.
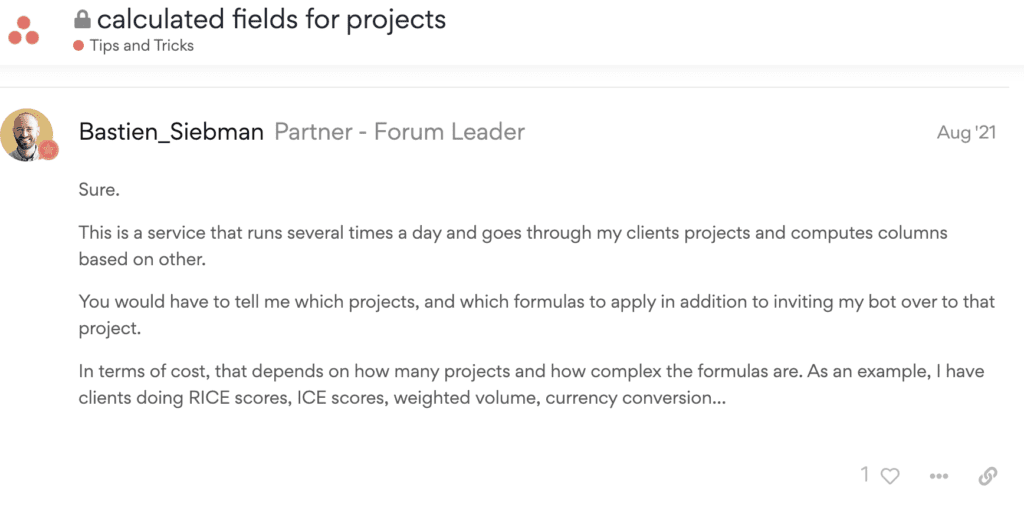
Asana partners like Bastien Siebman offer additional tools to work around this limitation with external calculating scripts.
No workflow rule automation
Asana doesn't provide calculation options in rules or automation. (For comparison, see our WSJF for Jira tutorial showing how Jira handles this.)
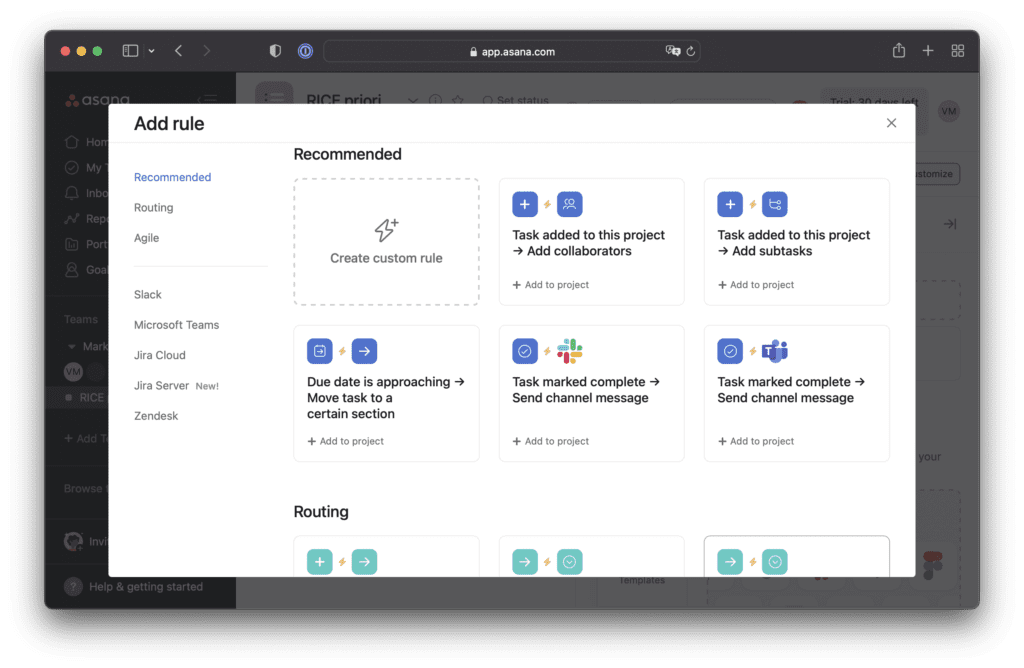
Even if you add custom fields for prioritization, Asana has no built-in feature to calculate the final priority score.
Set up Asana prioritization with Ducalis
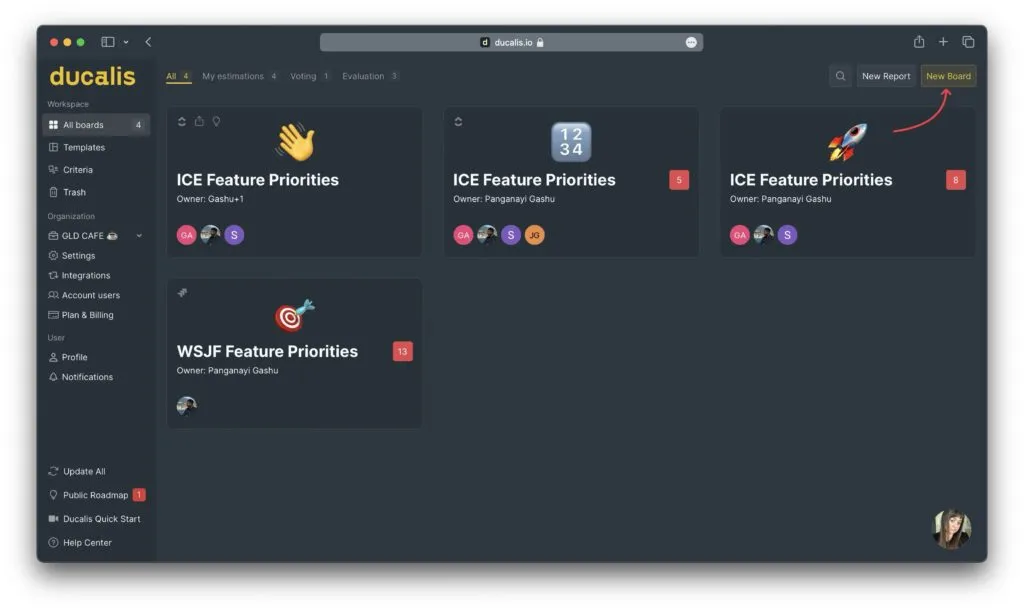
Step 1: Create a new Board with a prioritization framework
-
Navigate to your Ducalis account dashboard or create an account for free.
-
Click New Board.
-
Select a Board with pre-built prioritization frameworks (RICE, ICE, WSJF, or custom).
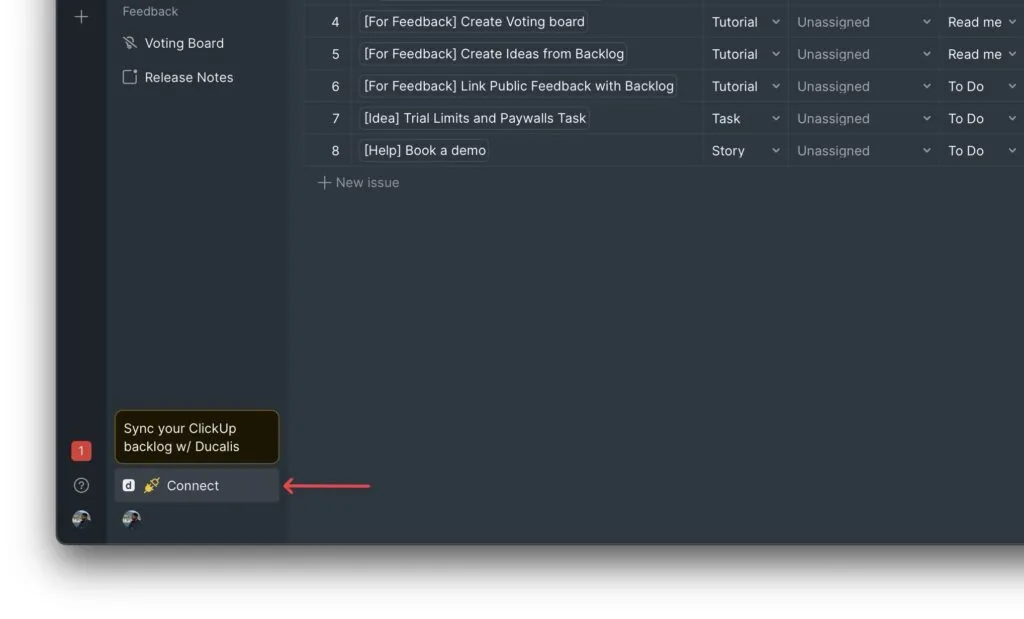
Step 2: Connect your Asana account
-
Click Connect to open Sync settings.
-
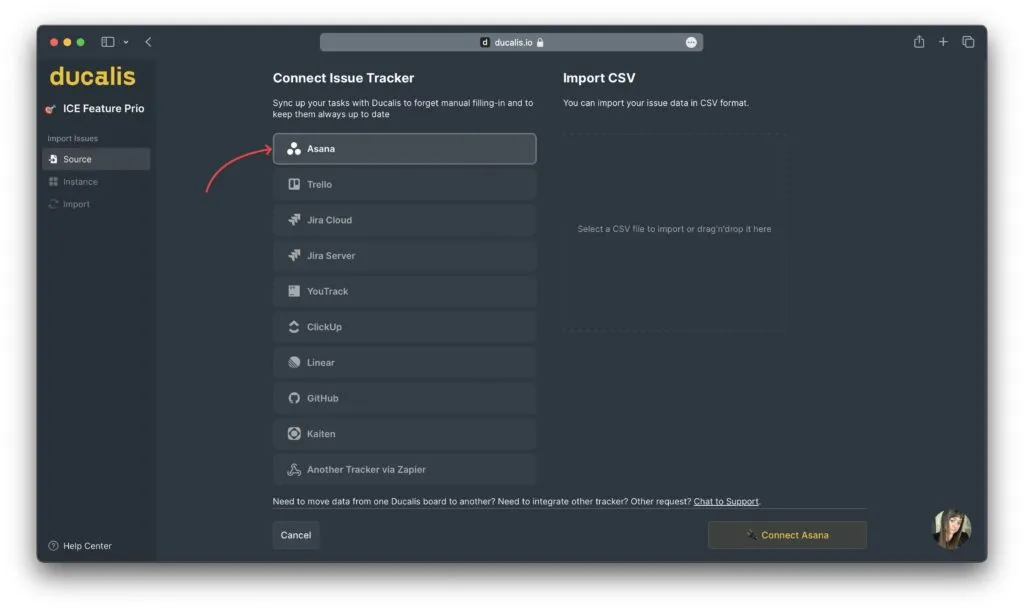
Click Connect Issue Tracker.

-
Select Asana from the list of integrations.
-
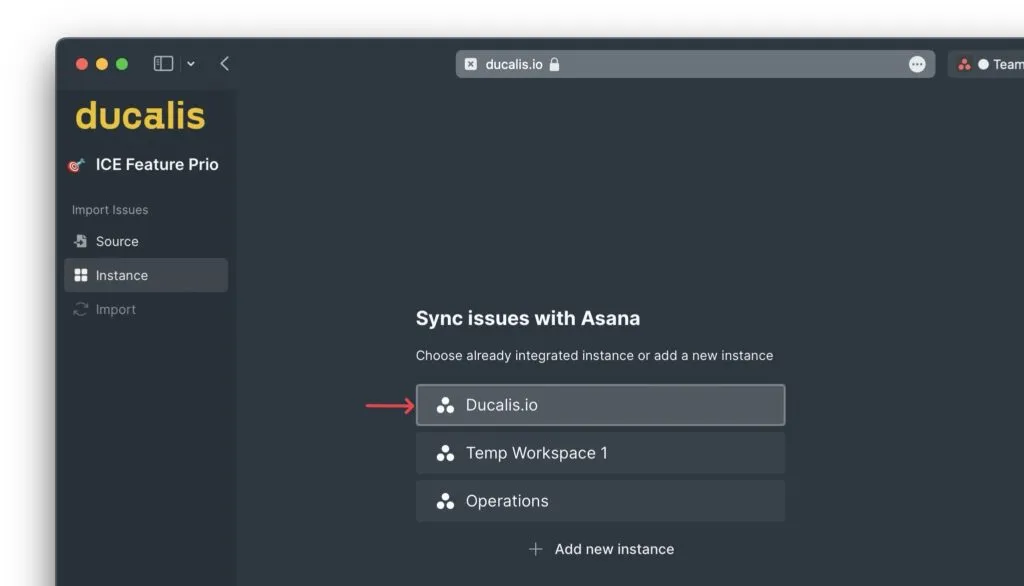
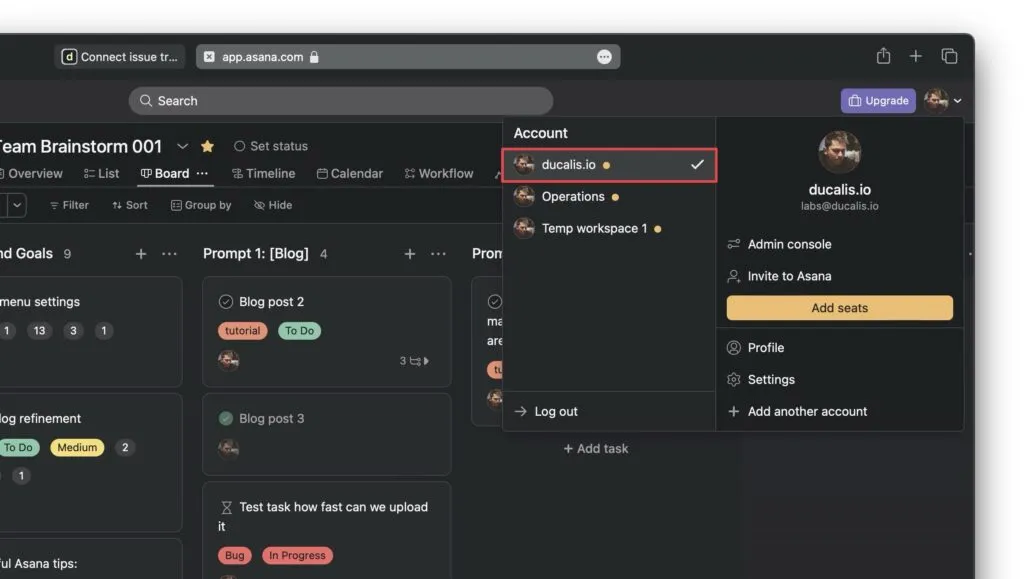
Choose the workspace containing your backlog (names should match).
-
Configure sync rules from Asana to Ducalis.

How sync rules work:
- Any Asana task meeting your rules automatically appears in Ducalis for evaluation (for example, when you create a task in a particular project or move one from another)
- When synced tasks stop meeting the rules, they automatically disappear from Ducalis (for example, when closed or moved to another section)
- Everything works in real time without page refresh
Your backlog is now synced with Asana and ready for evaluation.
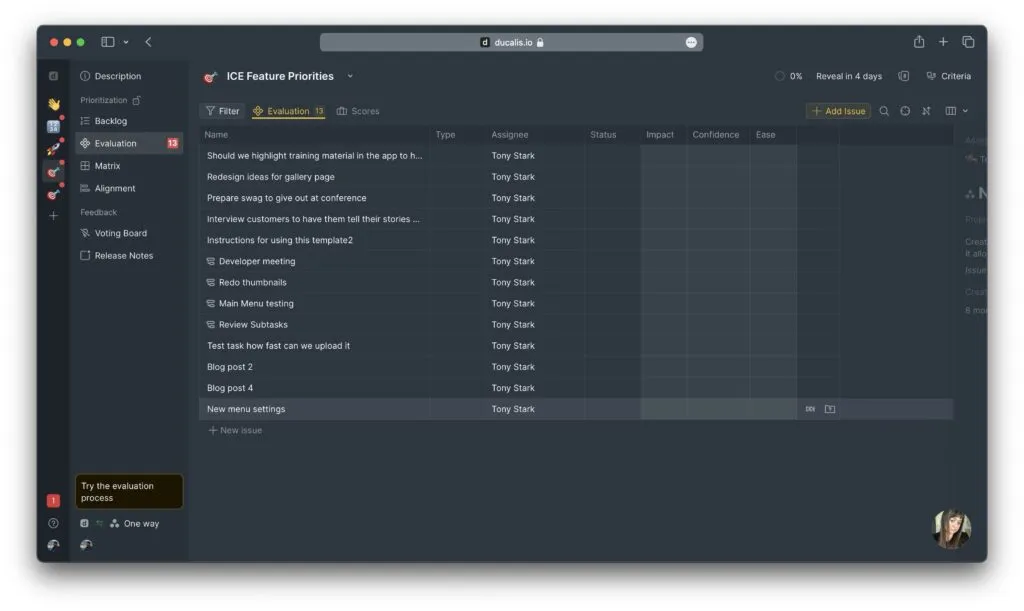
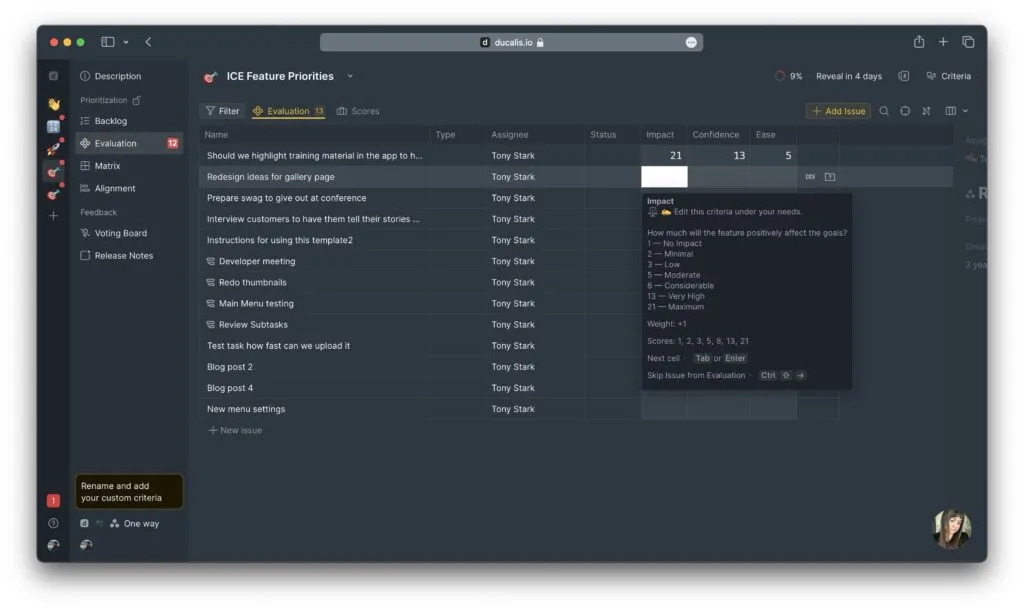
Step 3: Evaluate tasks
-
Go to the Evaluation section.
-
Score your tasks against the prioritization criteria.
-
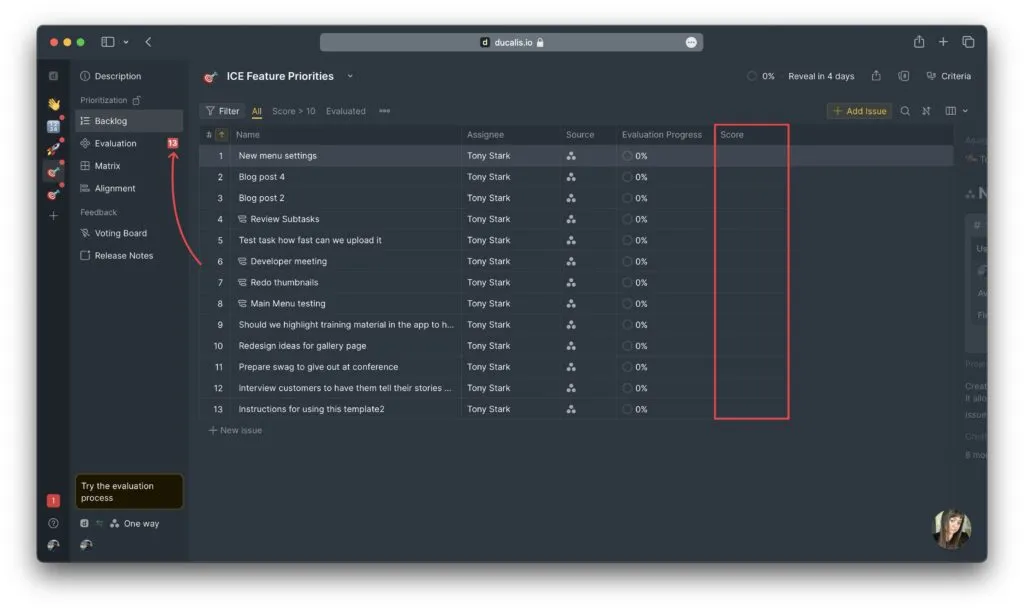
View the Backlog section to see tasks sorted by priority score.
Step 4: Set up priority Sync Back to Asana (paid Asana plans)
The Sync Back feature requires Asana's custom fields, which are part of paid subscriptions only.
-
Go to Sync Settings.
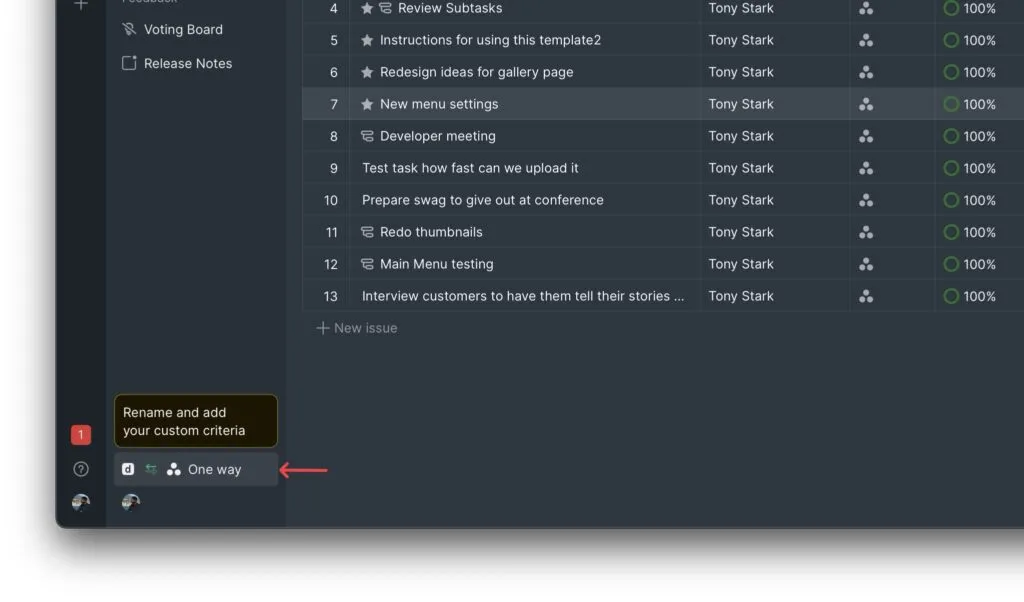
-
Activate Sync Back.
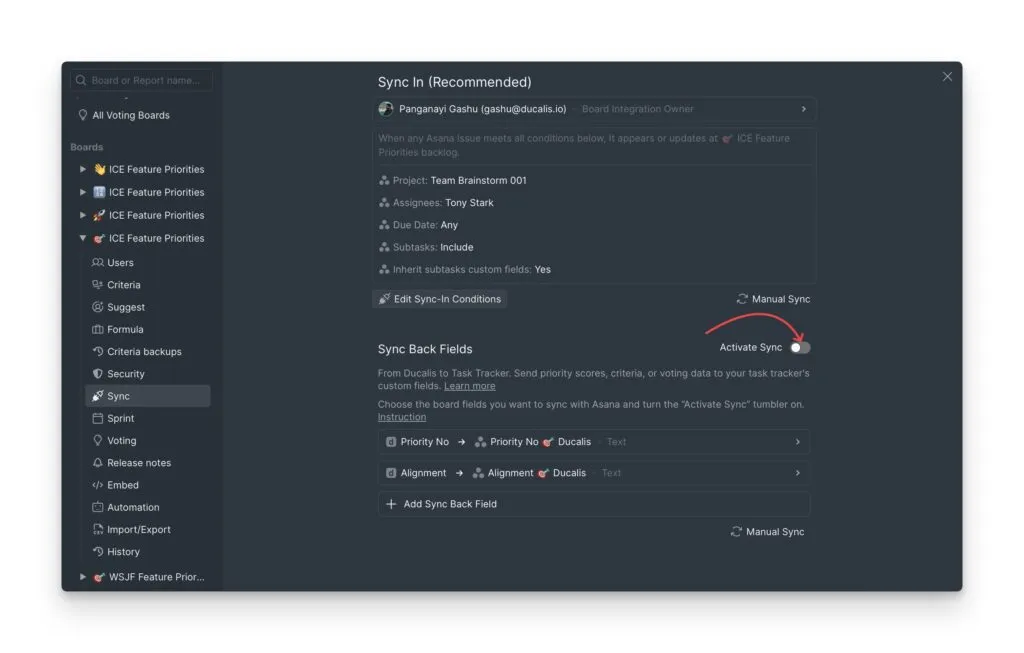
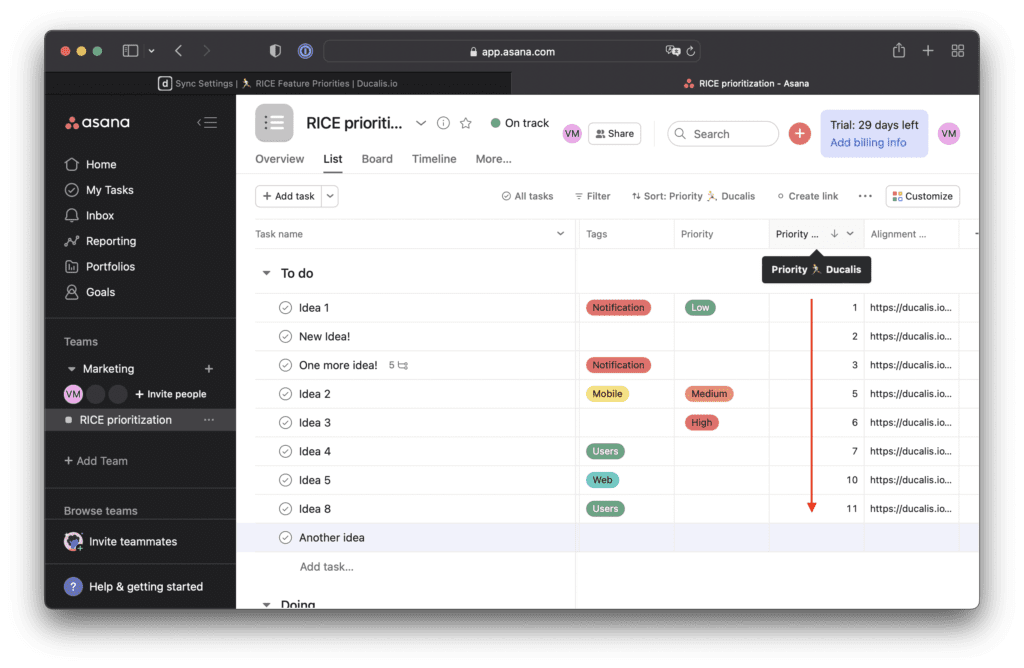
This creates two custom fields in your Asana project. You can now sort and filter your Asana tasks by the calculated priority score in any view.
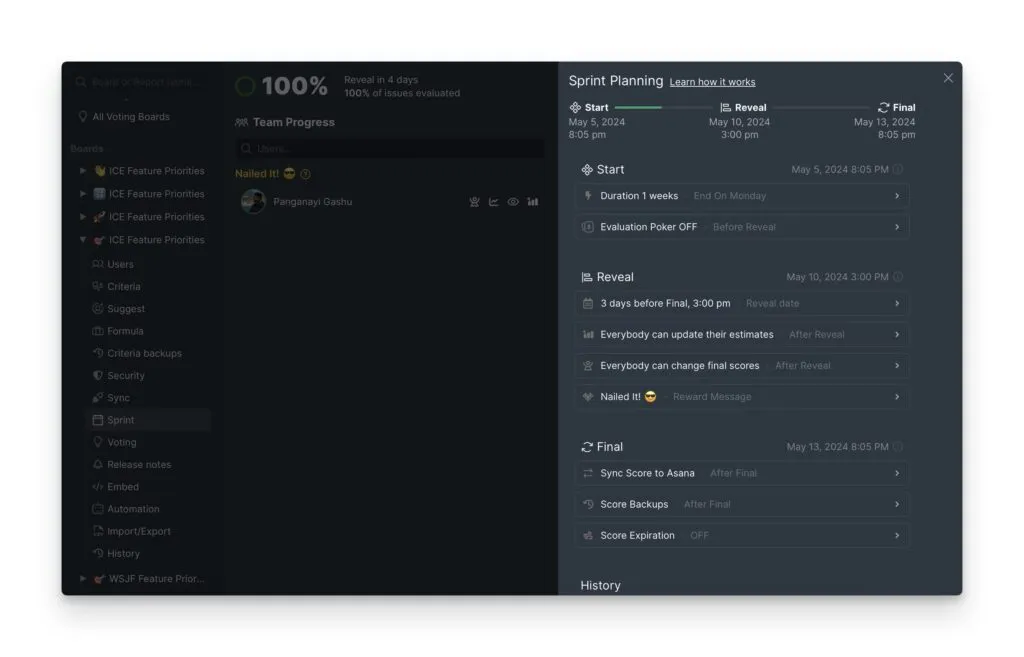
Step 5: Schedule priority rank updates
Keep your priorities up to date and prevent them from "jumping" every time a teammate evaluates the backlog.
-
Open Sprint Planning settings.
-
Set your planning meeting schedule under the Start section.
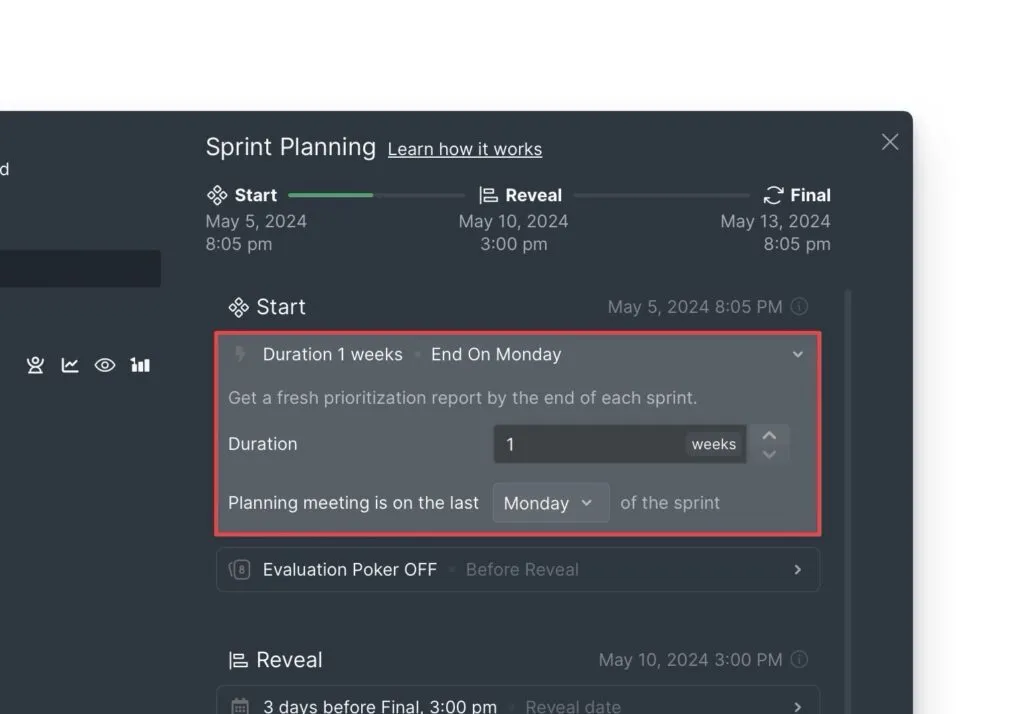
This controls how often priority scores sync from Ducalis to Asana.
Step 6: Share Asana priorities from Ducalis (free Asana plans)
If you're using a free Asana account, you can't sync priorities back to Asana due to the lack of custom fields. However, you can share Ducalis's Top Priorities report:
-
Invite all teammates to Ducalis. There are no user limits for free accounts.
-
Share the link from the Backlog report.
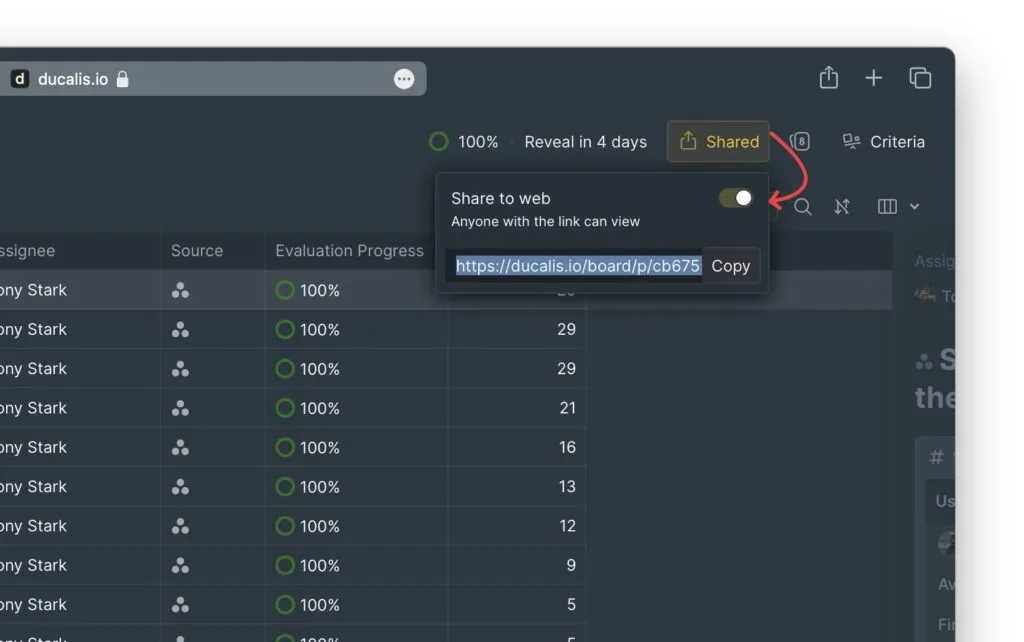
After evaluating priorities, you can share this link for your team's next planning meeting.