Create and manage filters
Filters narrow down data to help you focus on specific issues or ideas. You can create filters for the current board (One-Board Filter) or across all boards (All-Boards Filter).
Create a one-board filter
One-board filters apply only to the current board you're viewing.
-
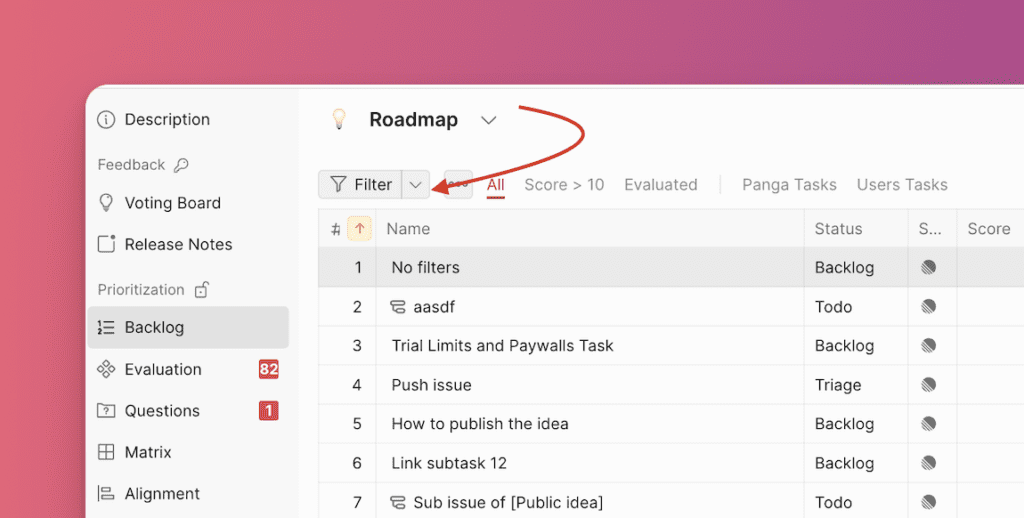
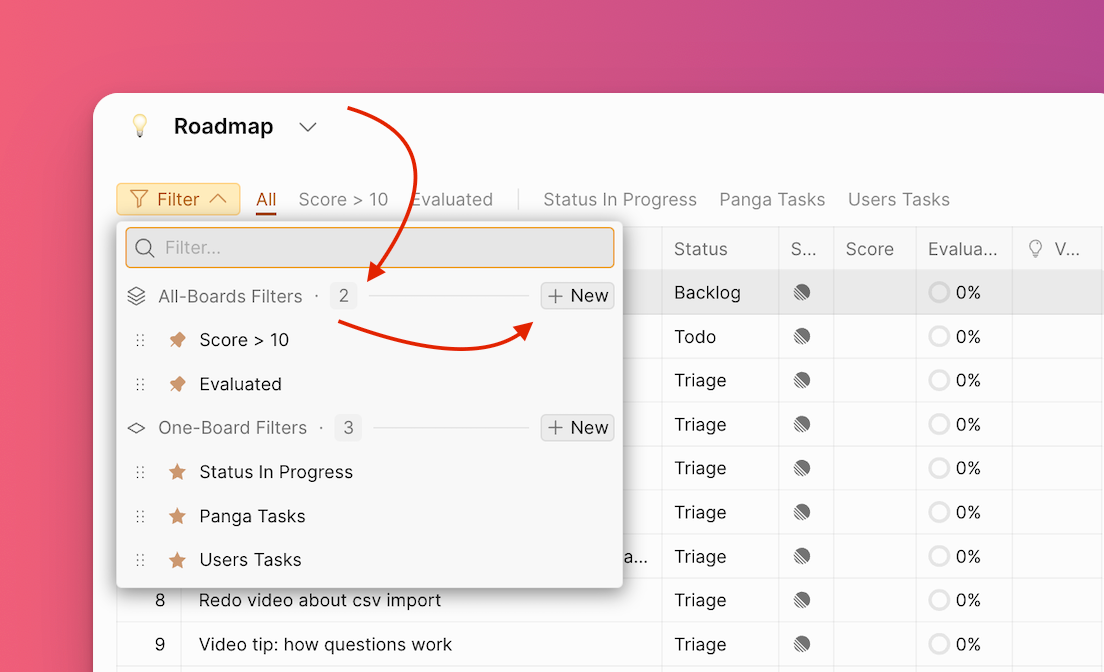
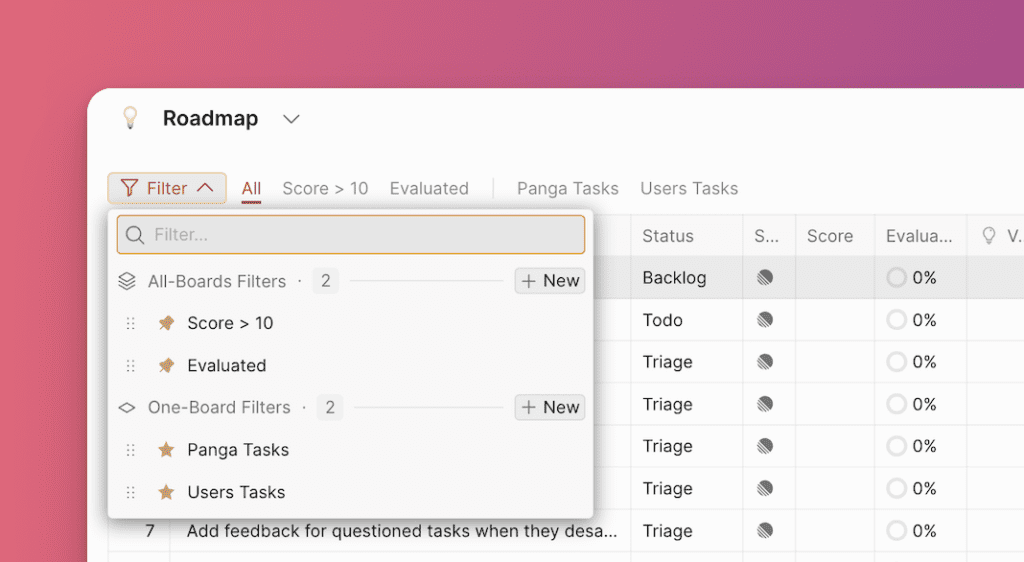
Click the filter icon in the top right corner of the table.
-
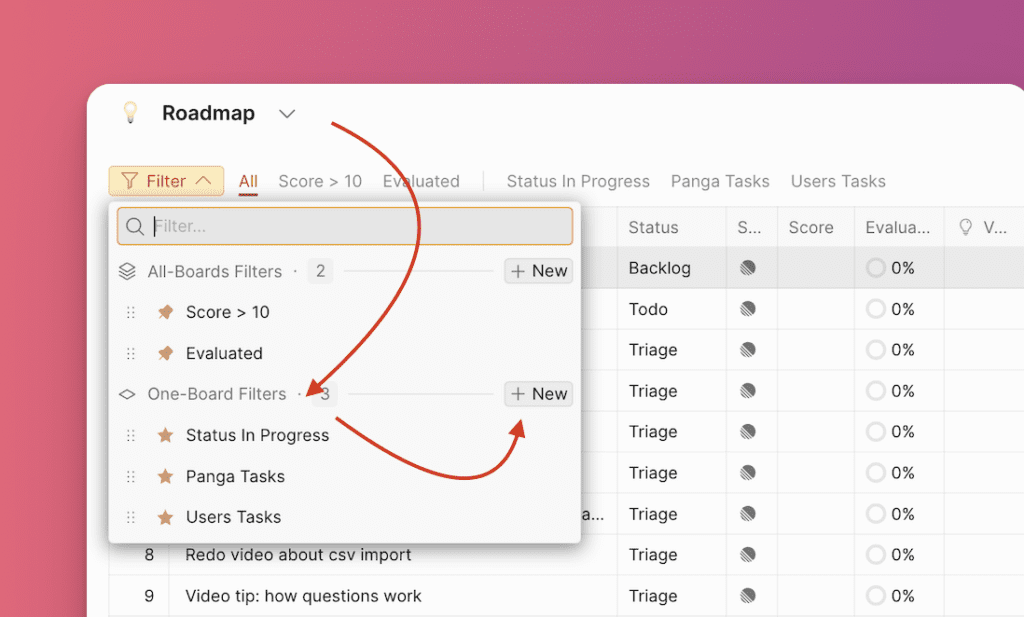
Select One-Board Filters and click New.
-
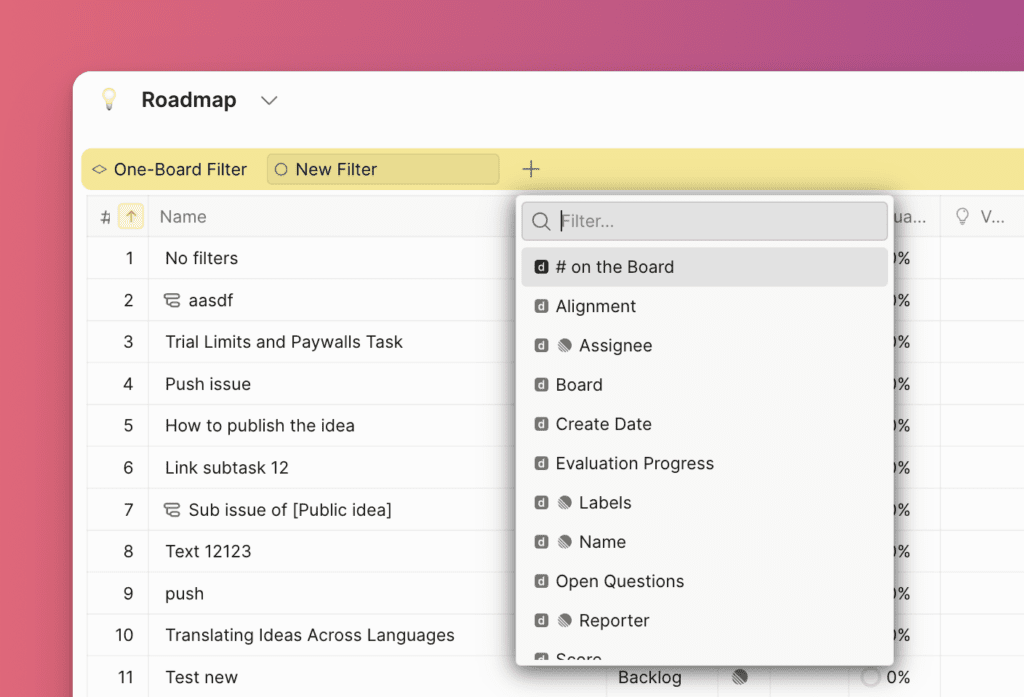
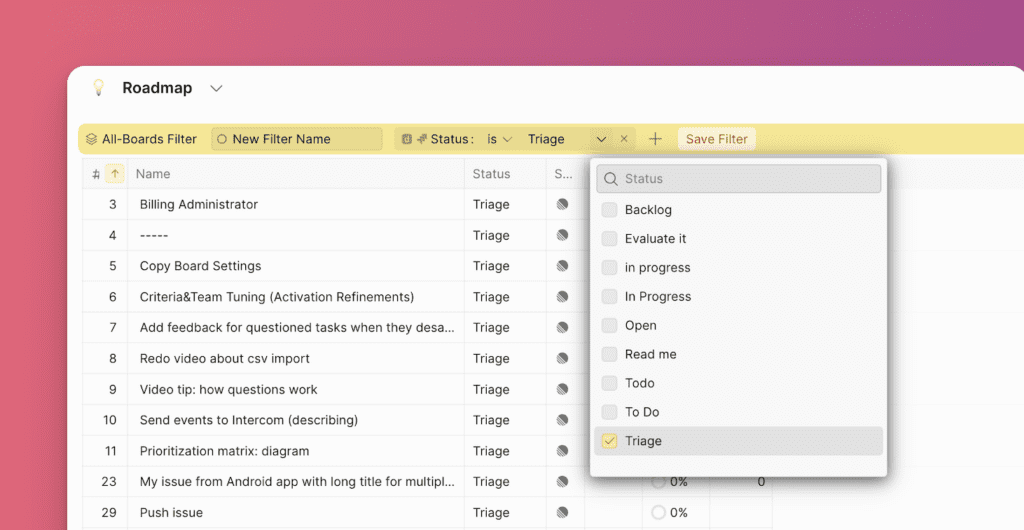
Search or select the filter field you want to create. Available filters include Ducalis fields, Public idea fields, Criteria alignment, Alignment fields, and task tracker fields (if connected).
-
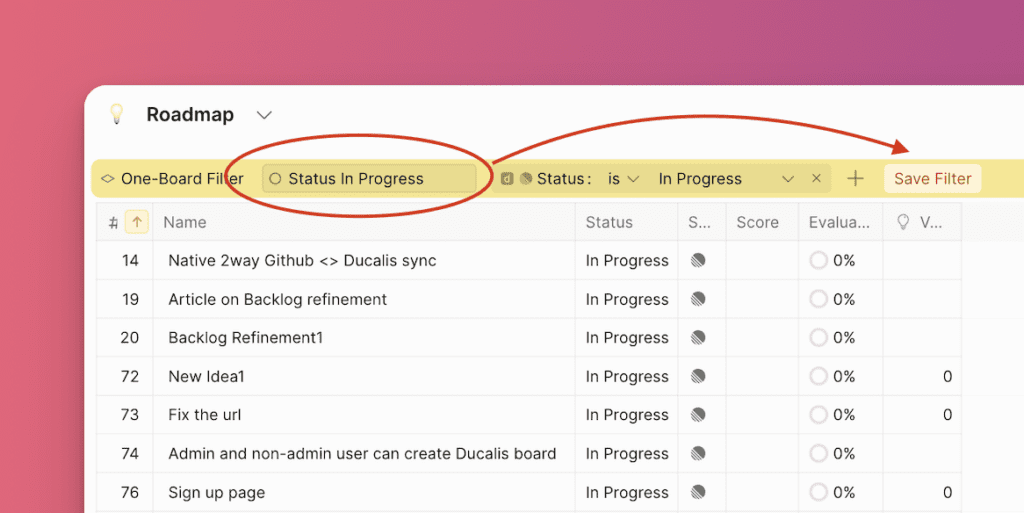
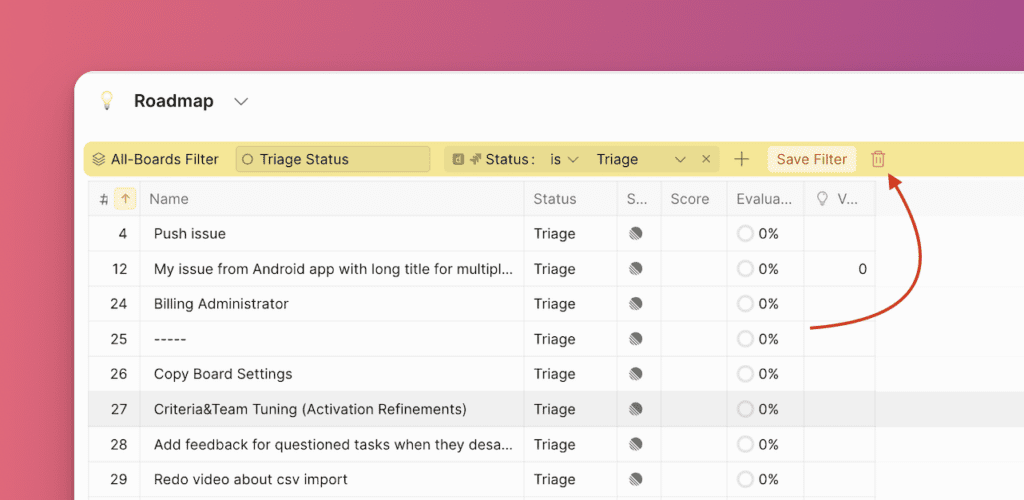
Choose parameters for the selected filter field.

-
To add another filter field, click +.
-
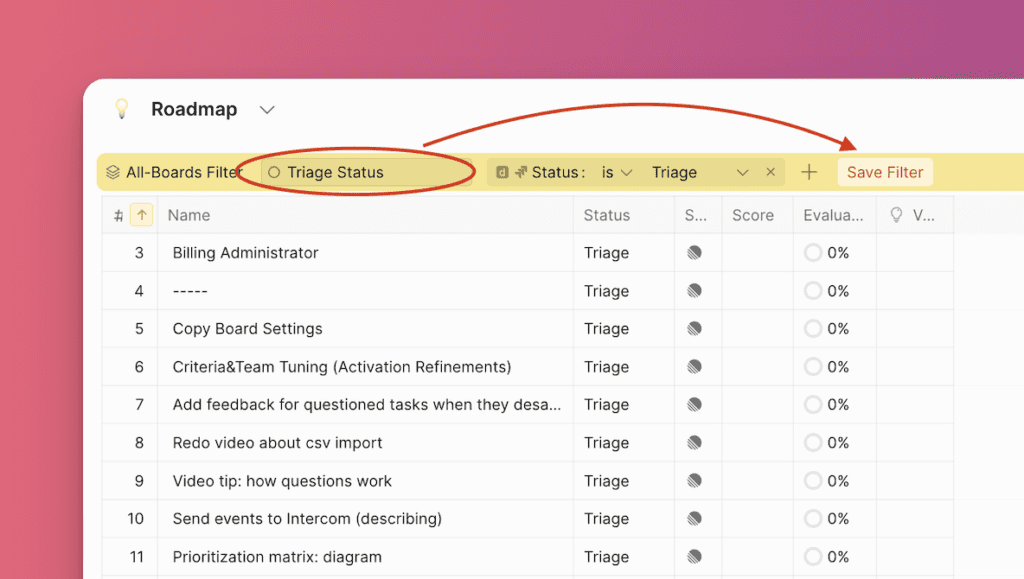
Name your filter and click Save.
Saved filters are visible to everyone on the board. If you don't save a filter, it disappears when you finish using it.
Add a filter to favorites
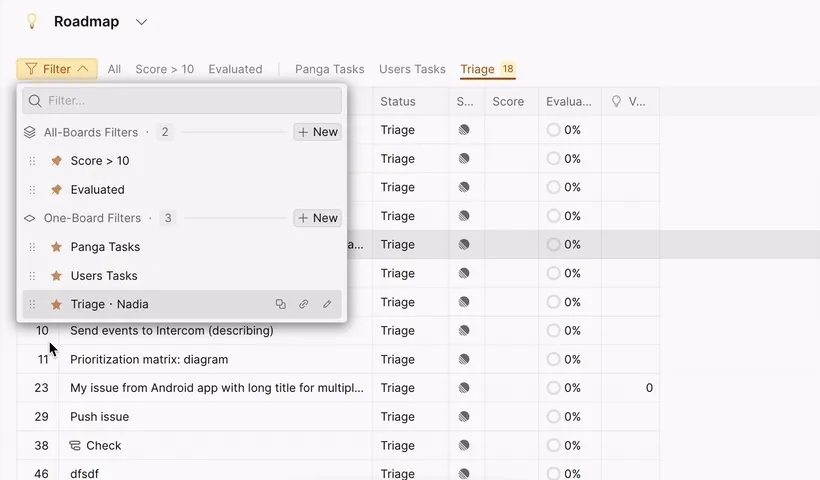
When you create and save a filter, it's automatically added to your favorites. Favorite filters (marked with a star) appear on the panel above for easy access. These favorites are visible only to you.
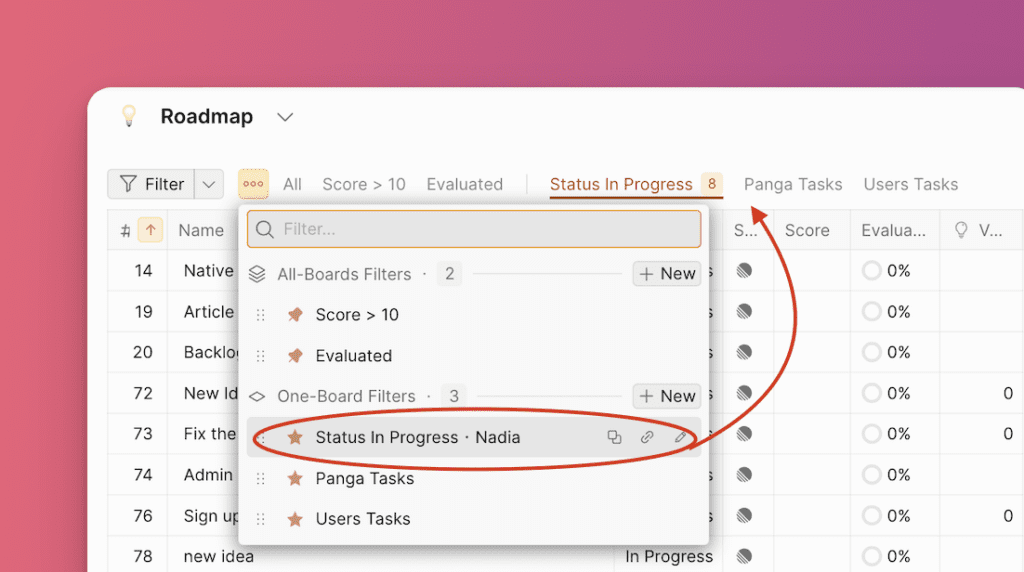
You can also add a filter created by a teammate to your favorites.
Create an all-boards filter
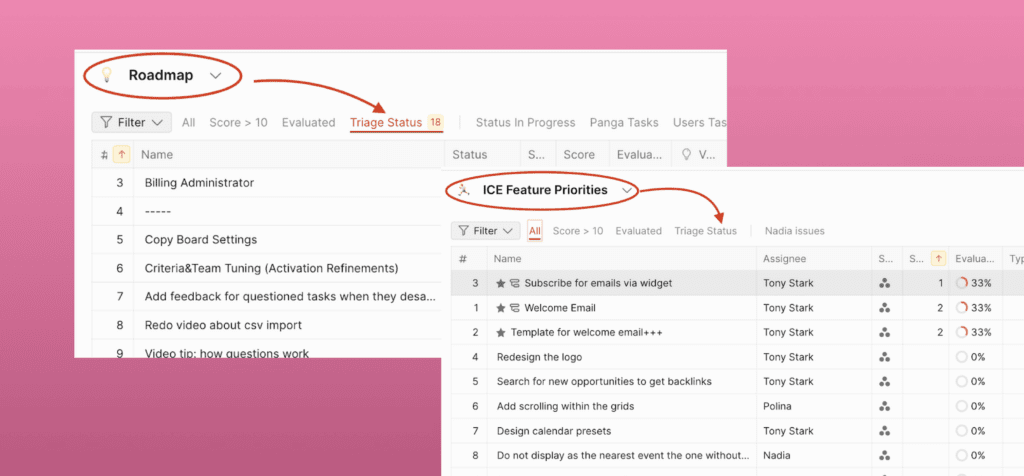
All-boards filters apply across all boards. Use them to track specific issues or ideas from multiple boards simultaneously, or to reuse the same filters without creating them on each board.
-
Click the filter icon, select All-Boards Filter, and click New.
-
Search or select the filter field you want to create. Available filters include Ducalis fields, Public idea fields, Criteria alignment, Alignment fields, and task tracker fields (if connected).
-
To add another filter field, click +.
-
Name your filter and click Save.
-
A warning message states that this filter will be applied to all boards. Click Confirm.
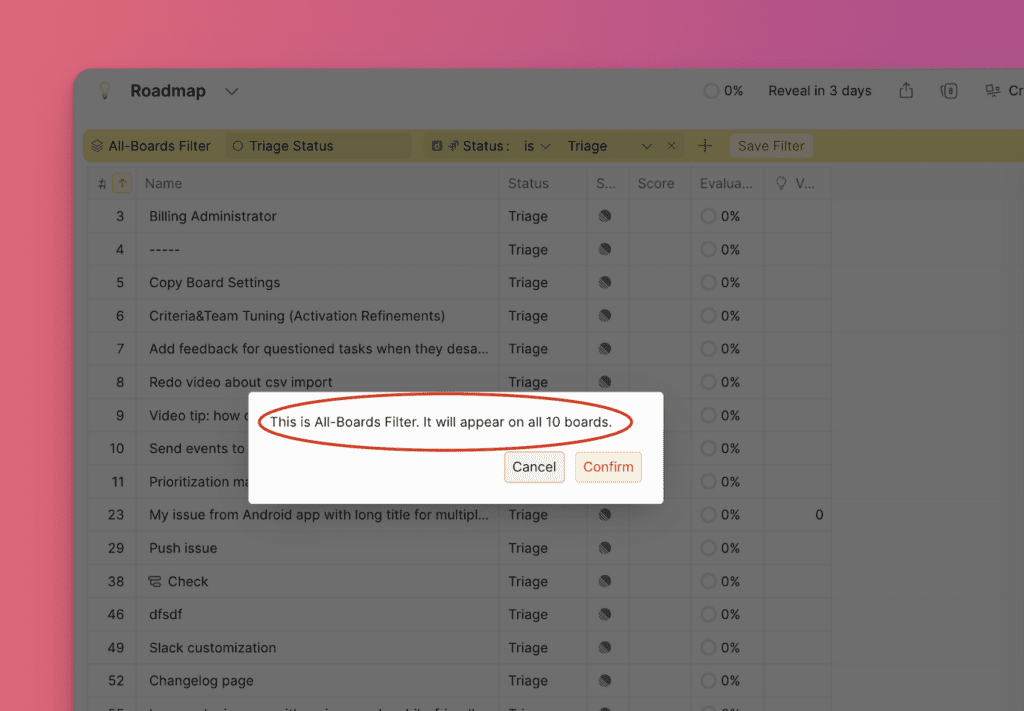
The filter appears in your dropdown menu.
Saved filters are visible to everyone on all boards.
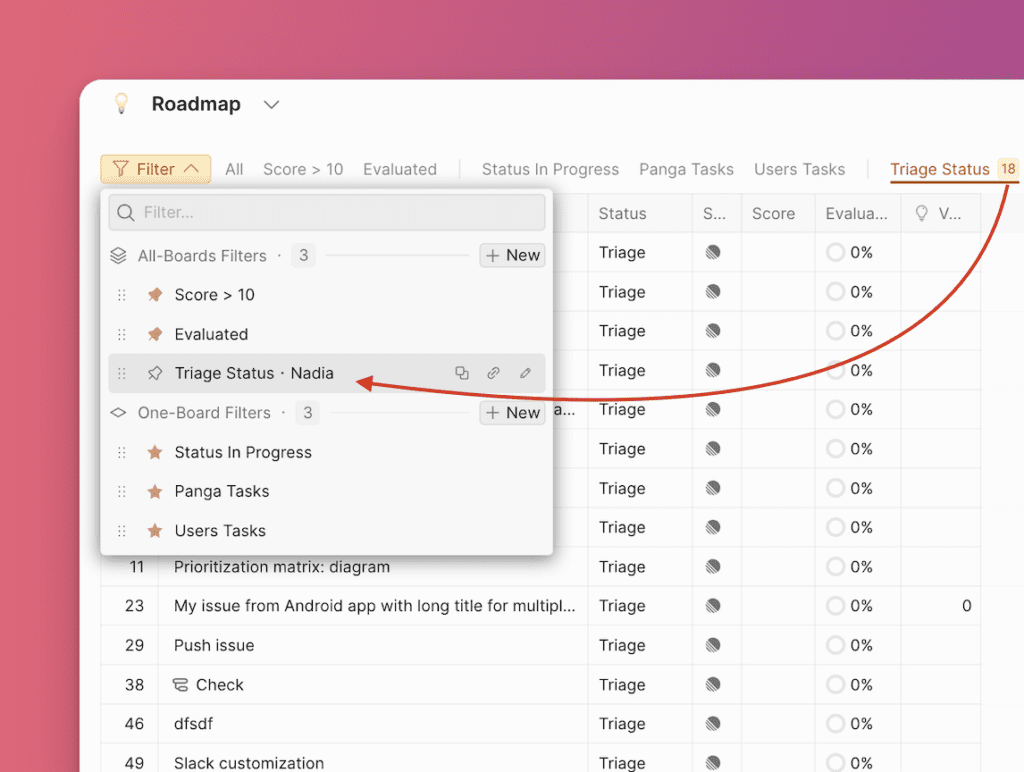
Pin a filter
Pin a filter to make it appear on the panel above for easy access.
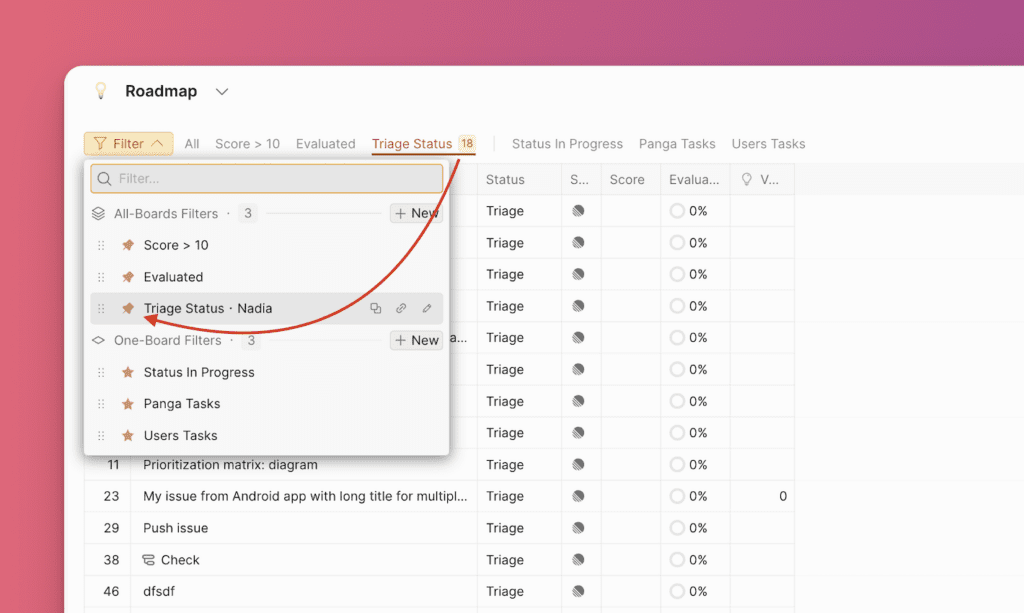
Pinning a filter makes it visible for all users on all boards in the panel.
Reorder filters
Reorder filters to make frequently used filters easier to find.
-
Click the filter dropdown arrow to display the list of available filters.
-
Hover over the filter you want to move, then click and drag it to the desired position.
-
The new position is applied to the filter panel and displays in your preferred order.
Reordering applies to all users on all boards.
Edit a filter
-
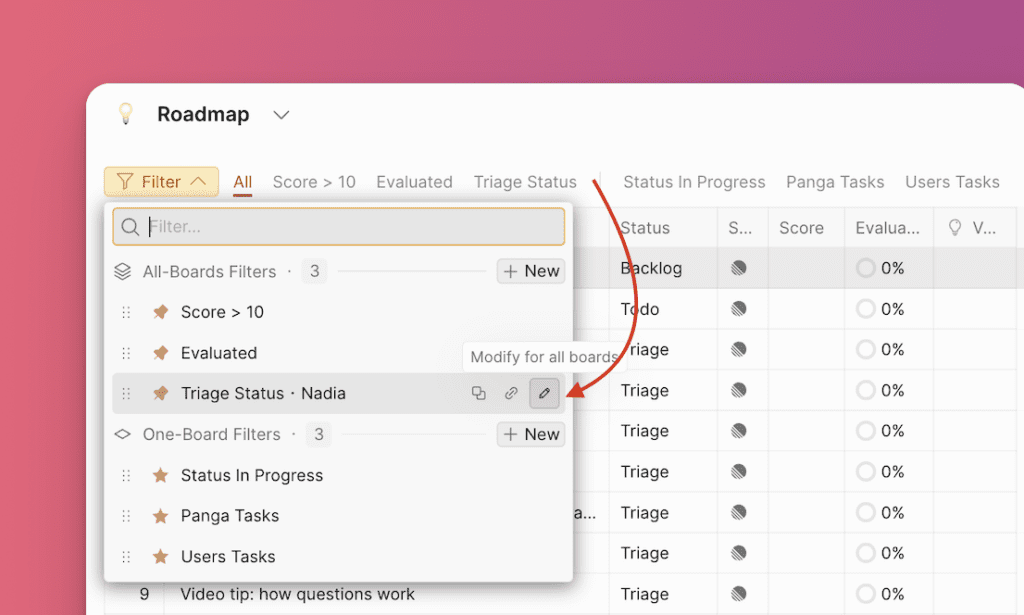
Click the filter icon, hover over the filter you want to edit, and click the edit icon.
-
Change parameters, add or remove filter fields as needed.
-
Click Save when you're done editing.
All-boards filter changes apply to all boards and all users. One-board filter changes apply to the current board only, but for all users.
Delete a filter
To delete a filter, click the trash icon, then click Confirm.
Deleting a filter removes it for all users on all boards (for both one-board and all-boards filters).
By effectively using filters, you can enhance productivity and stay on top of critical tasks across all your boards.