Create manually
Create Issues directly in Ducalis without task tracker integrations. This method lets you use Ducalis as a standalone tool, or create Issues you can later send to your task tracker after prioritization.
Create an Issue
You can create Issues in three ways:
-
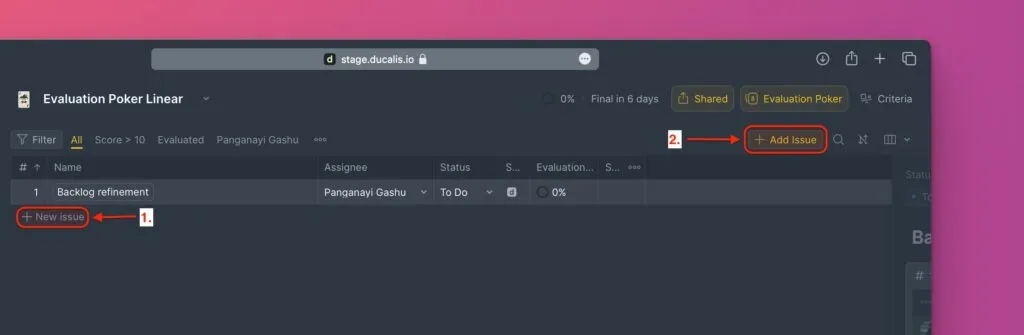
Click the Add issue button in the top-right corner.
-
Or click + New Issue in the table for in-line creation.
-
Press
Alt/Opt + Non your keyboard.
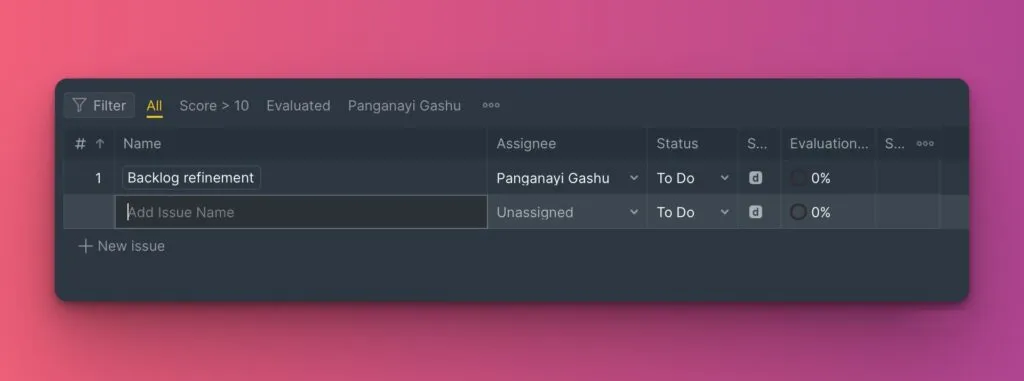
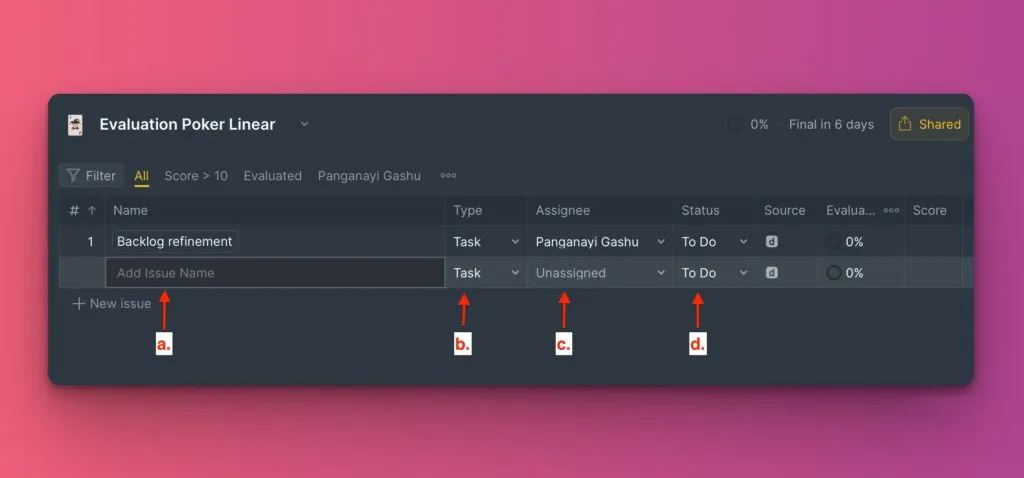
When the new row appears, fill in the details directly in the table:
- Name – Give your Issue a clear, descriptive name
- Issue type – Categorize the Issue (feature, bug, task, etc.)
- Assignee – Assign the person responsible for this Issue
- Status – Set the progress status (create new statuses or change colors)
- Reporter – The person who creates the Issue is automatically added
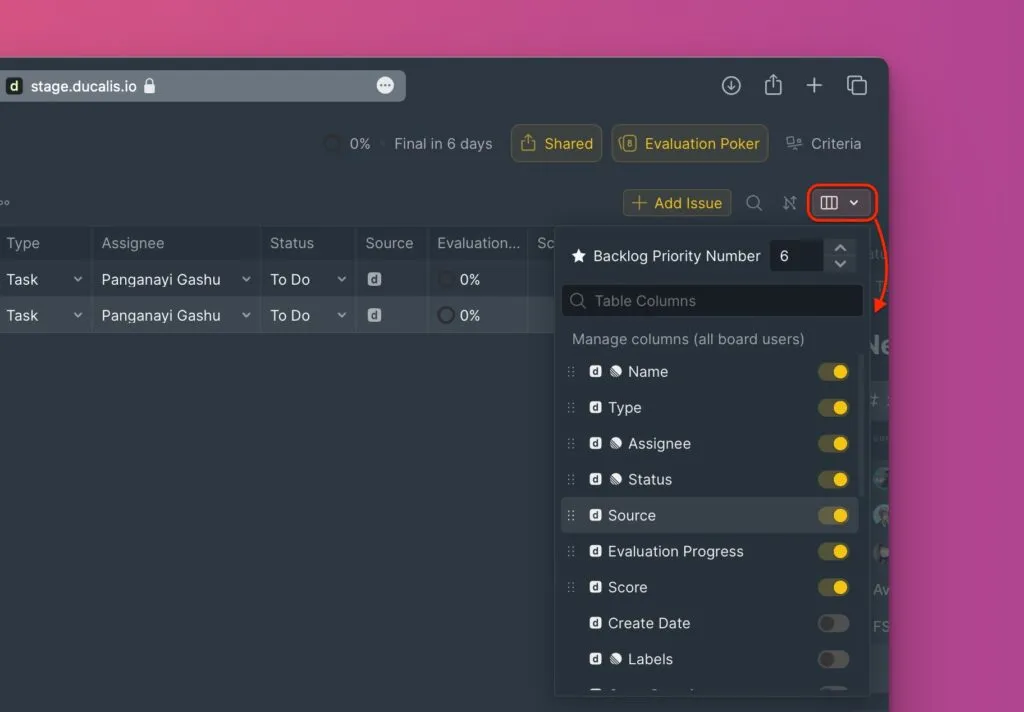
To show or hide columns, click the table icon to customize the table view.
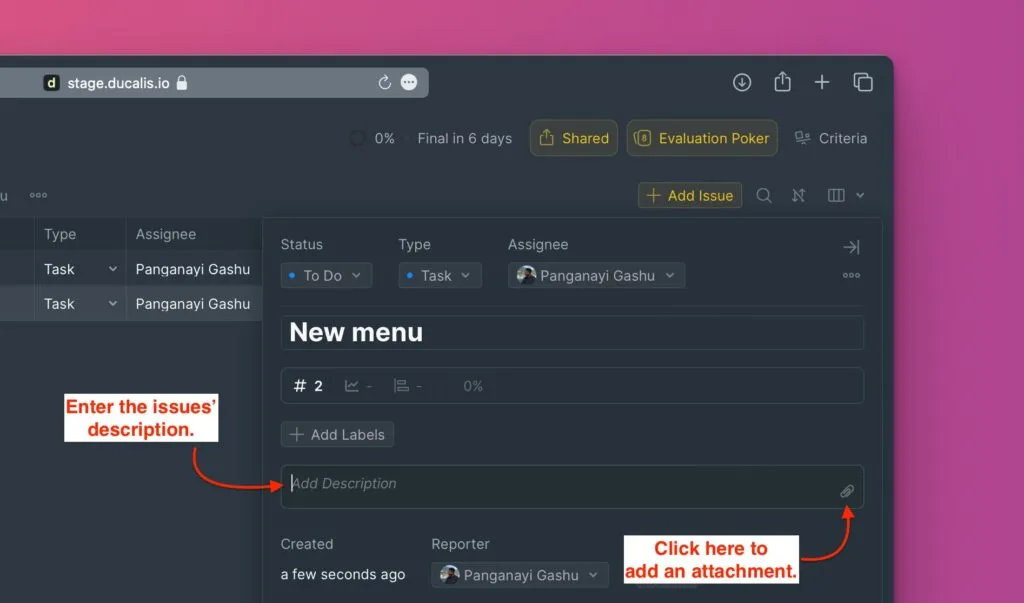
Add description and attachments
Open the Issue card to add descriptions, attachments, and labels. Click Details to open the card.
- Description – Add context to help your team understand the Issue better
- Attachments – Drag and drop or copy-paste files into the description field
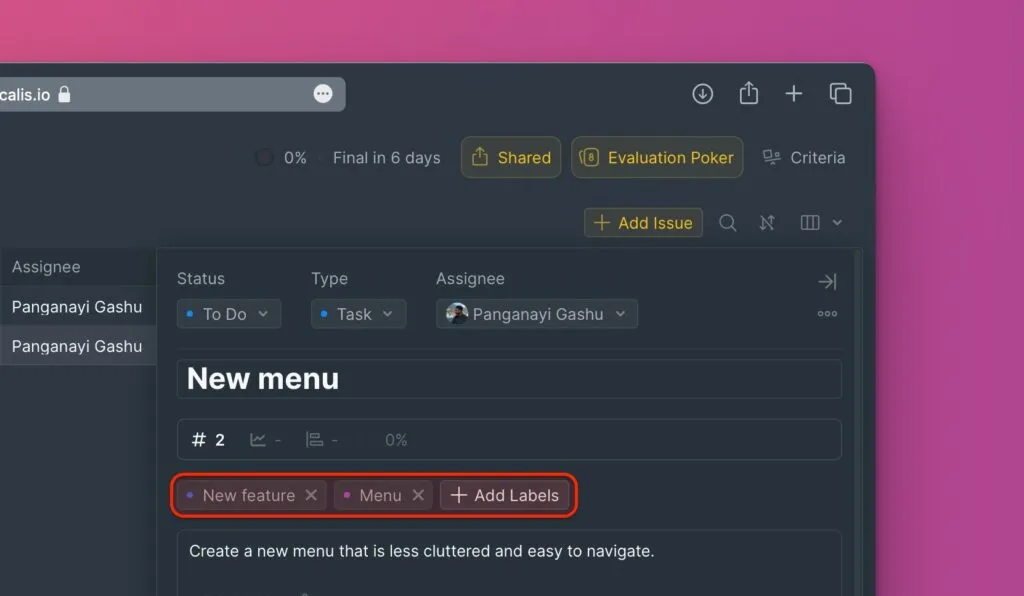
- Label – Assign existing labels or create new ones
Changes save automatically. There's no save button.
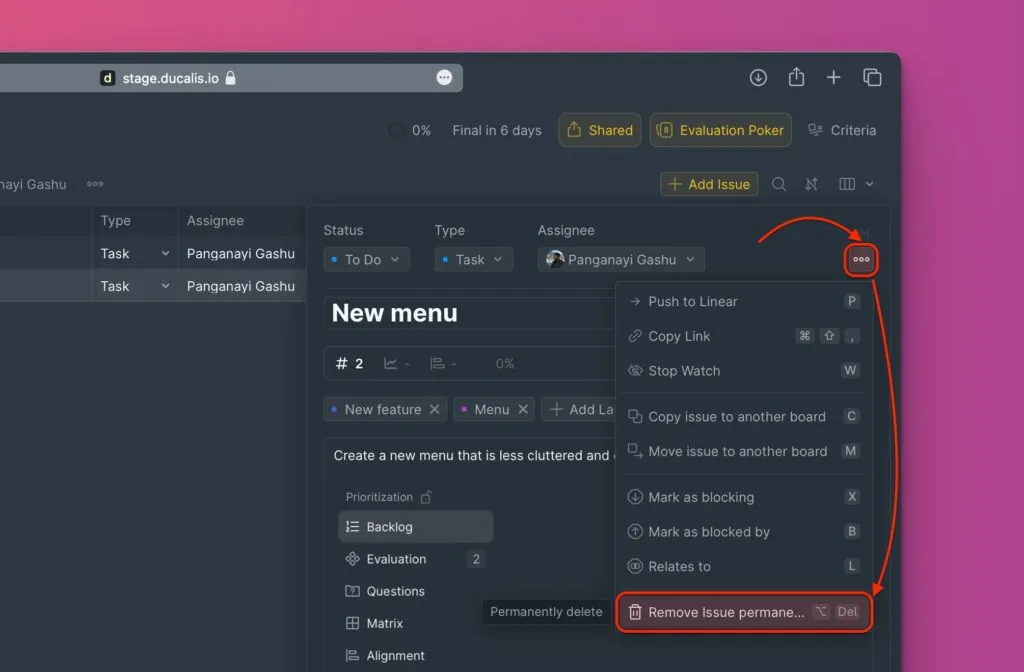
Delete an Issue
-
Open the Issue card.
-
Click Remove.
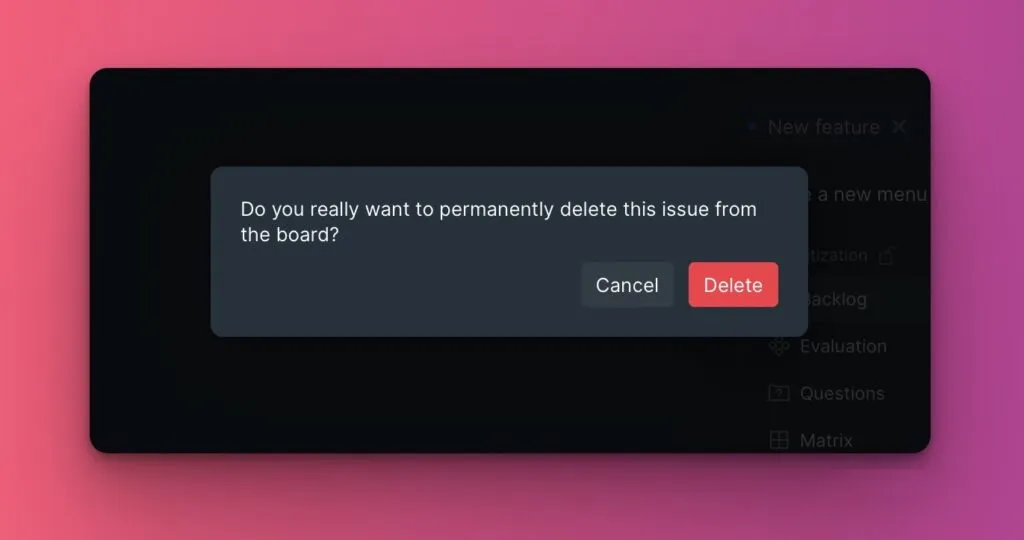
-
Confirm deletion by clicking Delete.
What's next
After creating Issues, add your teammates to the Board so you can collaboratively evaluate your backlog.
Learn more about Board users and teams.
If you have questions, contact us in the chat in the bottom right corner.