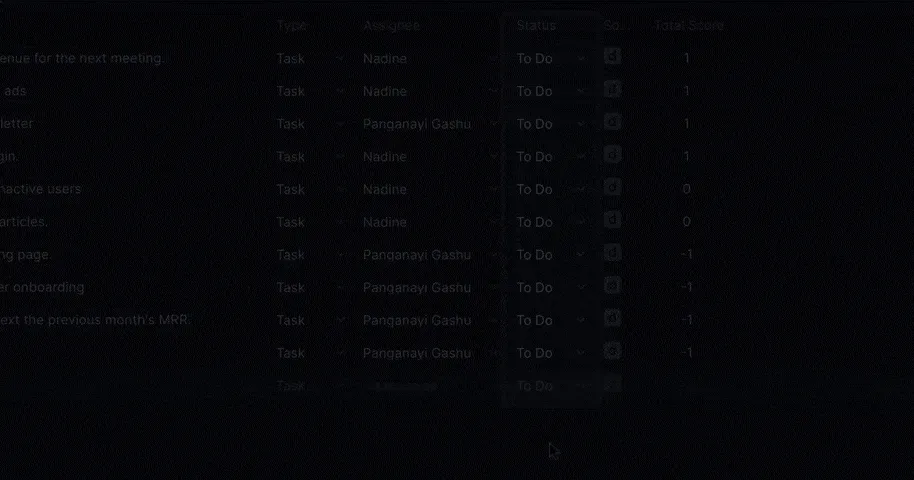
Statuses
Statuses help you visualize the progress of your Issues as you work on them.
You can customize statuses at the Board level. Every Board includes two default statuses that can't be deleted: "To do" and "Done". You can rename these defaults and add as many custom statuses as needed.
Create statuses
Admins can add or edit statuses in new and existing Boards.
Create a status from the table:
-
Under the Status column, click the default status "To do".
-
Type the status name in the text field.
-
Press Enter to create the status.
Create a status from the issue card:
-
Open an Issue card.
-
Click the Status field.
-
Type the status name and press Enter.
Customize statuses
You can rename, change a color, or remove statuses directly from the table or issue card.
-
Click the ellipsis … next to the status.
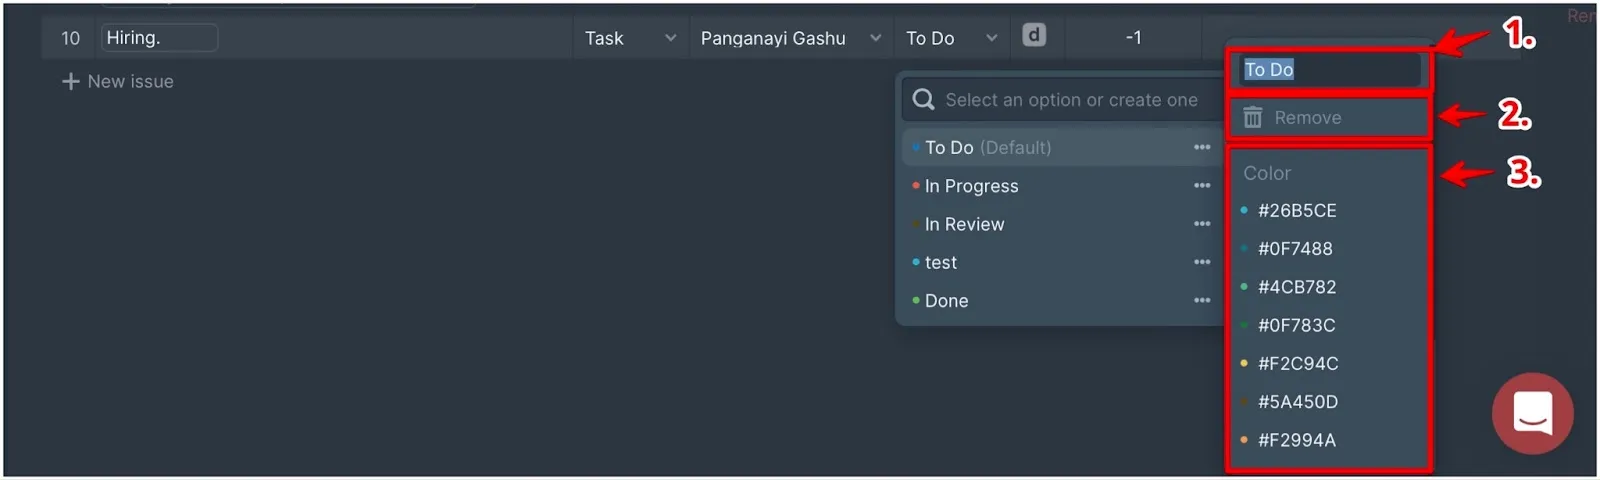
-
Choose an option:
- Rename – Change the status name
- Color – Select a color that represents the status (e.g., green for Done)
- Remove – Delete the status
-
If you remove a status assigned to Issues, you'll be asked to choose a replacement status for those Issues.

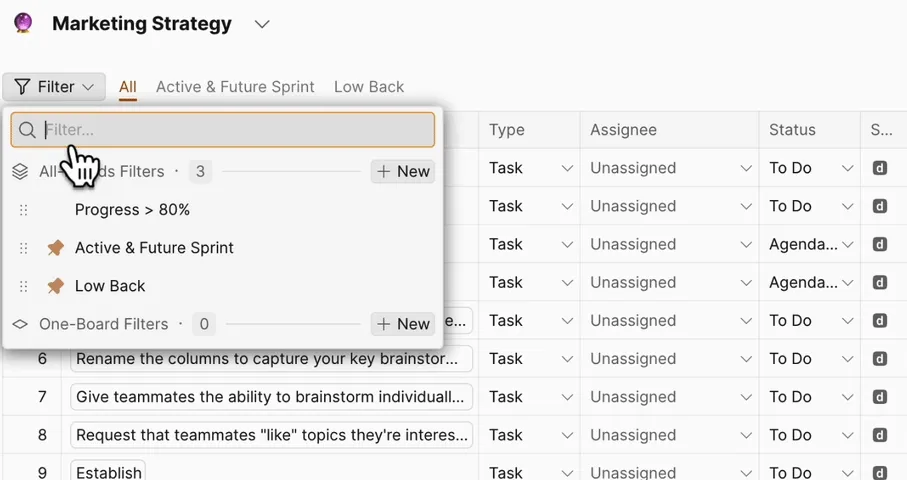
Find completed Issues
Create a filter with Status = Done to view all completed Issues.
You can edit the description, change the status, labels, assignee, and reporter for completed Issues.
Done Issues don't currently have score history.
Default statuses
Every new Board includes two default statuses: "To do" and "Done". These statuses mark the beginning and end of your workflow and can't be deleted.
You can customize the default statuses:
-
Click the ellipsis … next to "To do" or "Done".

-
Edit the name or change the color.
-
Press Enter to save.