Sync Back with existing fields
If you already have custom fields in Jira Server, you don't need to create new ones for Sync Back. Instead, map existing fields to Ducalis fields by renaming them or configuring the mapping.
This approach helps you:
- Avoid cluttering your tracker with duplicate fields
- Maintain consistency with existing workflows
- Reduce setup time
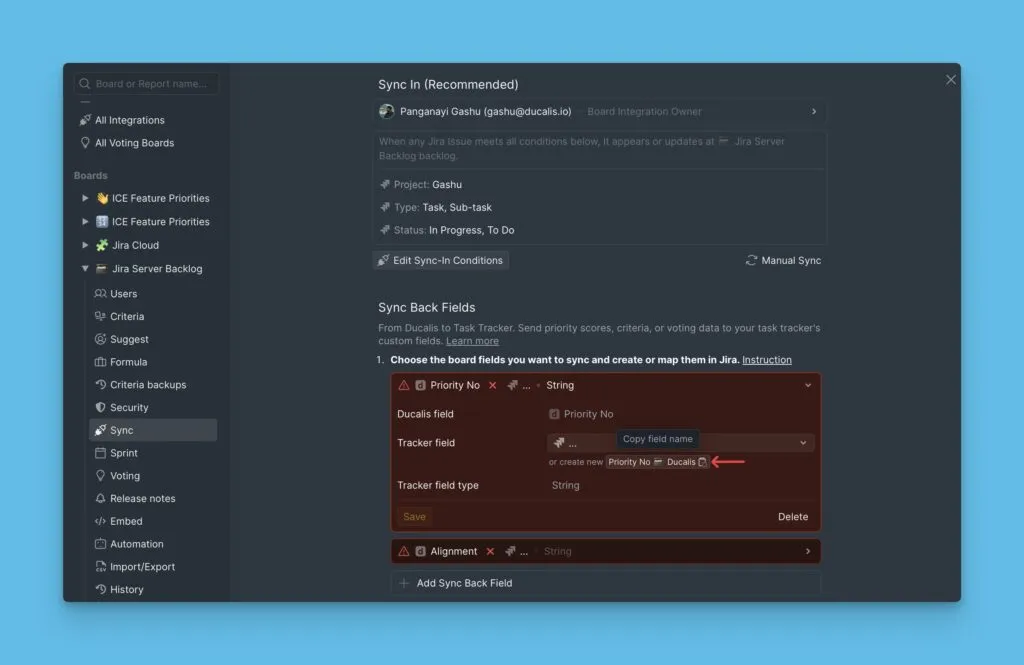
How Sync Back works
Ducalis sends priority scores and criteria values back to your custom fields in Jira Server on a schedule.
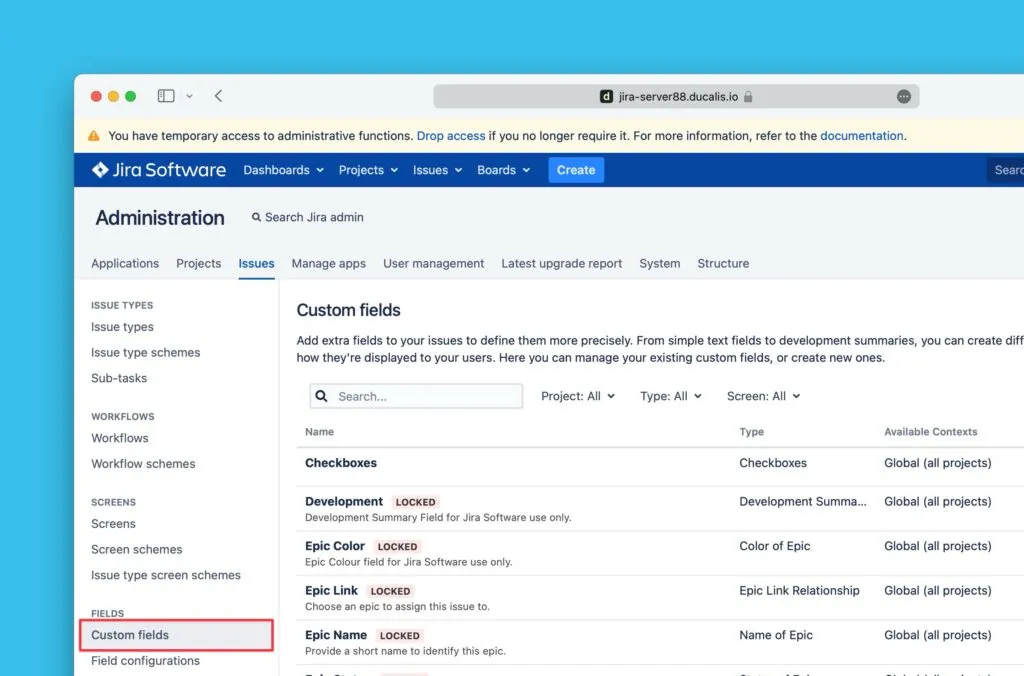
Access custom fields settings
-
Click the cogwheel in the top-right corner.
-
Select Issues from the dropdown.

-
In the left sidebar, navigate to Fields and select Custom fields.
-
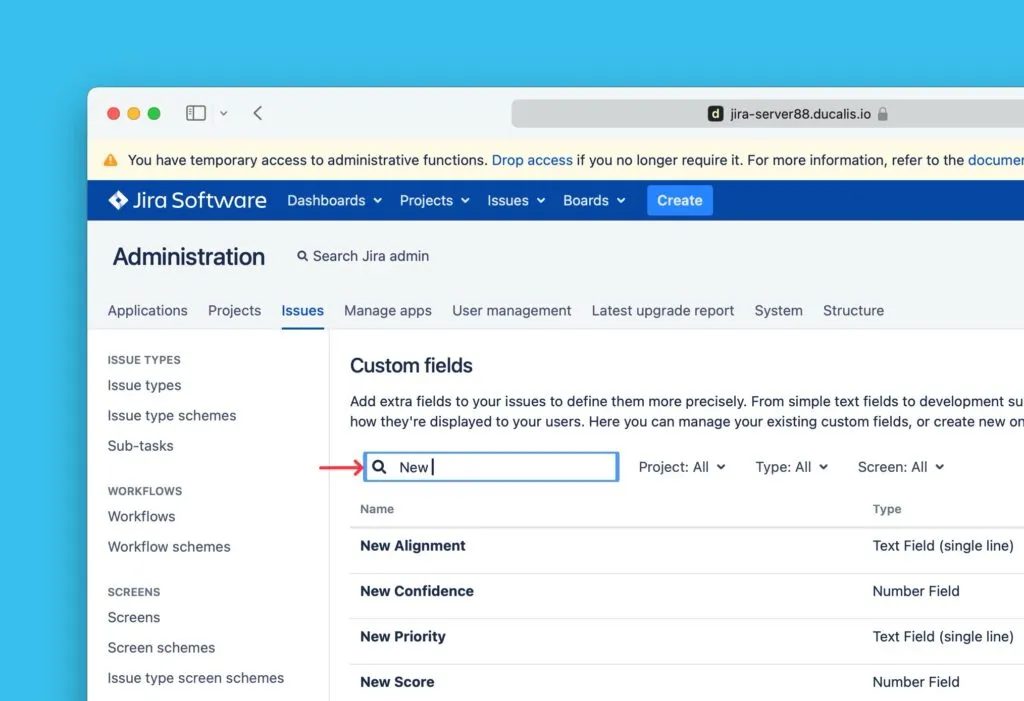
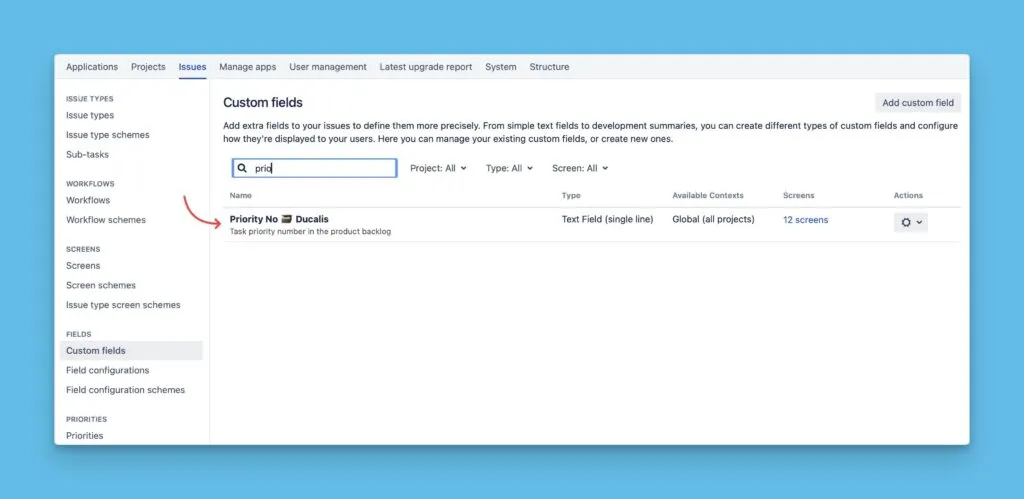
Search for the custom field you want to map to Ducalis.
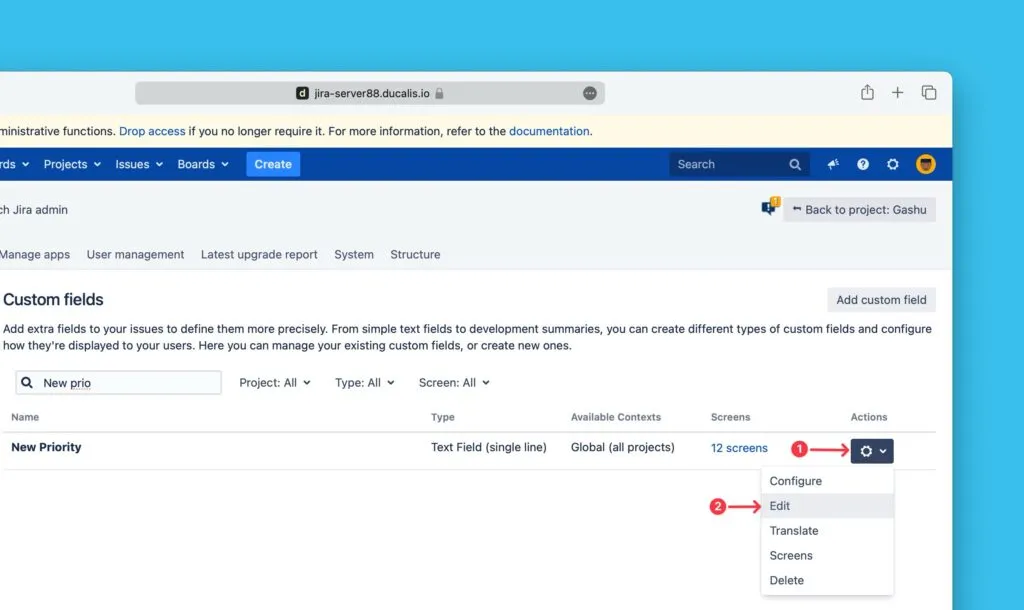
Edit the custom field name
-
Click the ellipsis (three dots) on the right side of the field.
-
Select Edit from the dropdown.
-
In Ducalis, copy the name of the field you want to sync data from.
-
Paste the name into the Name field in Jira Server.
-
Add a description (optional).
-
Click Update to save your changes.

The field now matches the Ducalis field name and will receive synced data.
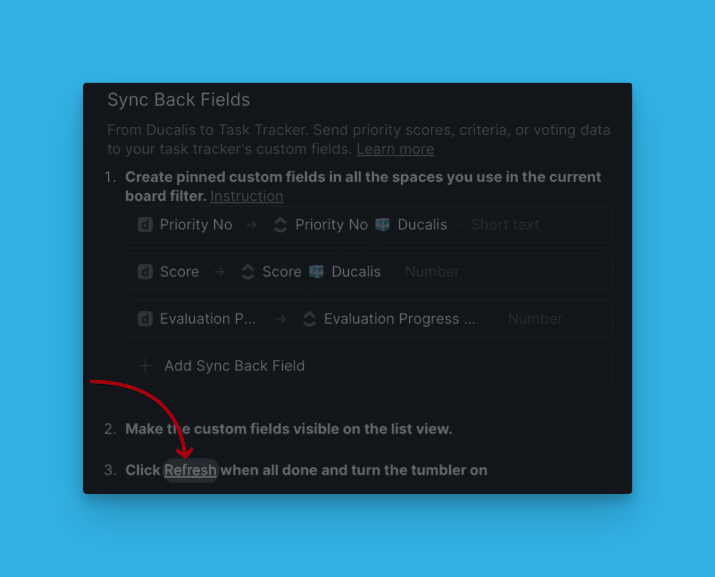
Activate Sync Back
-
Click Refresh in the Sync Back settings.
-
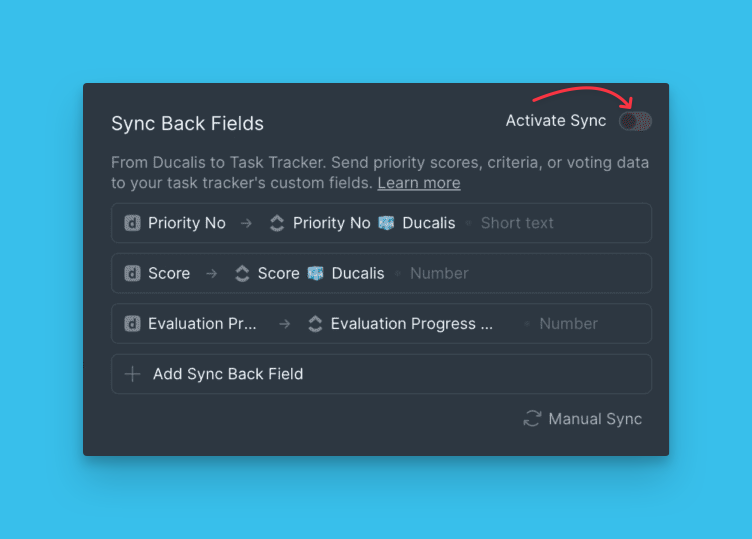
Toggle the switch to On to activate synchronization.
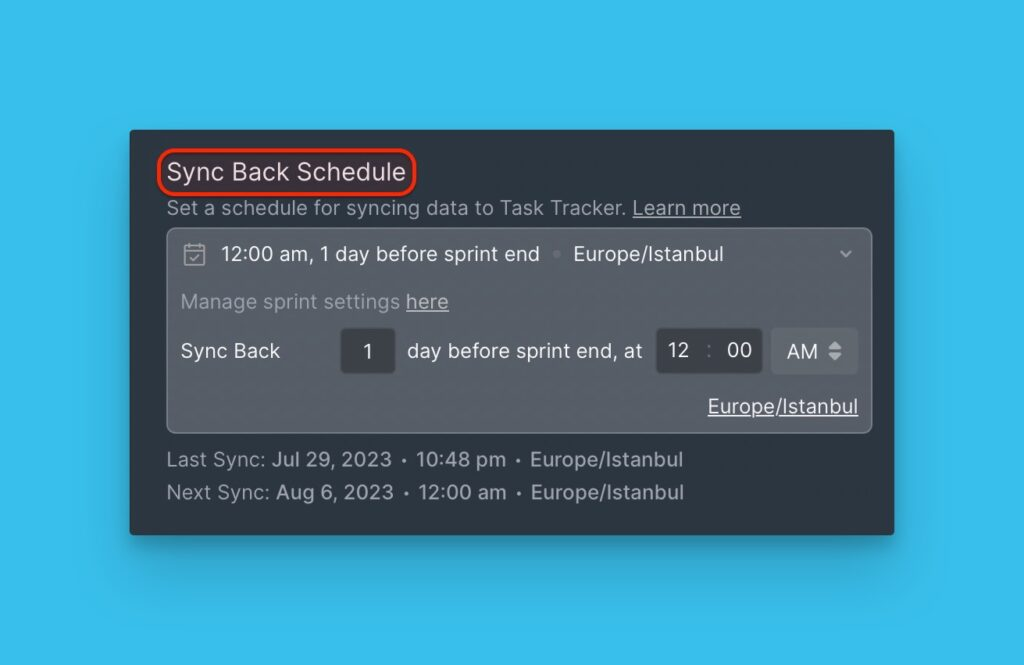
Schedule synchronization
Choose when Ducalis syncs priority rankings back to Jira Server. For example, schedule sync 1–2 days before your sprint planning meeting.
-
Select the day and time for synchronization.
-
Change the timezone if needed.
Priority data will sync to Jira Server automatically on your chosen schedule.