Ducalis allows you to integrate and import issues from both GitHub organizations and personal accounts.
In this article, we’ll walk you through how to connect Ducalis to GitHub and import issues for collecting feedback and prioritization.
Integrating GitHub Organization with Ducalis
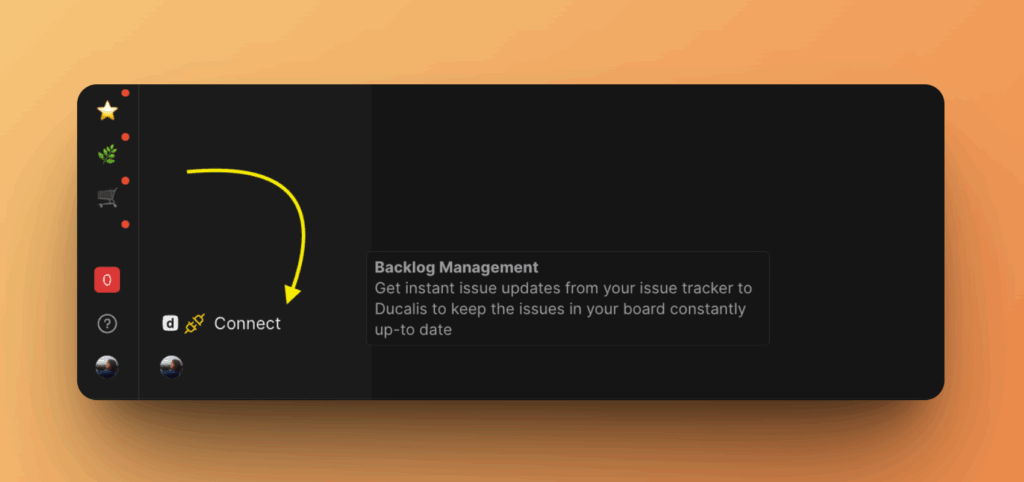
- In the board, go to the bottom left corner and click Connect to access the Sync settings.
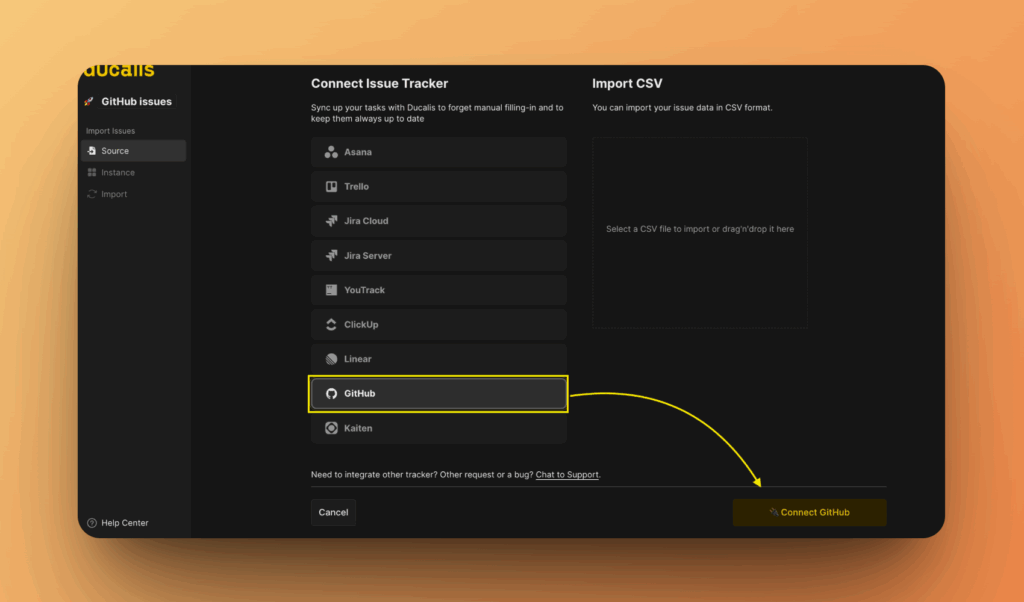
- Under Sync settings, click Connect Issue Tracker.
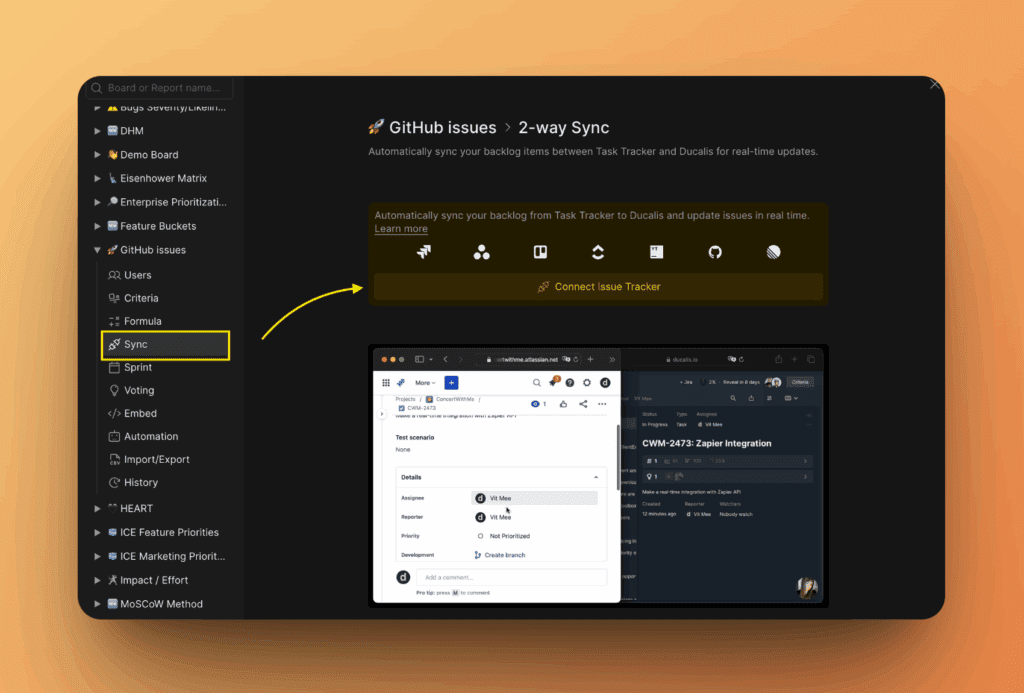
- From the list of task trackers, choose GitHub.
- Then click Connect GitHub.
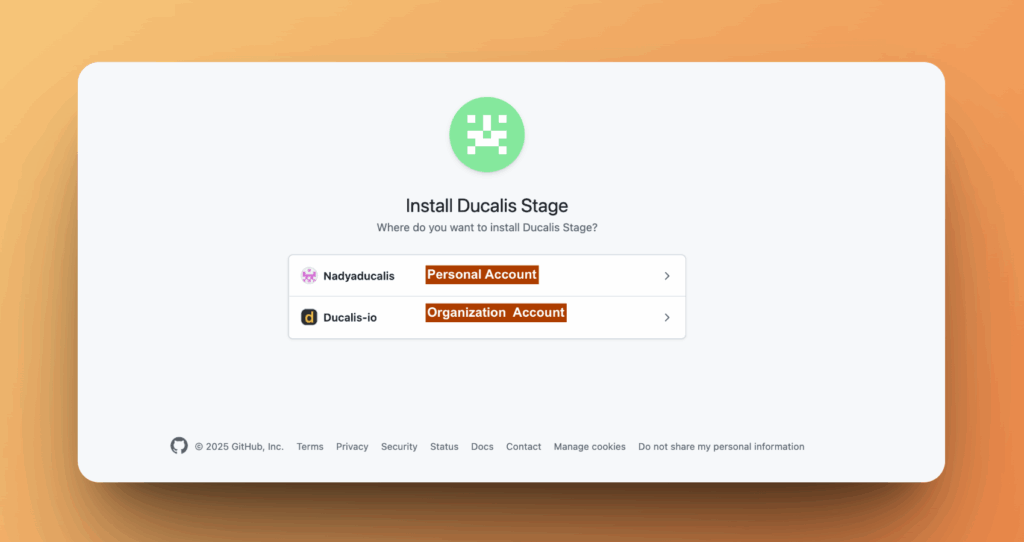
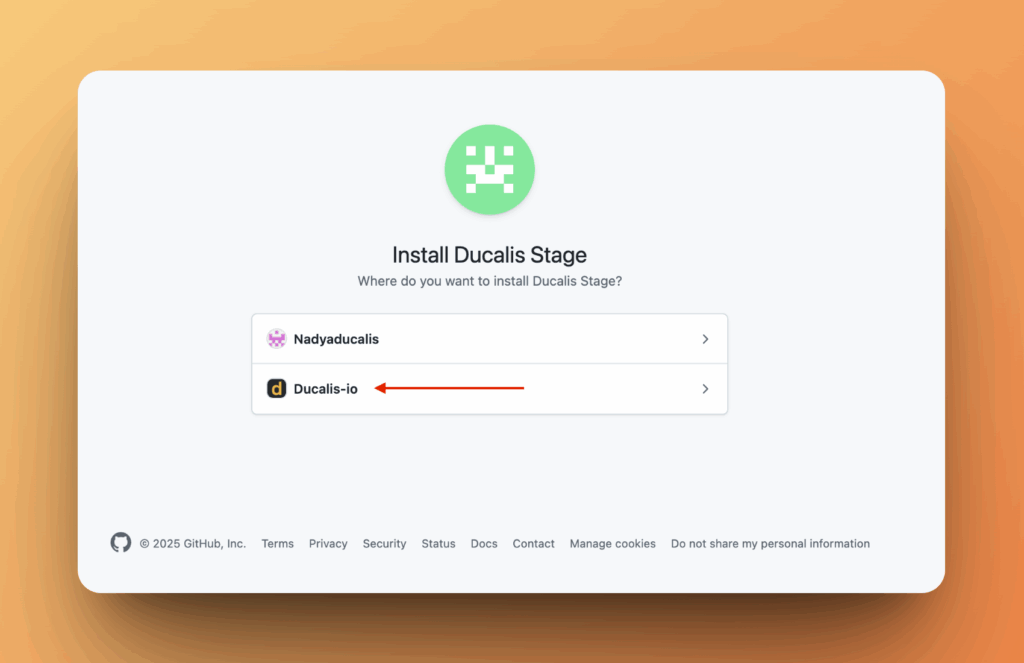
- You can connect either an organization or a personal account. Choose Company you want to connect by clicking on an item.
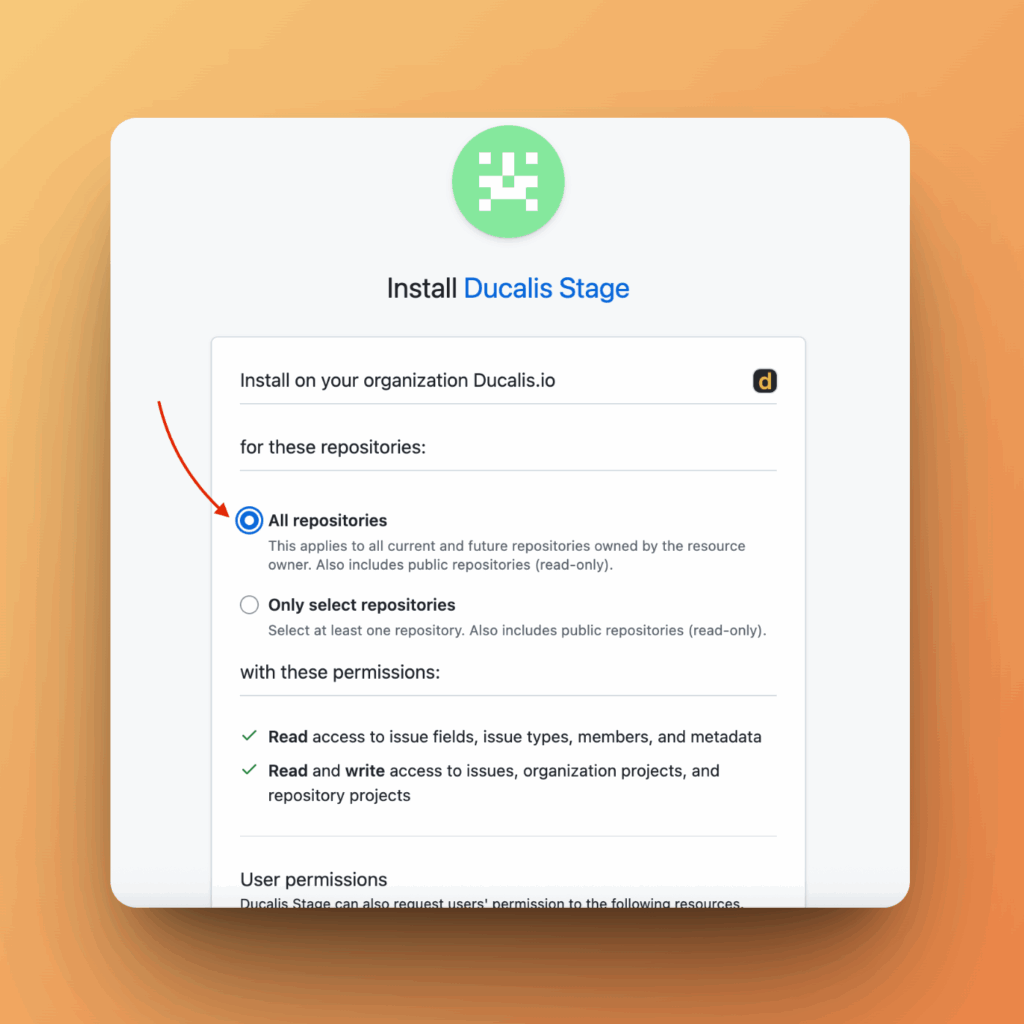
- To create integration you need to install the Ducalis app.
- You can install it for all repositories or select specific ones you want to import into Ducalis.
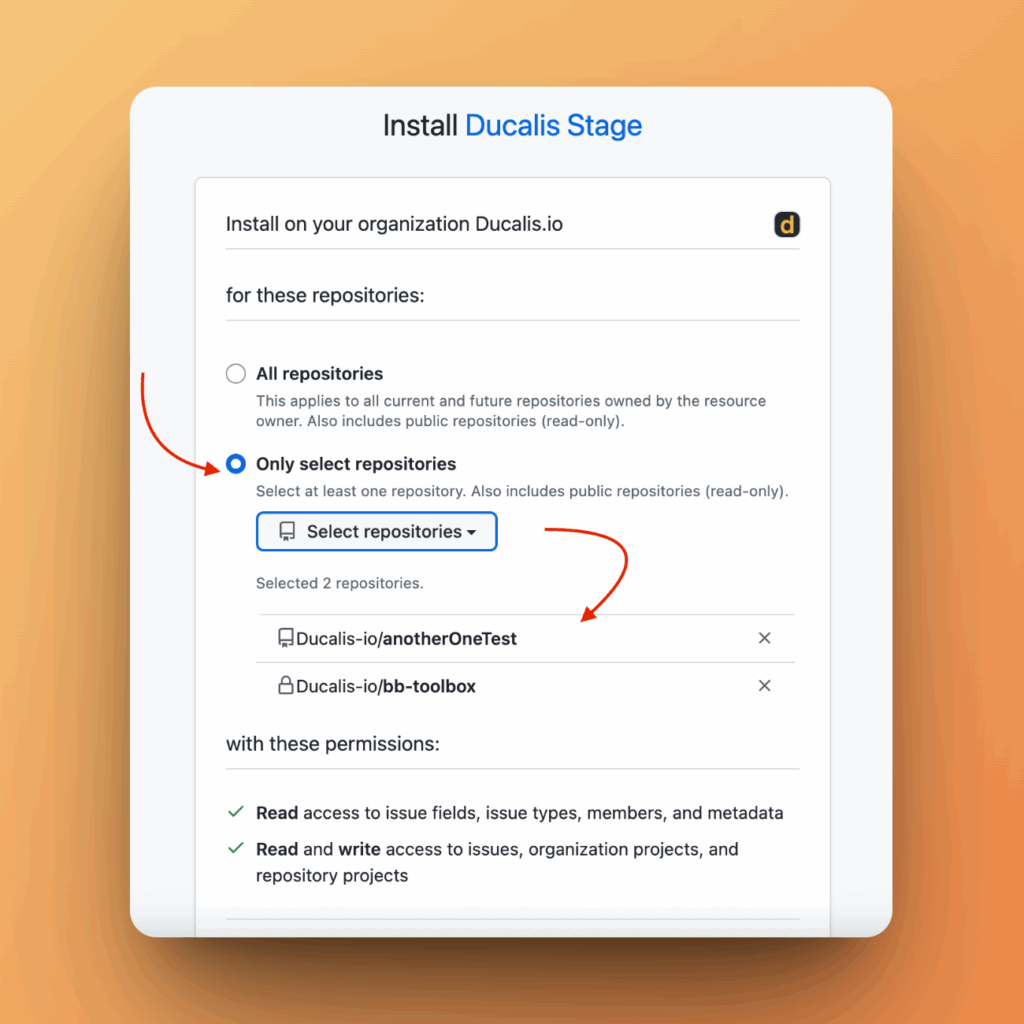
- Click Install.
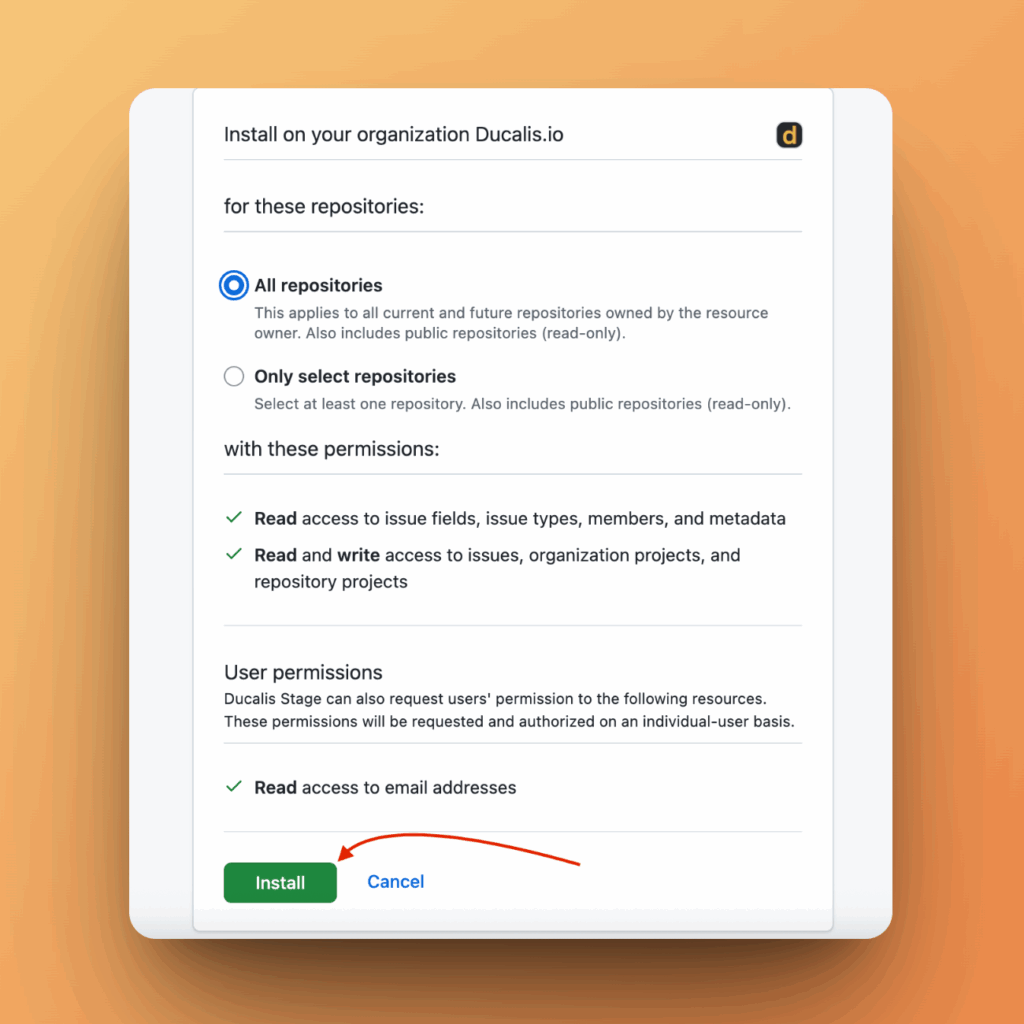
- After installation, you will be redirected to Ducalis to import issues from GitHub.
Importing Issues From GitHub Organization
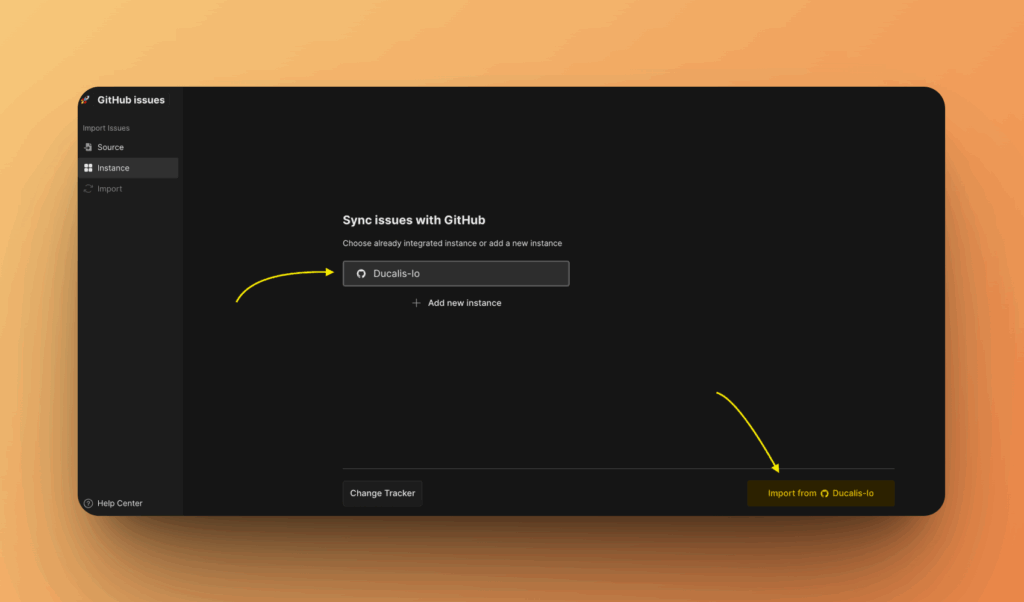
- Choose the Instance you want to get issues from.
- If you want to connect a new instance, just click Add a new instance.
- After choosing an instance click Connect [Instance].
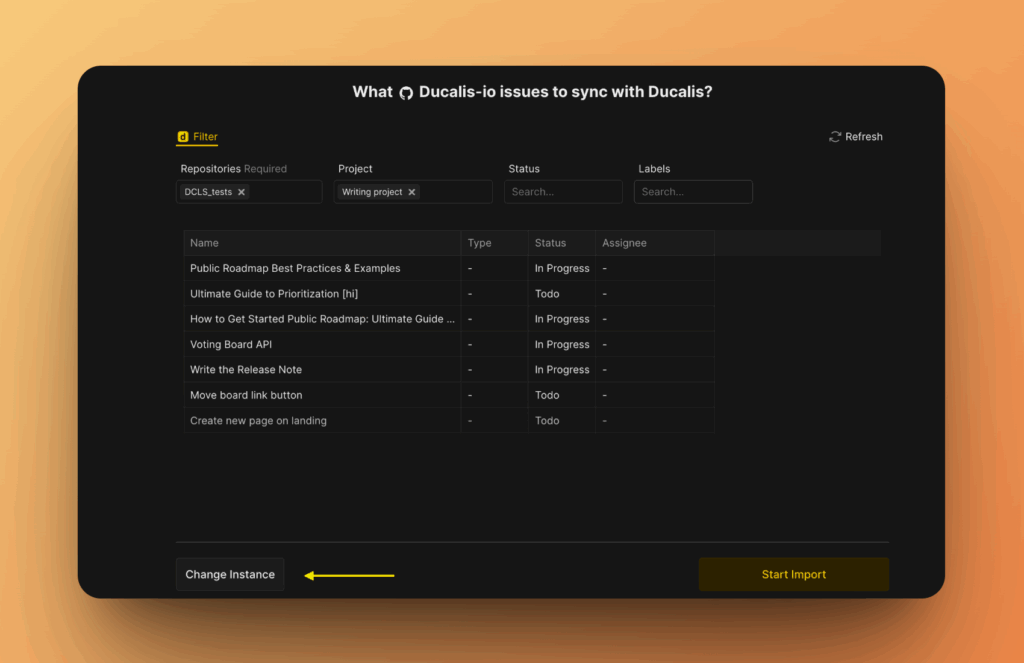
Choose the issues you want to import by applying filters. You have the ability to filter by
- Repositories (required),
- Projects,
- Projects Statuses,
- Labels
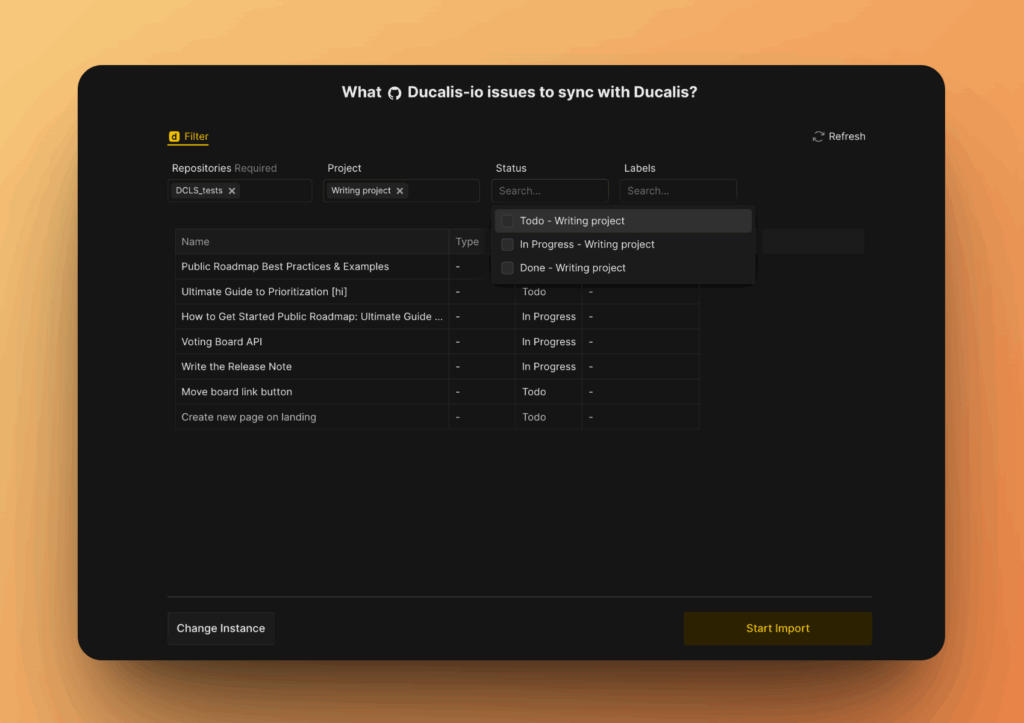
- If you have some filters that you do not see, just click Refresh.
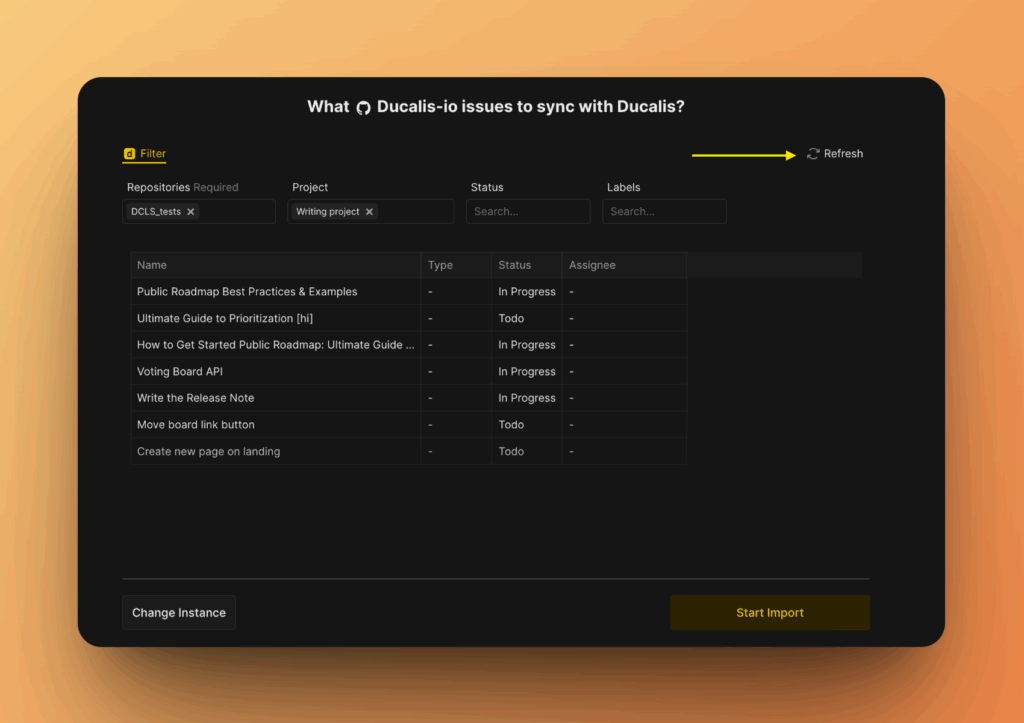
- And you decide to change an instance, click Change Instance to go back and pick another instance.
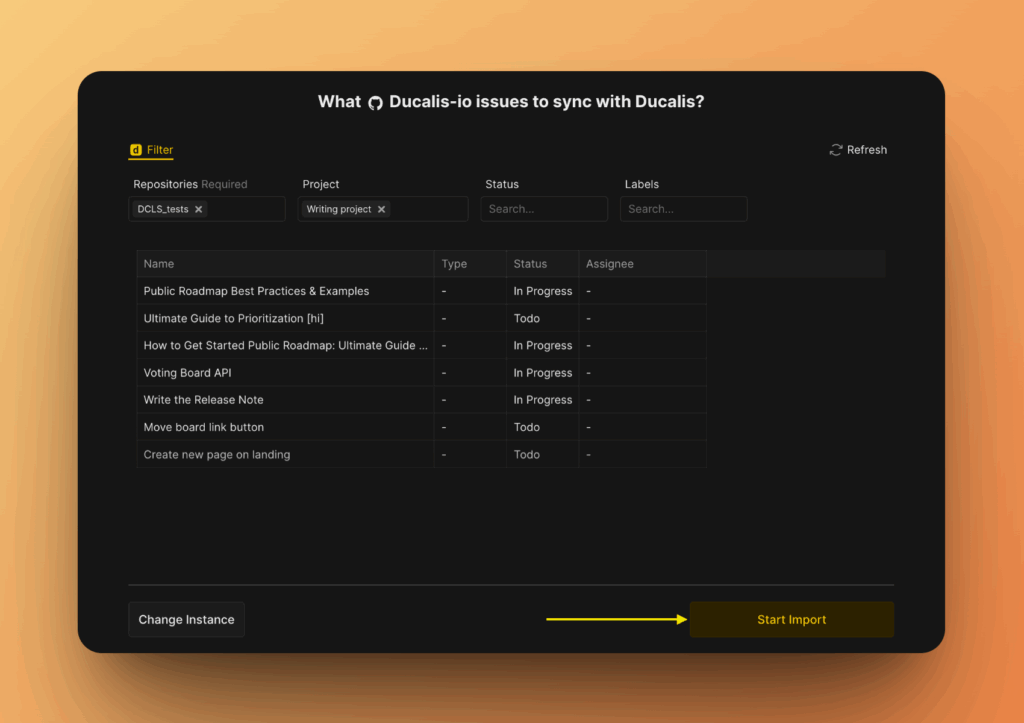
- After you’re done, click Start import.
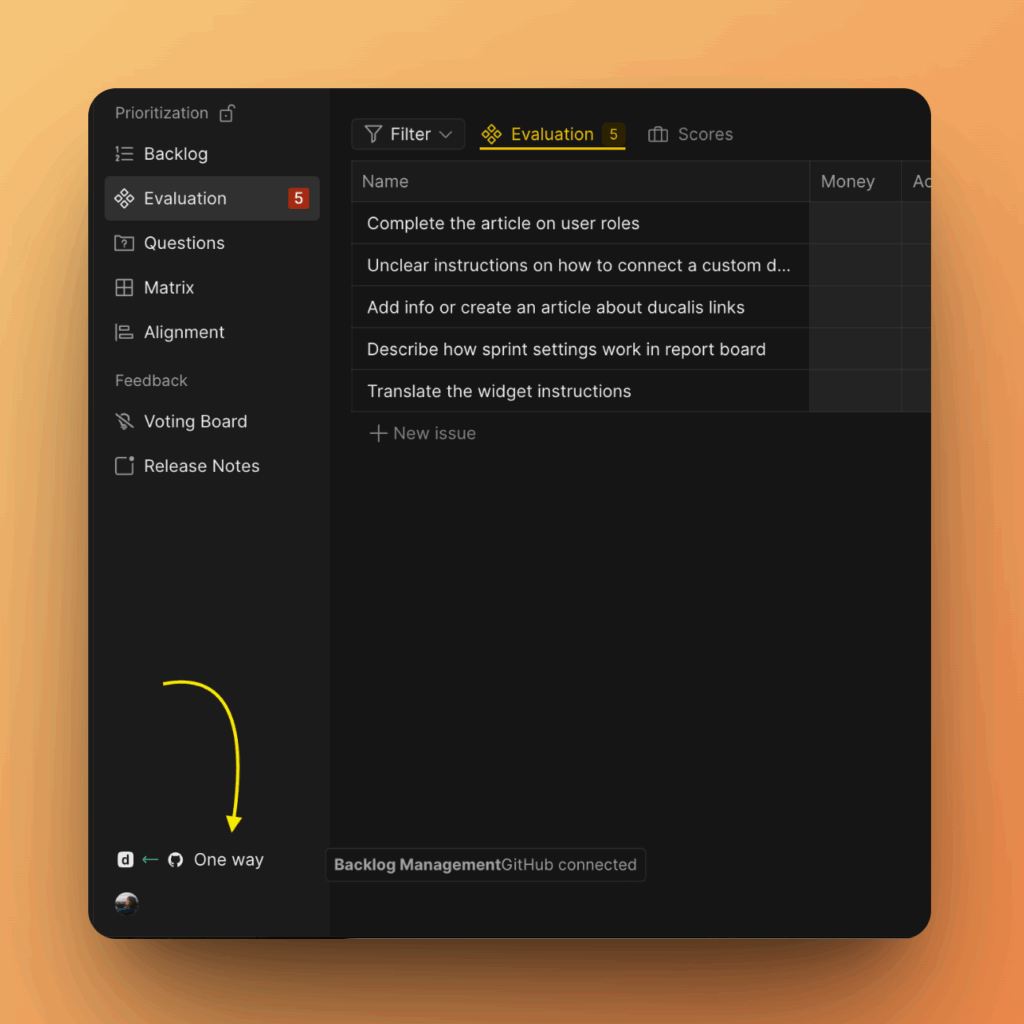
A board with issues imported from GitHub that are ready.
Editing Import Filters
Editing import-filters helps to:
- Import more issues from GitHub to the same board.
- Remove issues from a board without removing the integration.
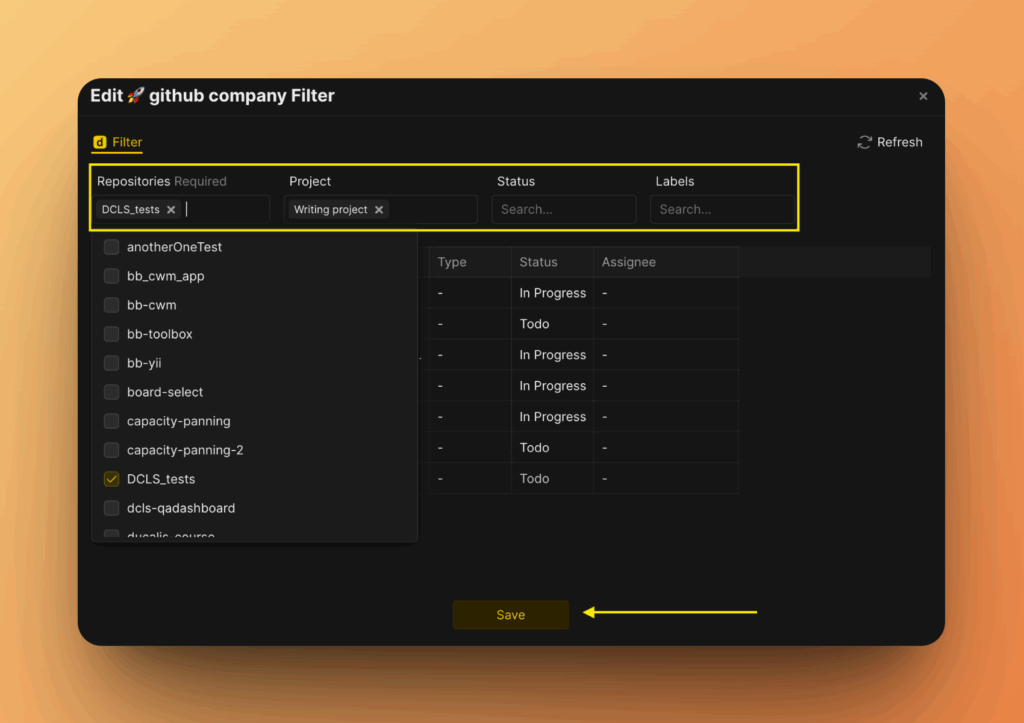
To edit import-filters:
- Go to Backlog Management settings
- Then go to Sync In and click Edit Syn-In Conditions.
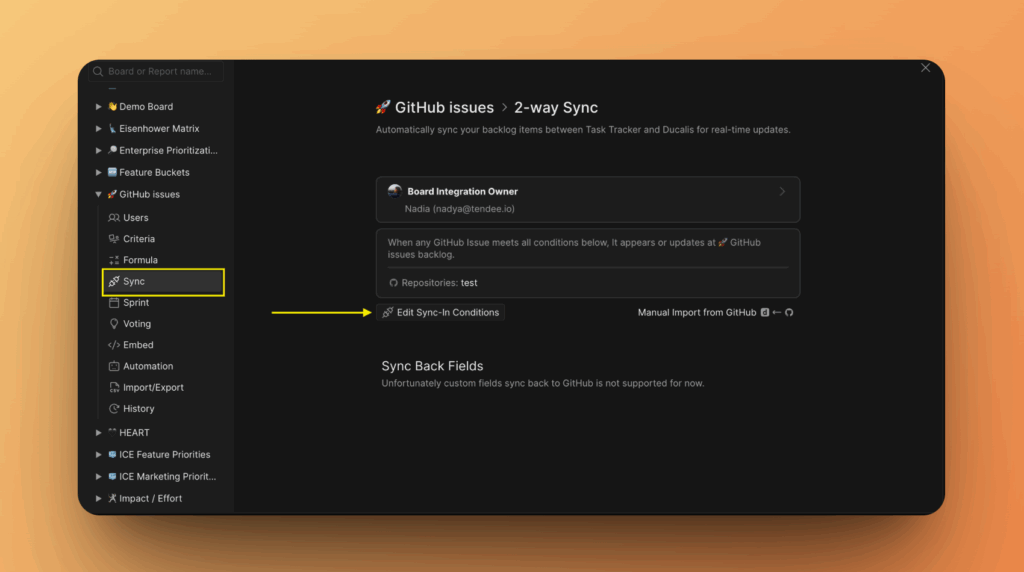
- Add or remove some filters to add more issues or remove some issues, respectively.
- Click Save to keep your changes.
Removing the Integration
Check out this article on how to delete an integration between Ducalis and GitHub.
What’s Next?
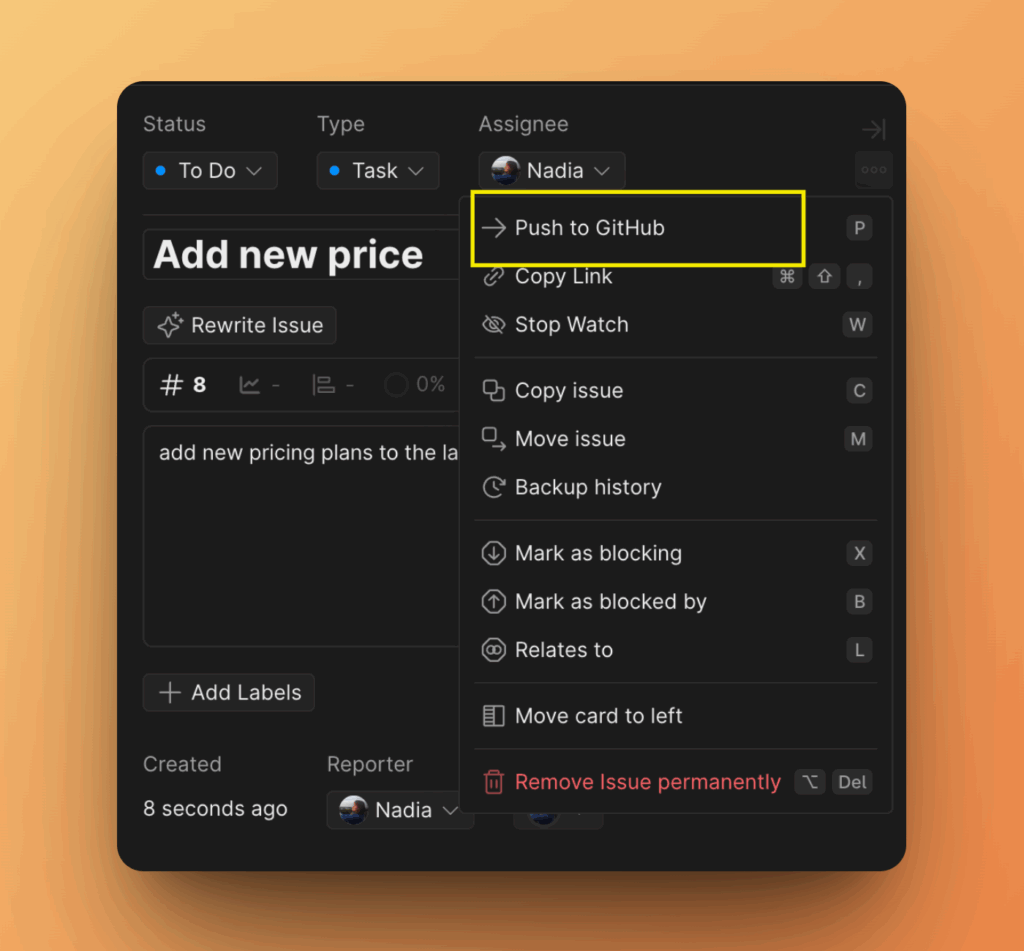
While you are working in Ducalis, you can create issues for your GitHub backlog – no need to leave Ducalis to go and create an issue in GitHub.
Learn more about Push to GitHub.
